Is it Coozie or Koozie? | Custom Graphic Can Coolers

According to this radio show, Koozie is a trademarked name popularized by commercial companies in the late 1970s and early 80s. Some call them cozy, koozie, coozy, coozie, kozy. The name traces back from an insulated sleeve used to keep kettles warm, called a tea cozy. Koozie is a name brand, the others are free to use (don't quote me). Regardless of what you call it, all of em are just a foam sock for your beer.
So there ya have it. Betcha weren't expecting an answer so quickly in a blog post. That's because this post isn't about the history. I just needed your attention. And now that I have it, I shall proceed with my story.
Back in the fall of 2025, I was honored to stand as a co-best man in the Wedding of my childhood Best Friend, Jimmy. Good lad, he is. As best men do, we planned the bachelor party. The perfect idea for a party handout sparked once we booked a Cub's game to kick off the weekend. I think the Kooozies were Trevor's (the other best man's) idea. But I was adamant we have a custom graphic. This is where you kick it up a notch.
Listen, I'm the kind of guy that would prefer to DIY rather than buy. Whether to save money, to enhance quality, or just learn a new skill. On the other hand, throwing money at your problems is INCREDIBLY cathartic. To the internet! I searched for customized foam beverage insulators all over. Nothing fits the bill. everything was either crazy expensive, of questionable quality, or no custom graphics. So I decided we were gonna DIY, not buy.
I played around with a few brands and styles of Koozies until I found one that I really liked. This company sells these awesome Blank Can Cooler Sleeves (love the lawyer proof descriptor btw) that makes both foam AND neoprene sleeves. The best part? They are universal. You invert the koozie to switch between holding a skinny seltzer can and regular size cans & bottles. Nice! But heres the million dollar question. How do I:
- A) make a graphic
- B) get it on the Koozie??
And so my journey into developing elementary-at-best graphic design skills begins.
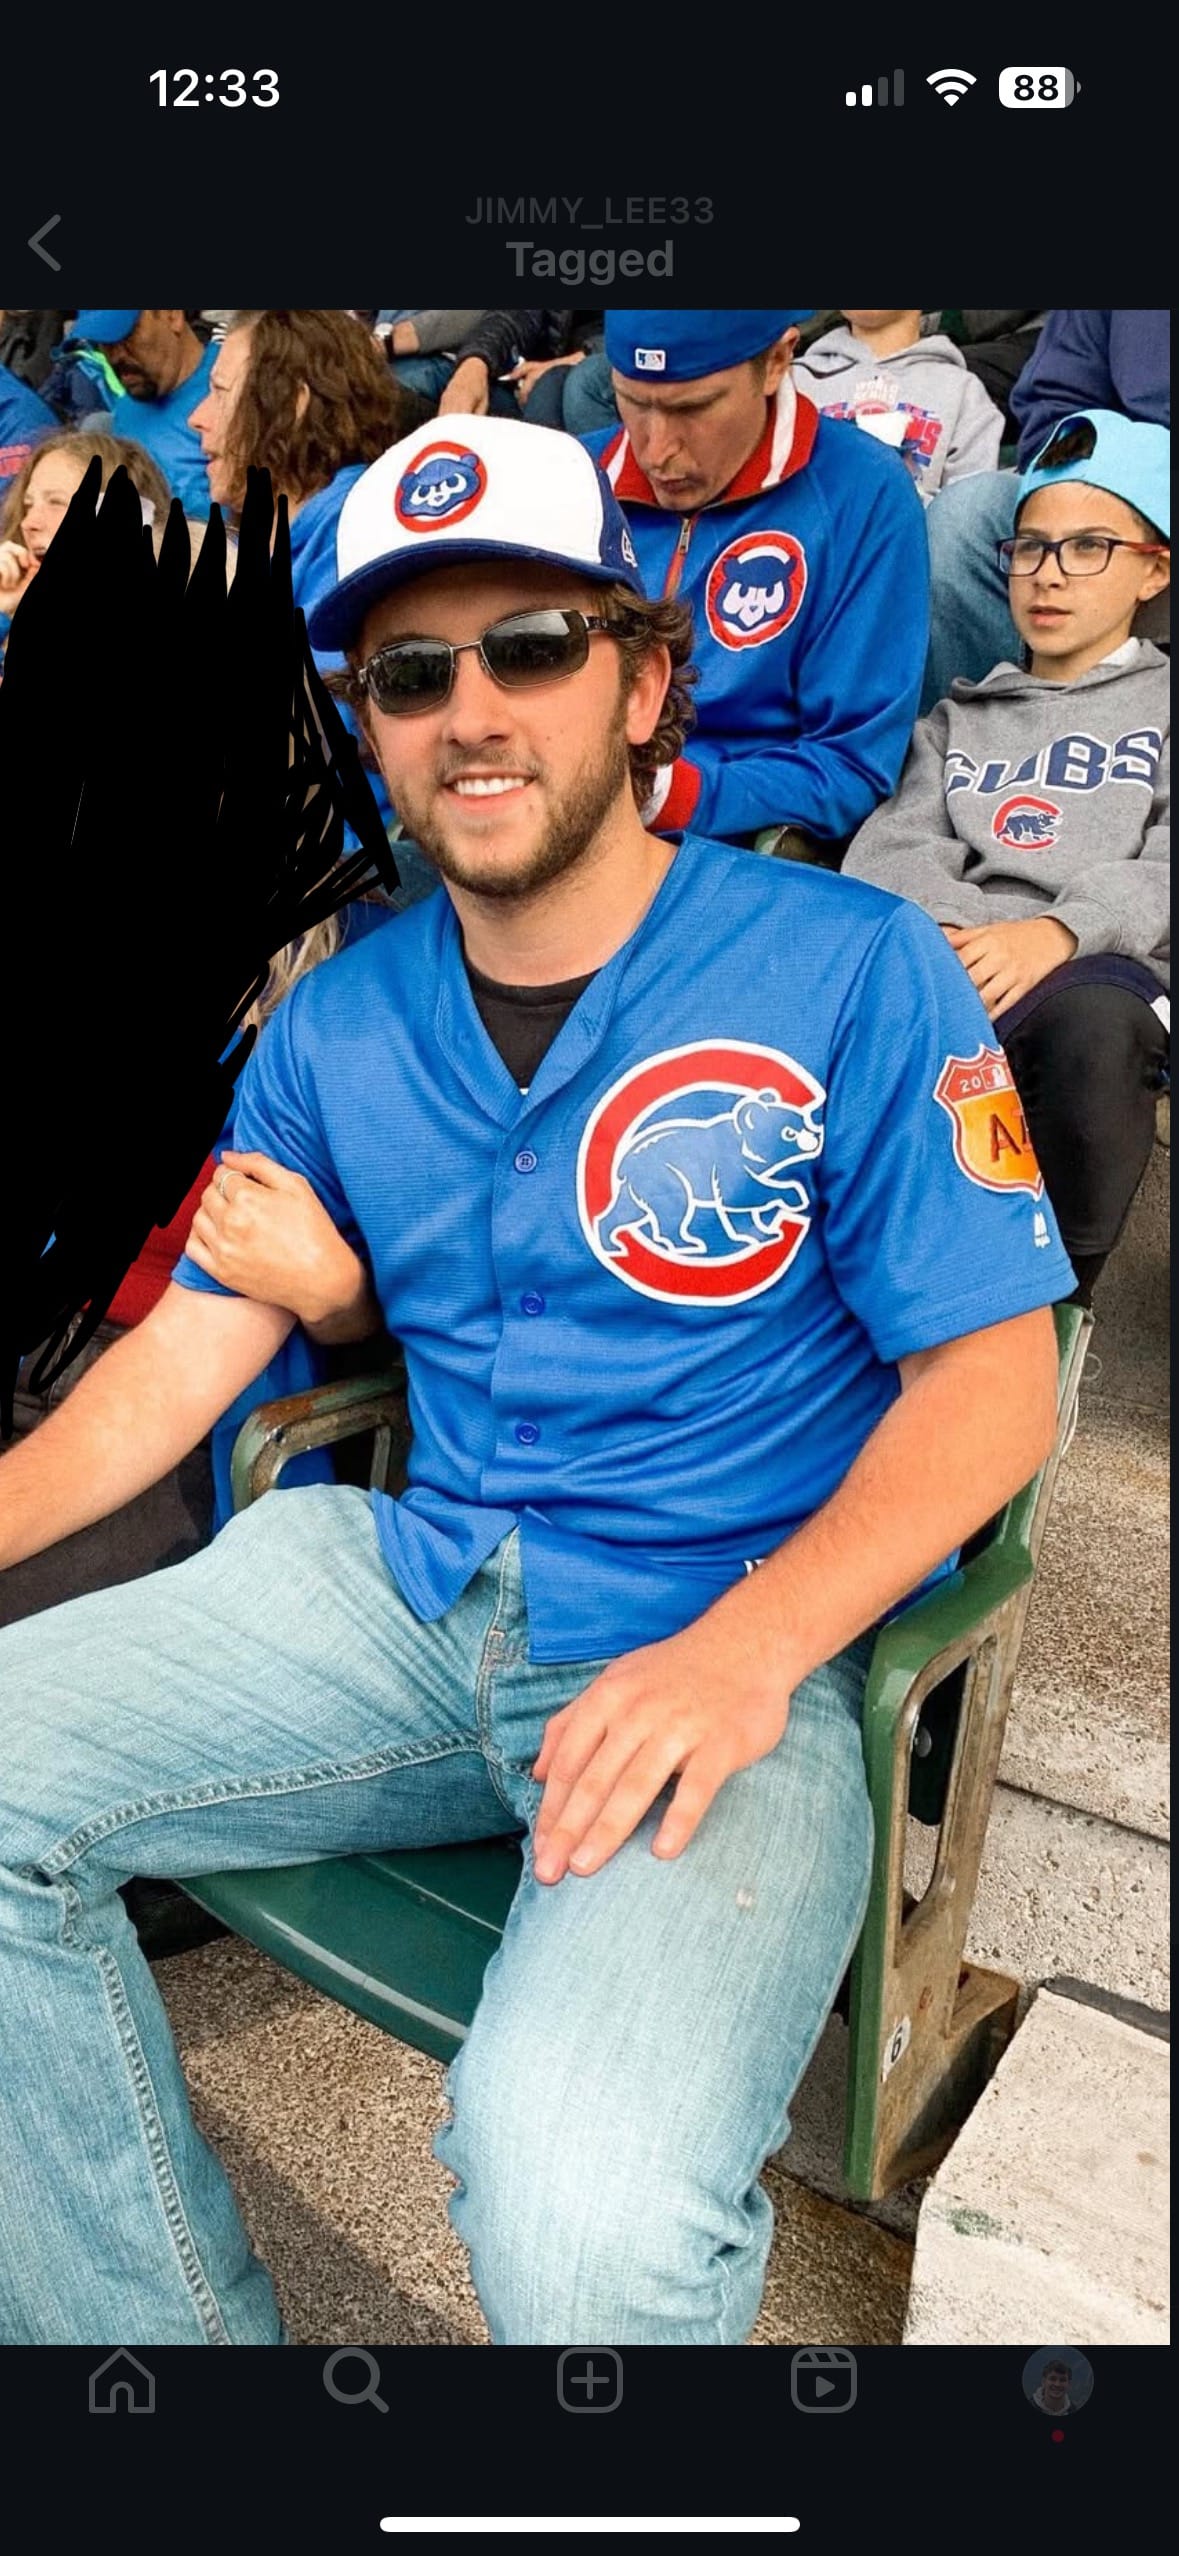
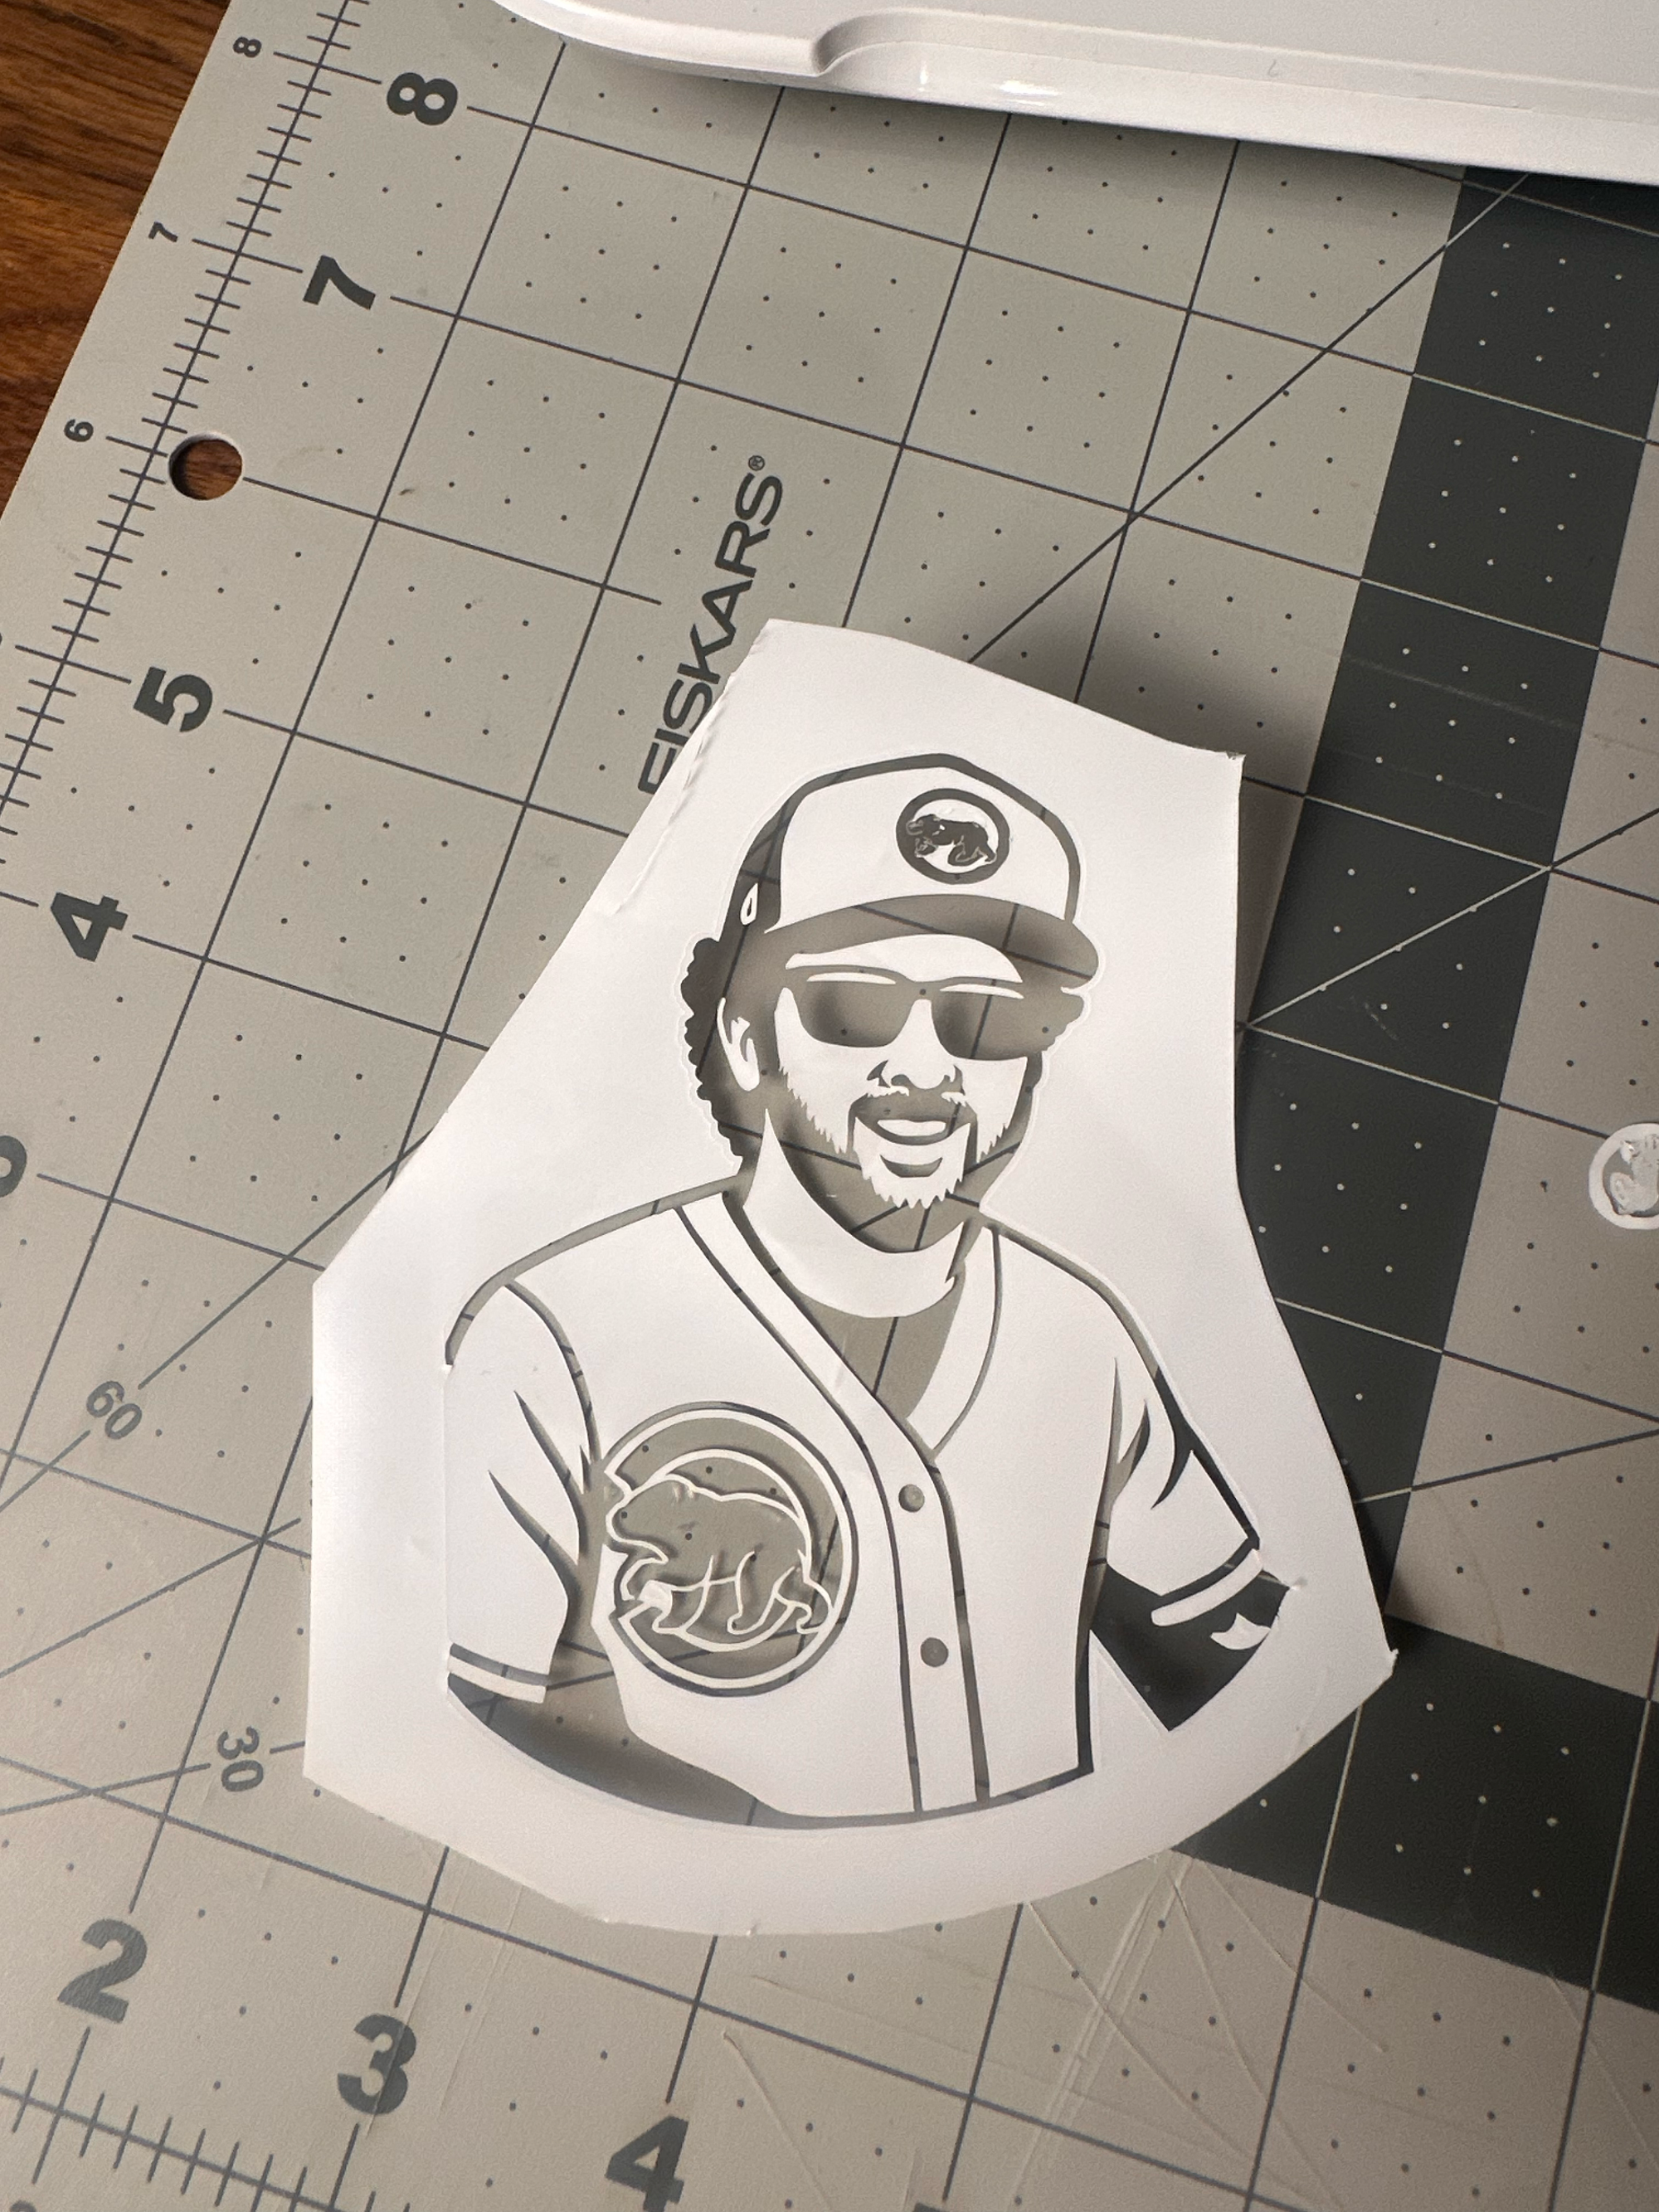
I took a screenshot of a decent color image from instagram of my buddy. I Cropped out the background using the iOS Photos auto masking tool, and dropped the image into my computer. In the early days, I sucked so much at graphic design that I used OpenAI's Image Gen tools to output a silhouette style, black and white graphic. I'm sure it took quite a few attempts. But eventually, I had something that I liked enough, and took it into inkscape.

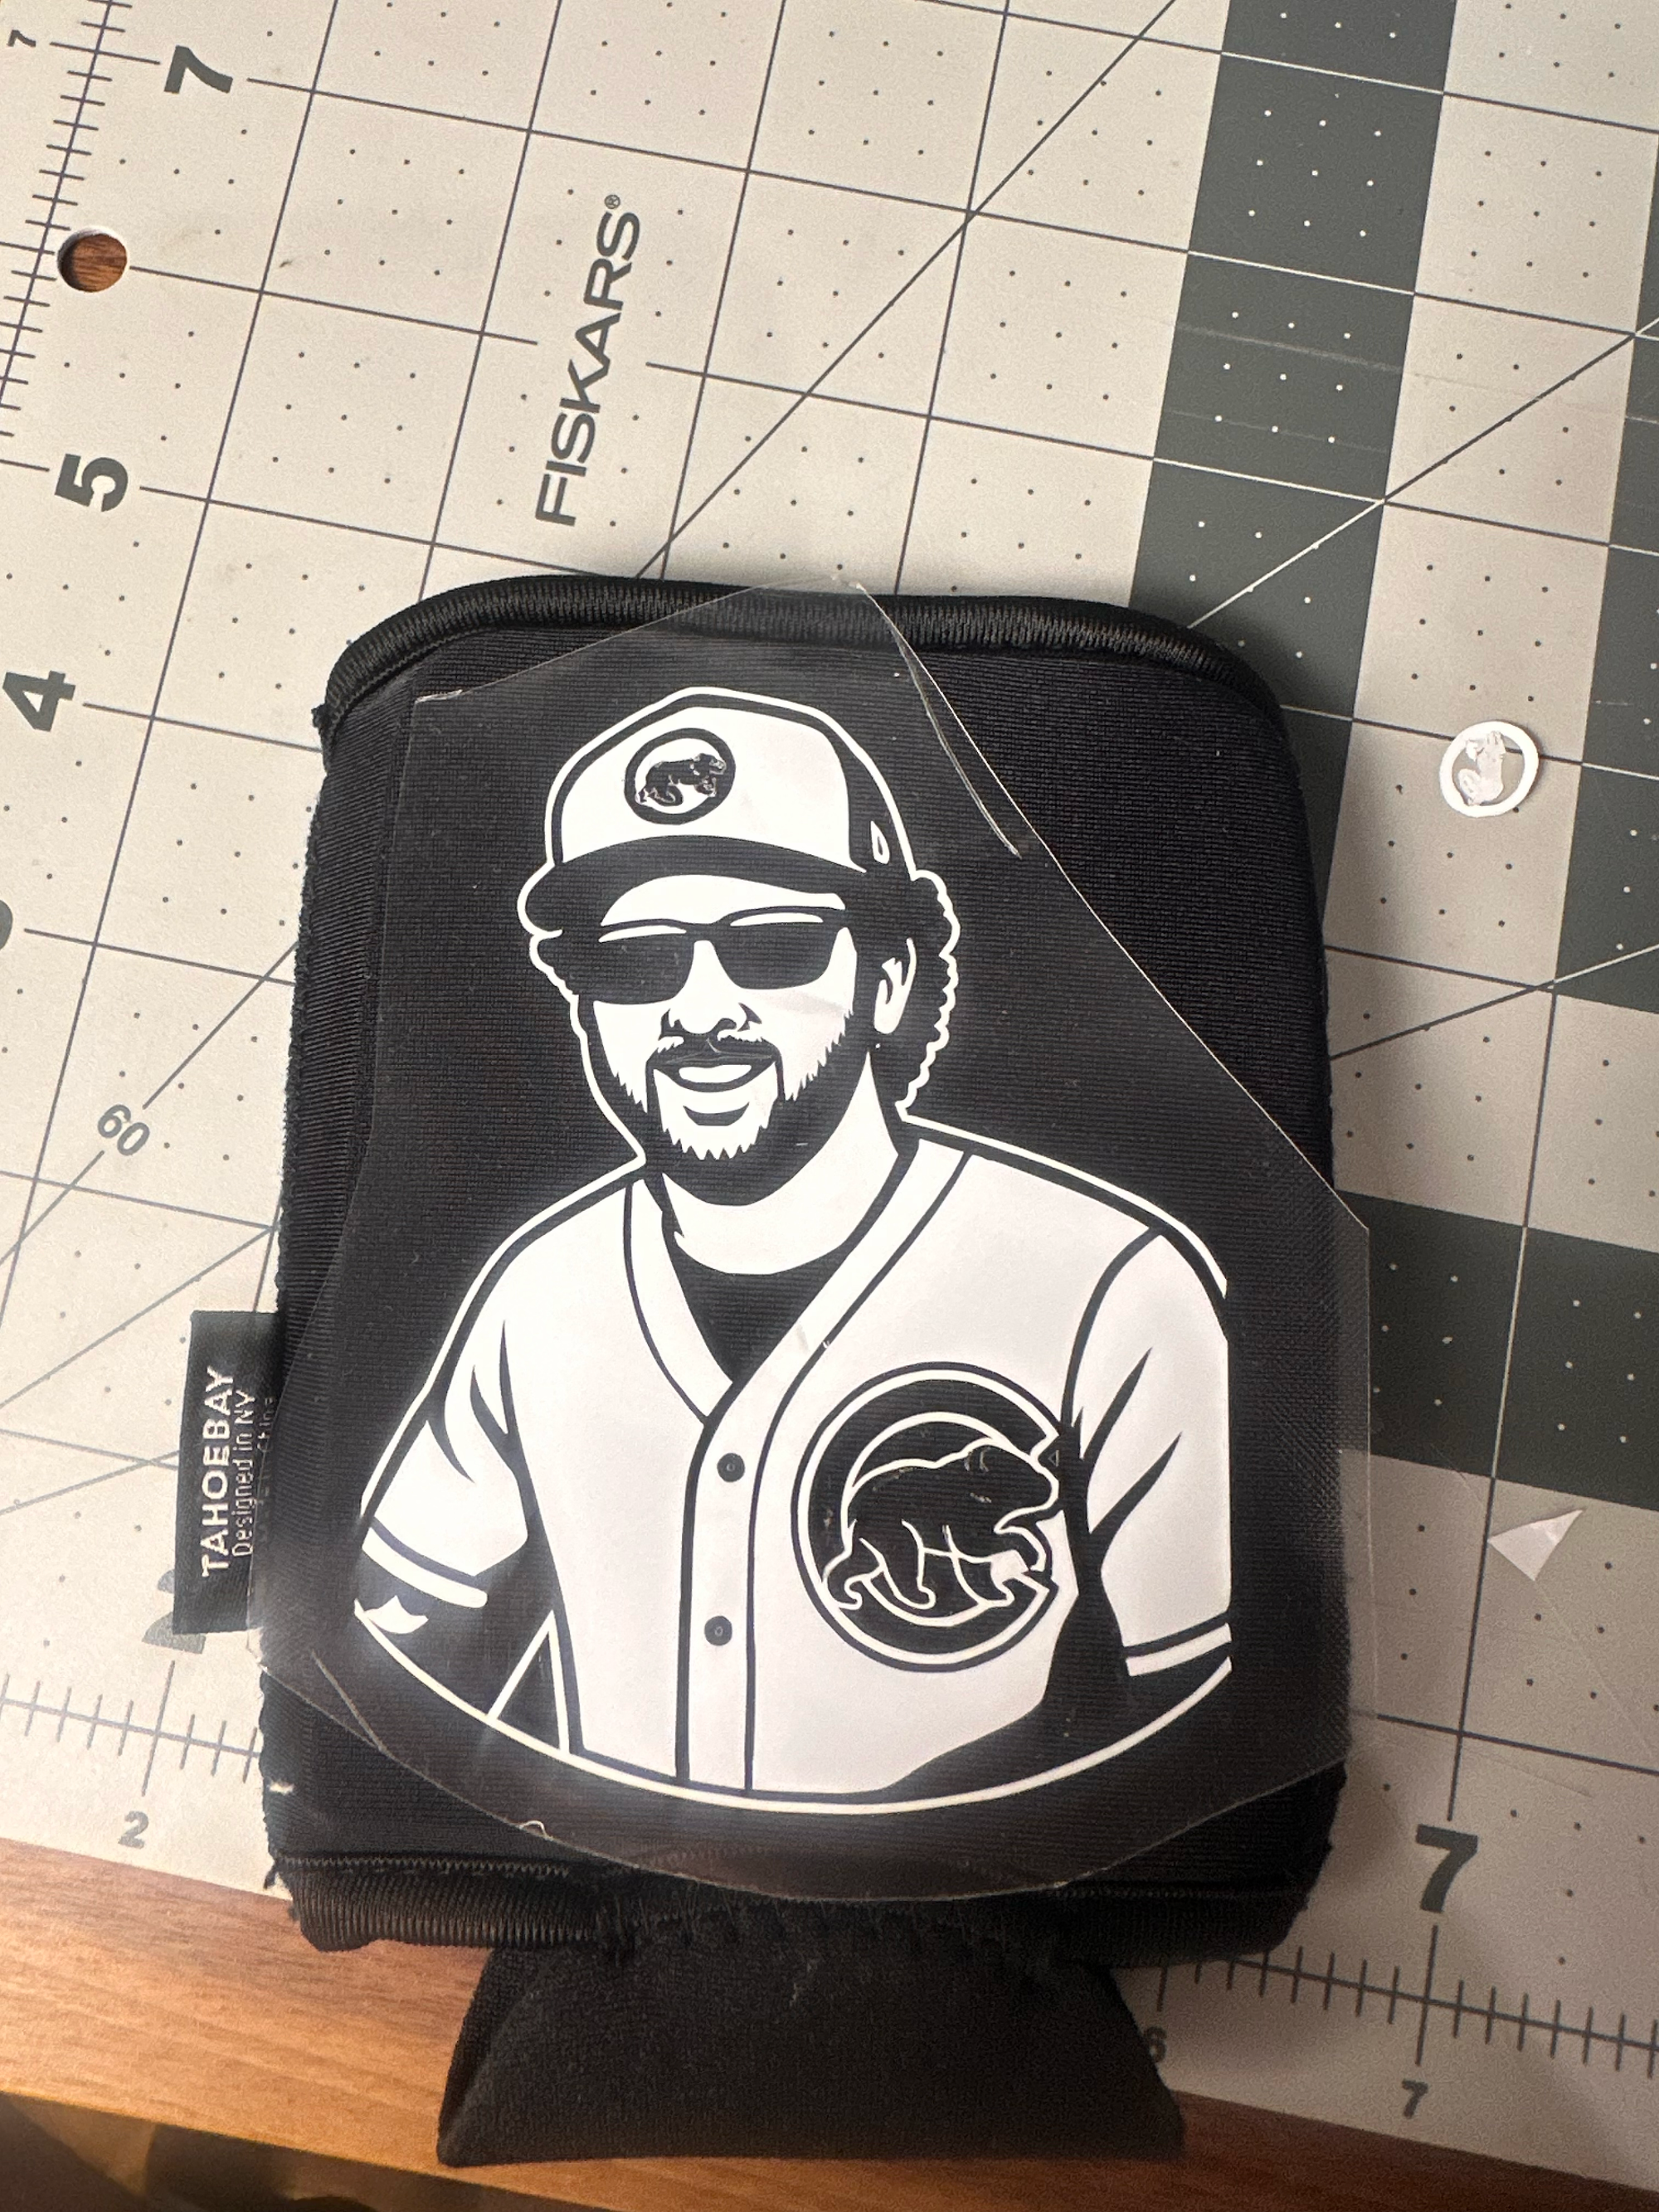
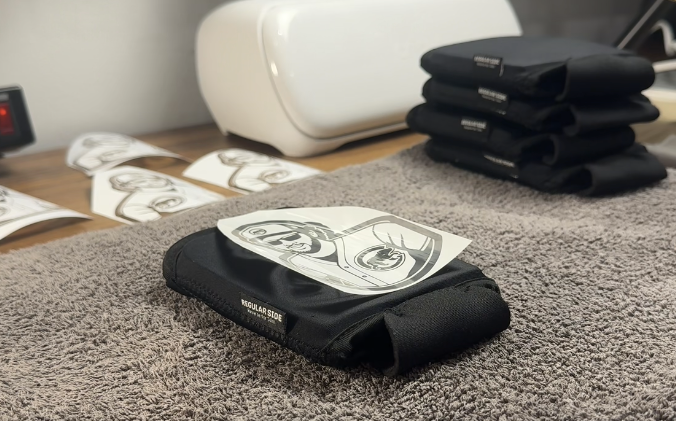
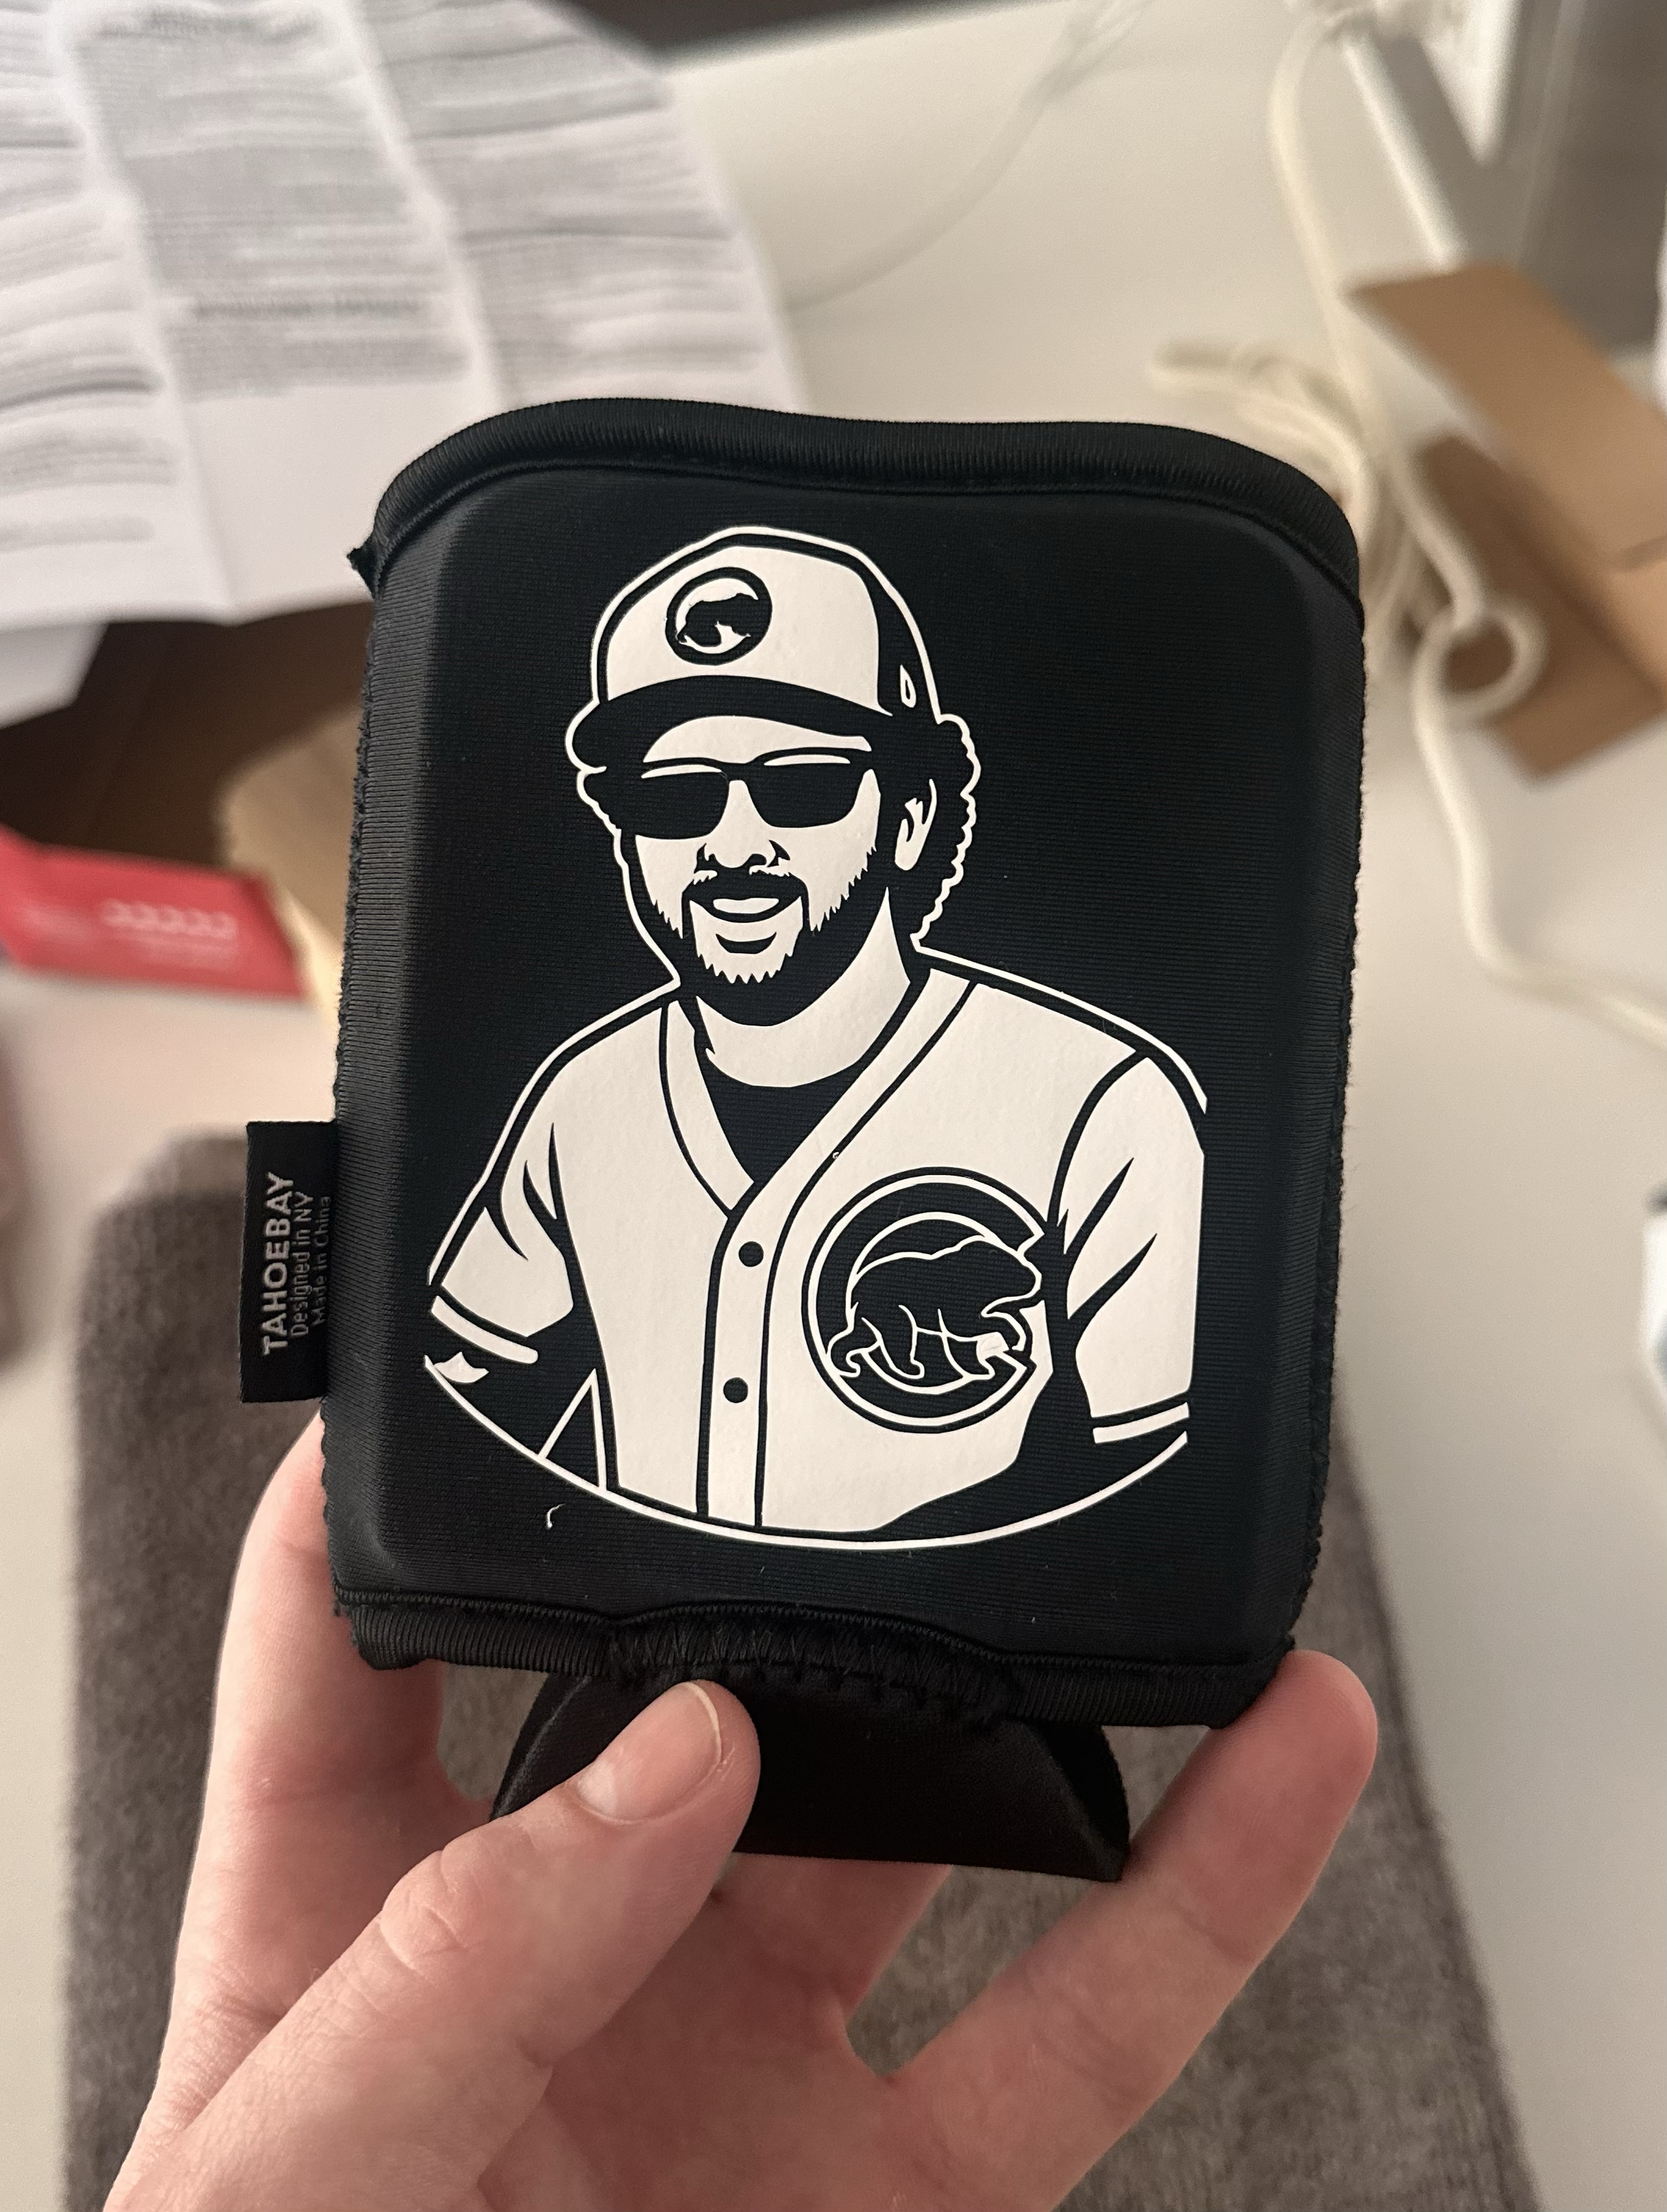
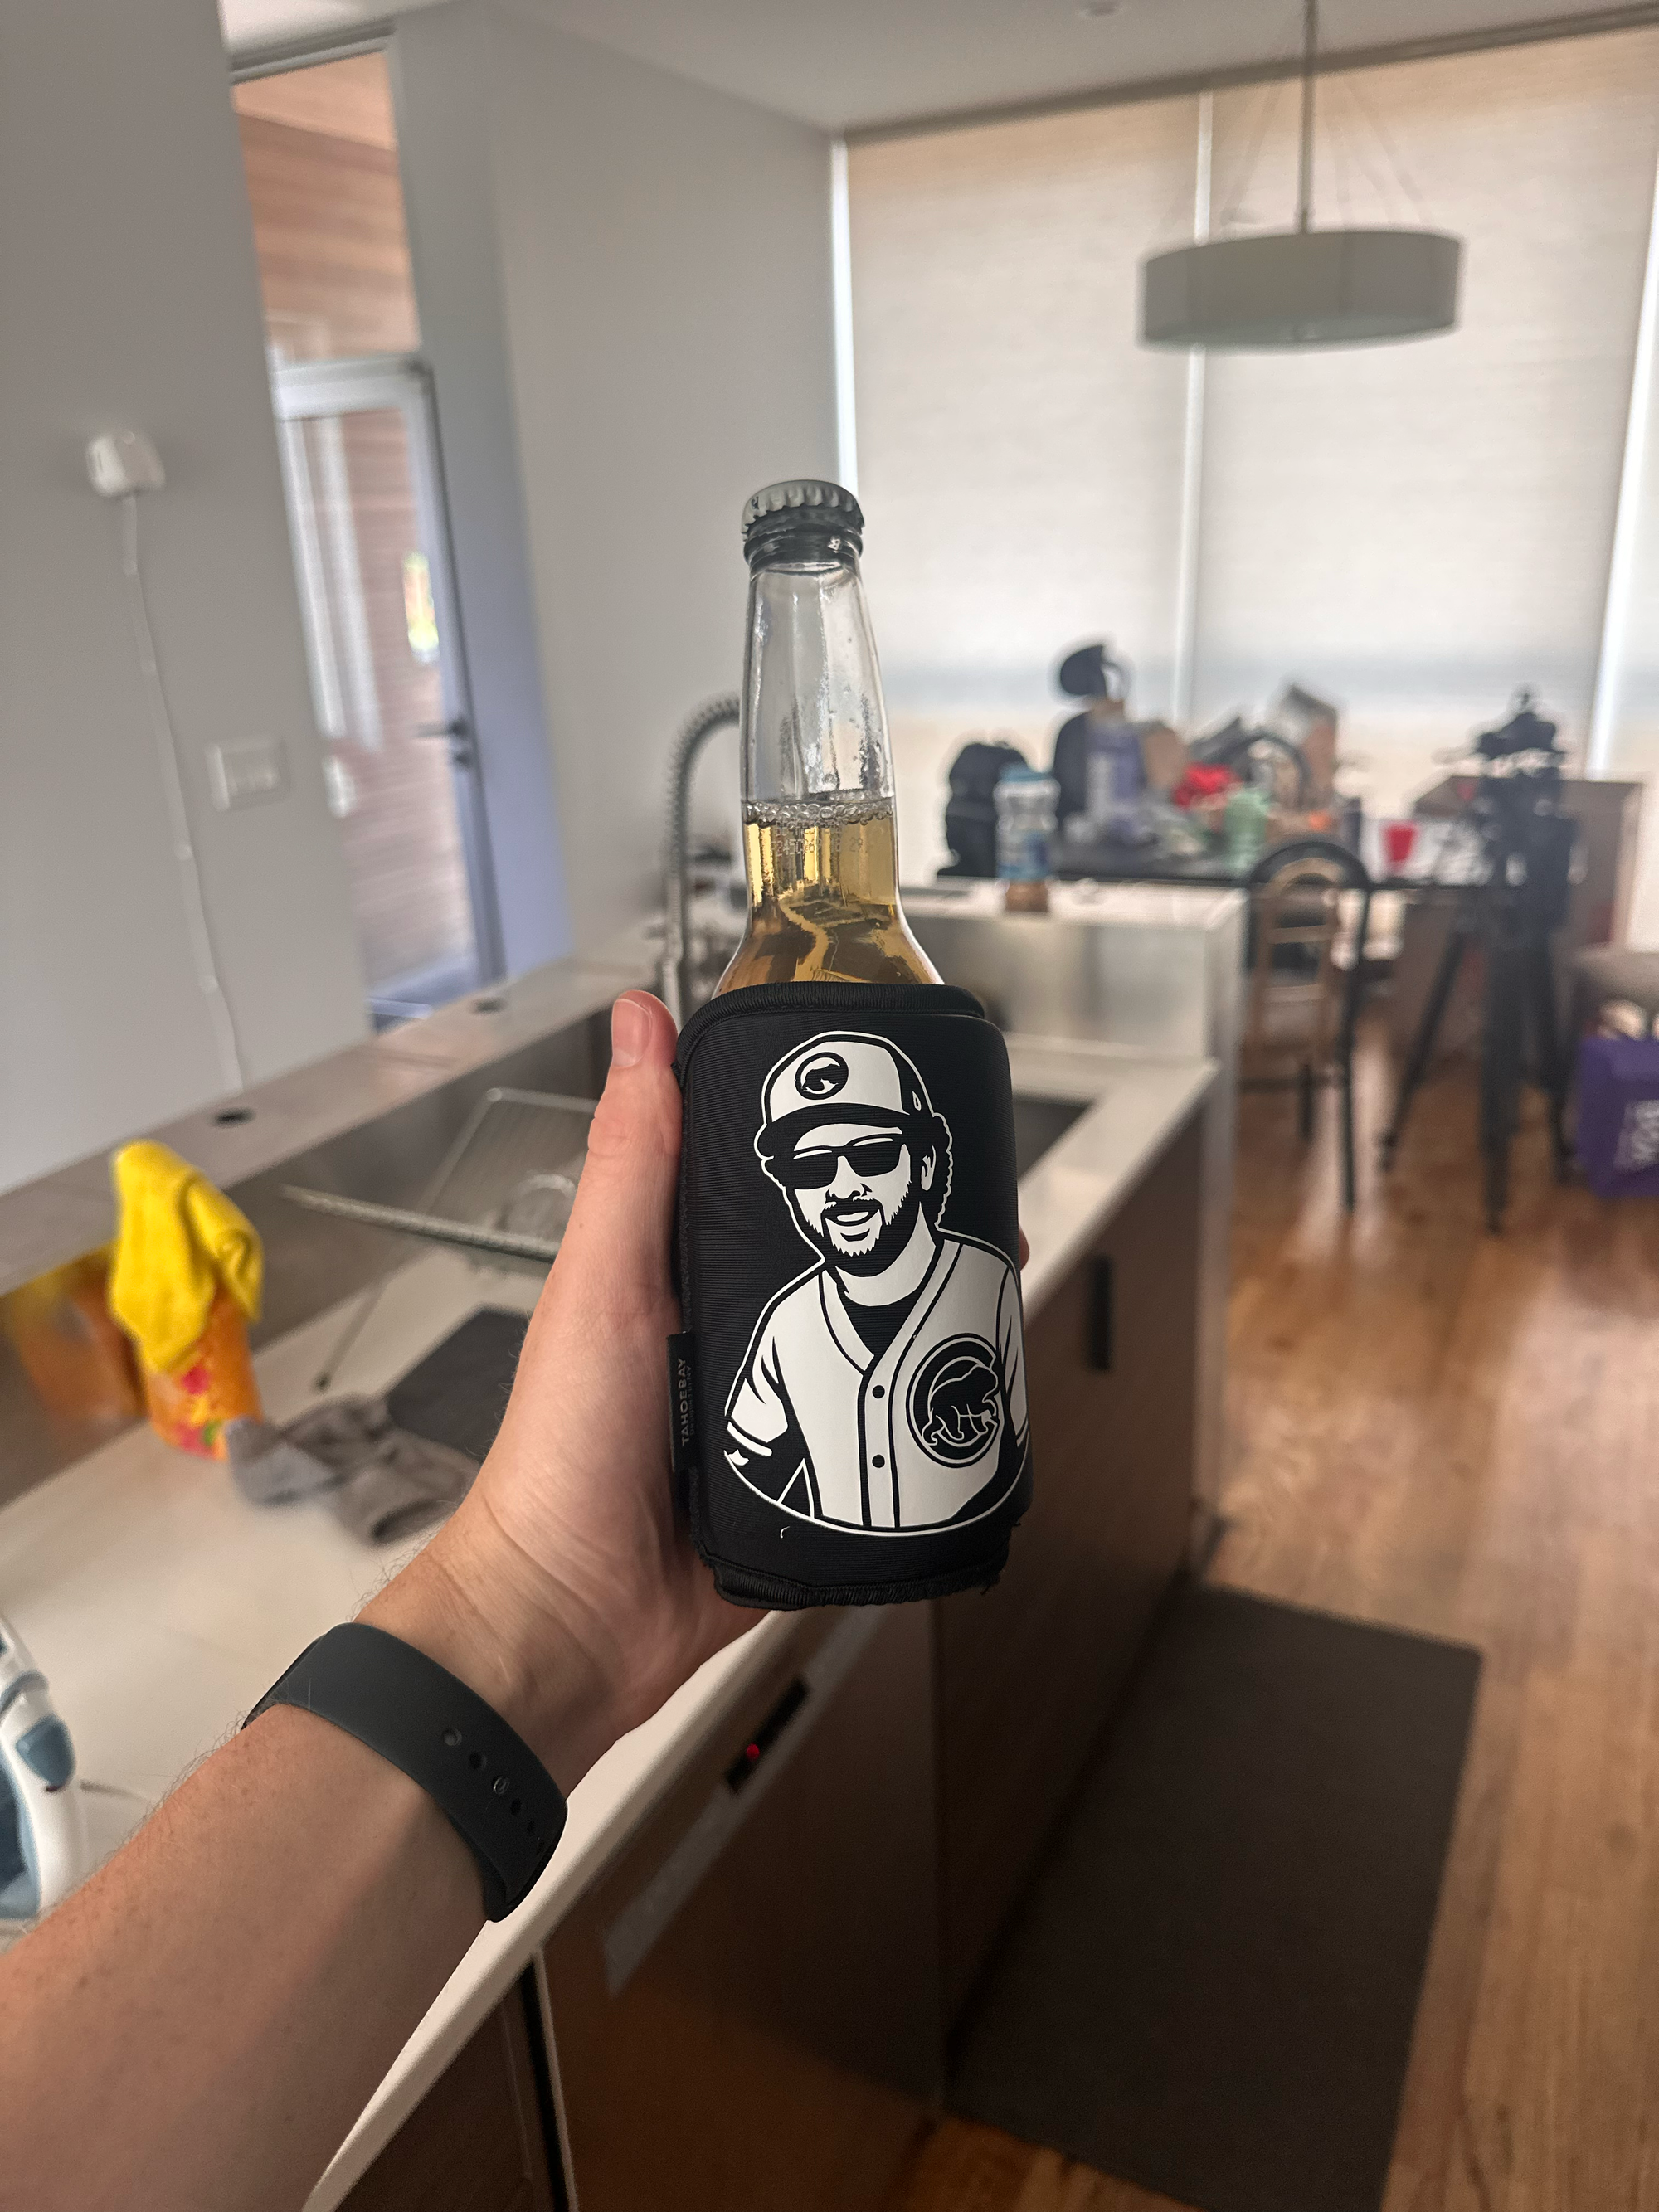
I was recently contracted to make 16 of these for a bachelorette party / wedding. I have tweaked the process since the first one I ever made, and I would like to share an updated process. So if you will entertain, please allow me to share my learnings with you.
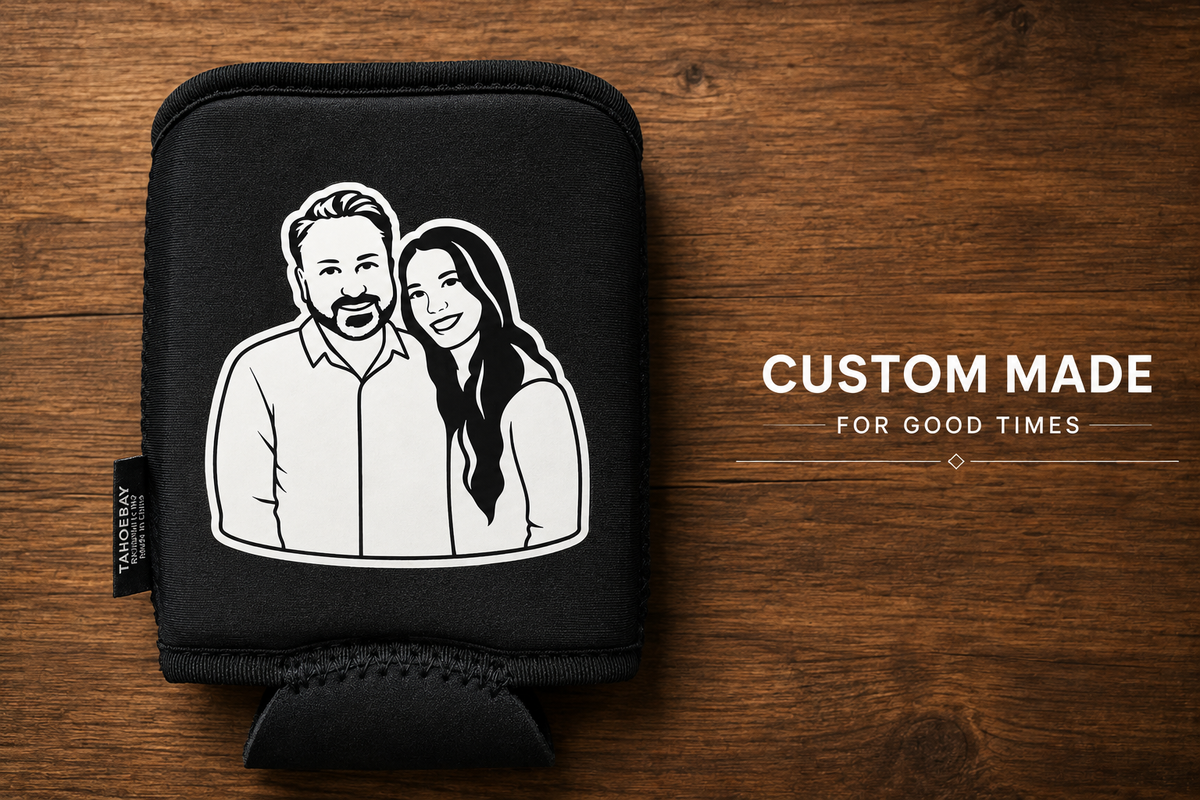
Firstly, I get the Sleeves from a trusted brand called TahoeBay. They make universal, invertible, neoprene wrapped foam Koozies. The quality is up there, and they are intentionally compatible with Heat Transfer Vinyl (HTV). If you are familiar with koozies, as soon as you feel this one, you'll know it's good value.
So putting the graphic onto the sleeve can be done in a few ways. Because of the quality and accessibility to tooling, I will be using my Cricut Joy Xtra. It will use a fine edged knife to cut all the paths of the graphic and I will transfer it using heat from a boring 'ol clothing Iron. For the graphic material, we will us Heat Transfer Vinyl (HTV).
The best thing you can do for yourself is buy the Smart Iron-On Heat Transfer Vinyl (HTV). You don't need transfer tape, you weed right off of it. Quality is great, built for this machine. Note you need to get the right size for your cricut. The joy xtra takes 9.5" width. I made this mistake. Twice. LOL. Double check the size your cricut (or other machine) uses.
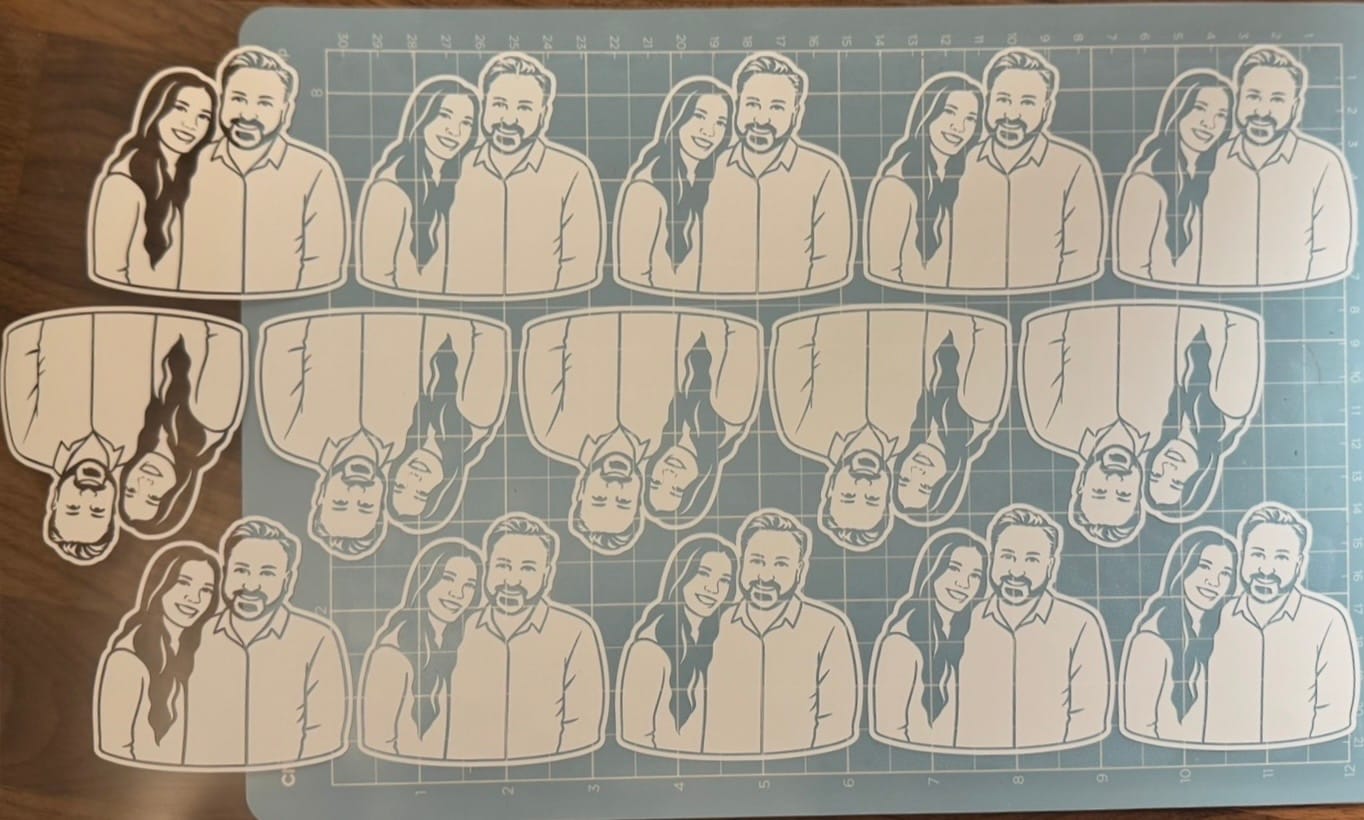
Once you have designed your graphic, you can export as SVG or even a PNG from inkscape. Make sure you have only your design selected, and the background is transparent. We then take and import it the image into the Cricut Design Studio (I kinda hate the design studio but it works). You're going to make a new project, upload the image by selecting upload in the left Menu bar.
Upload Image -> Browse -> Continue -> Apply & Continue -> Single Layer -> Upload
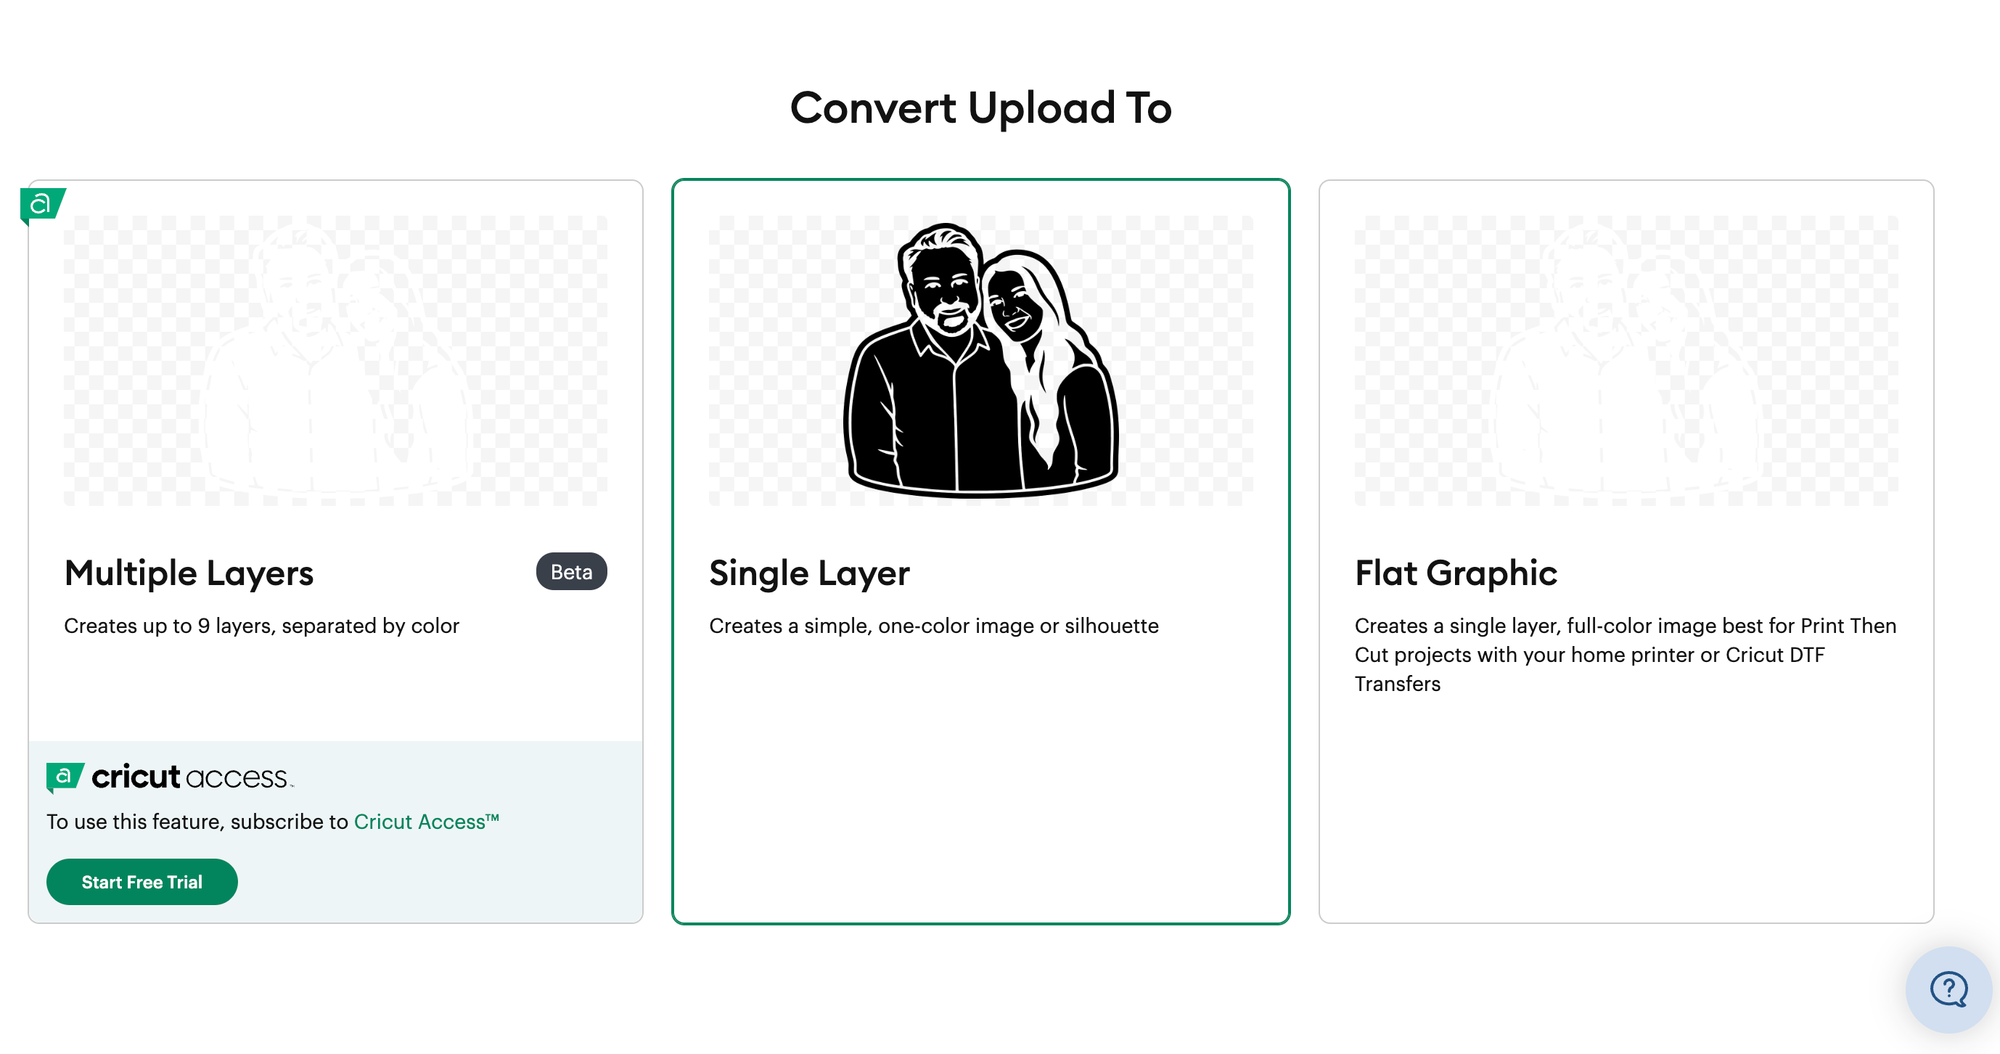
I recommend you change the color of the vinyl to your color (in my case white) and the background to the koozie color (black). Easier preview, confirms you got what you need. I recommend for your first, try just one or two, in case you have mistakes, you won't waste a bunch of material.
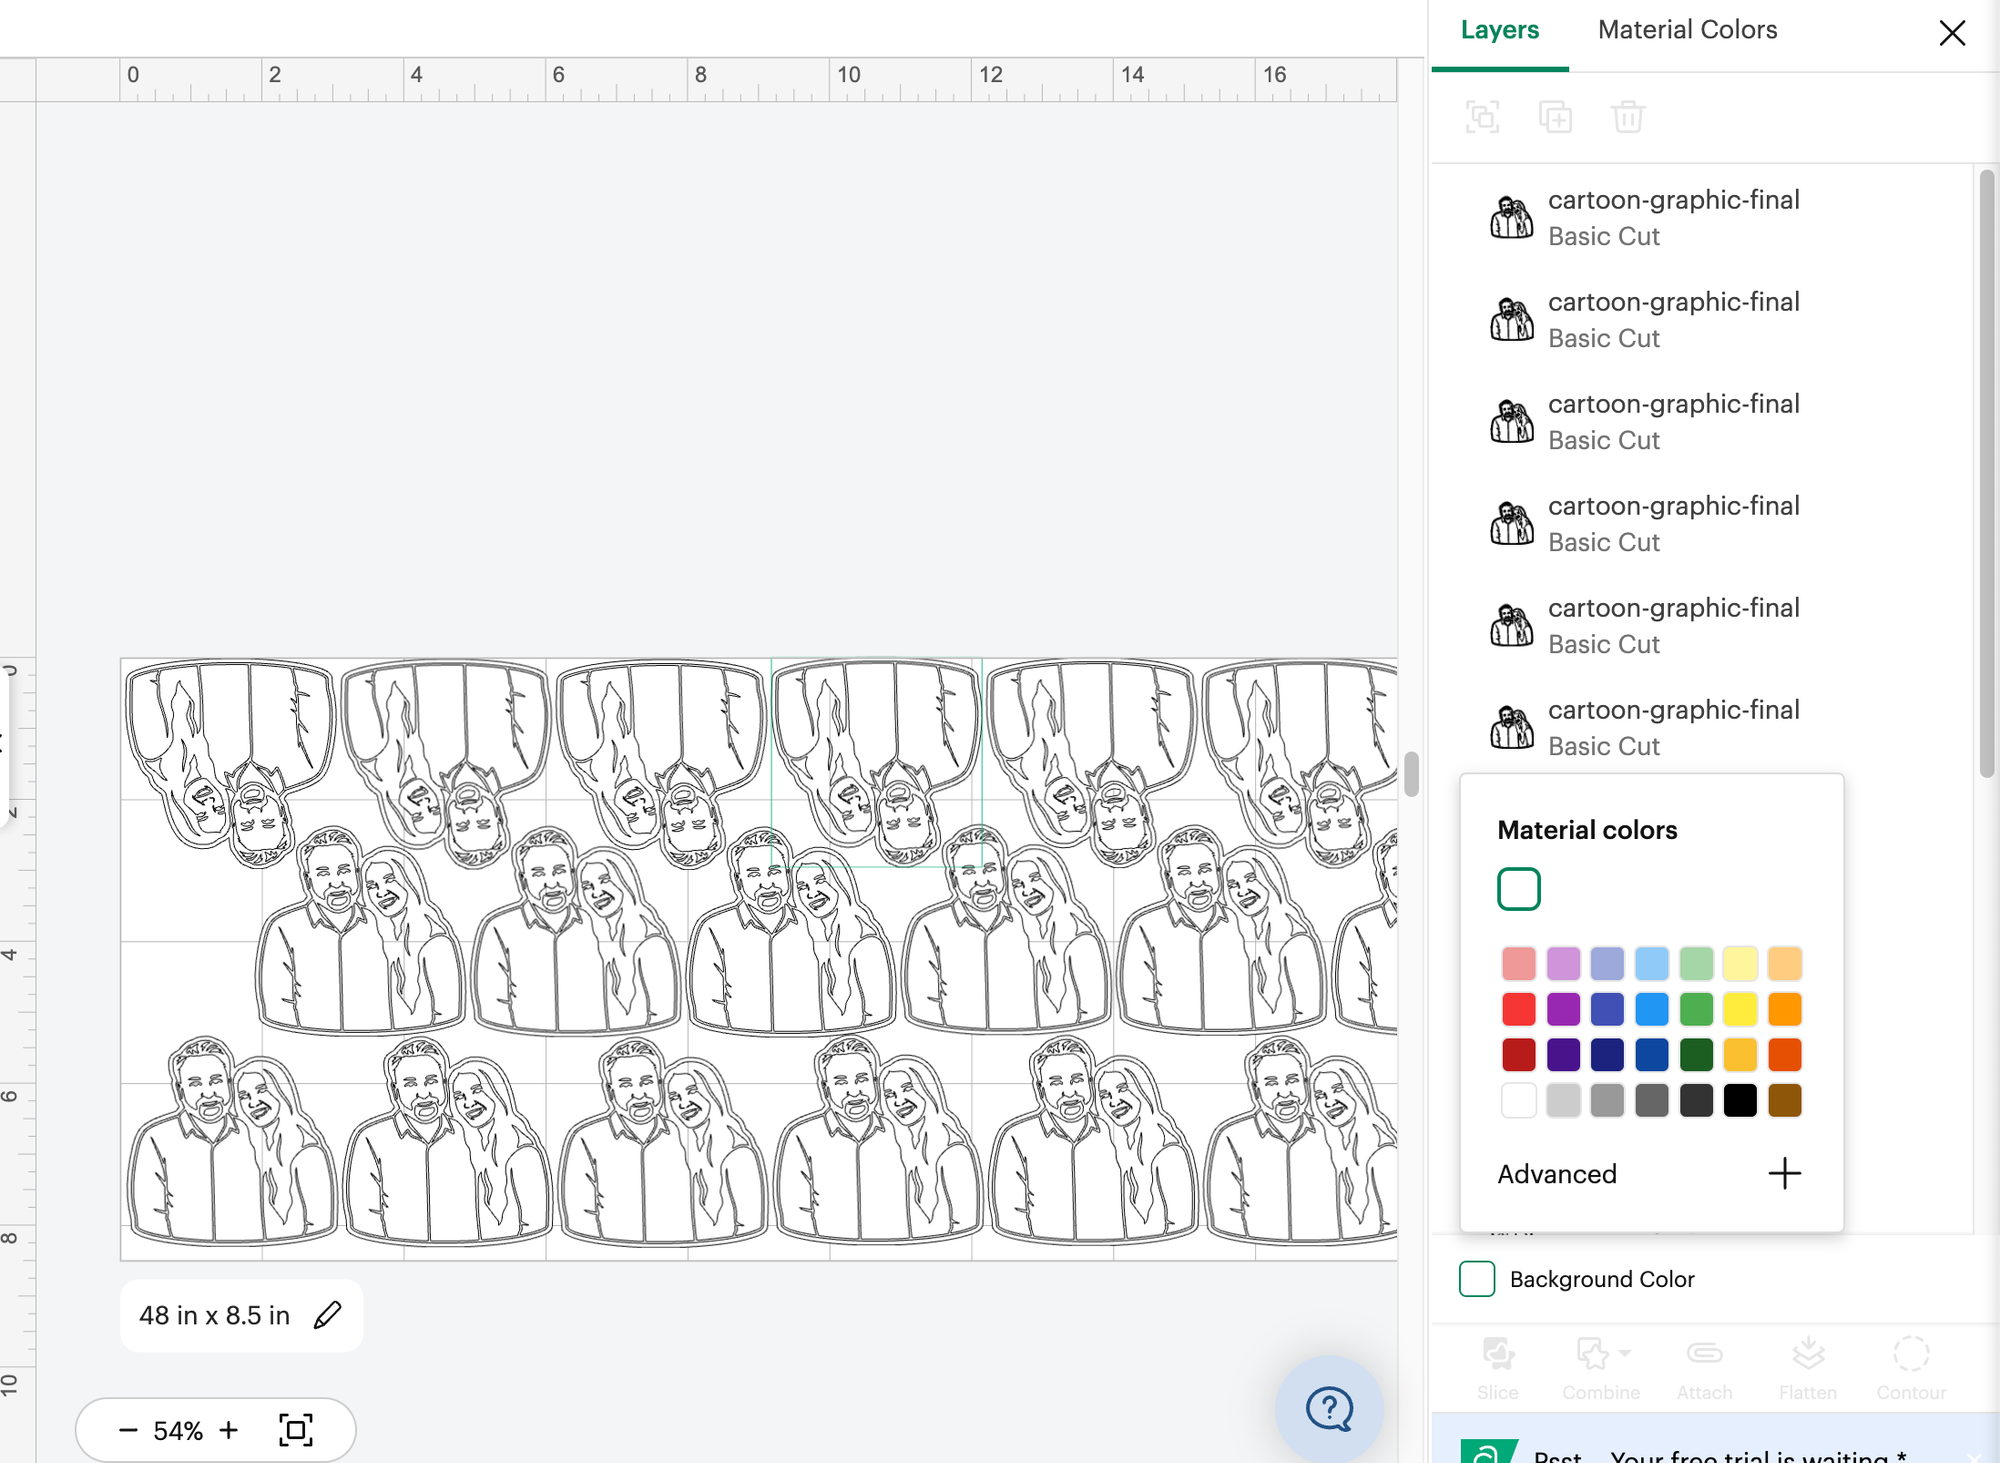
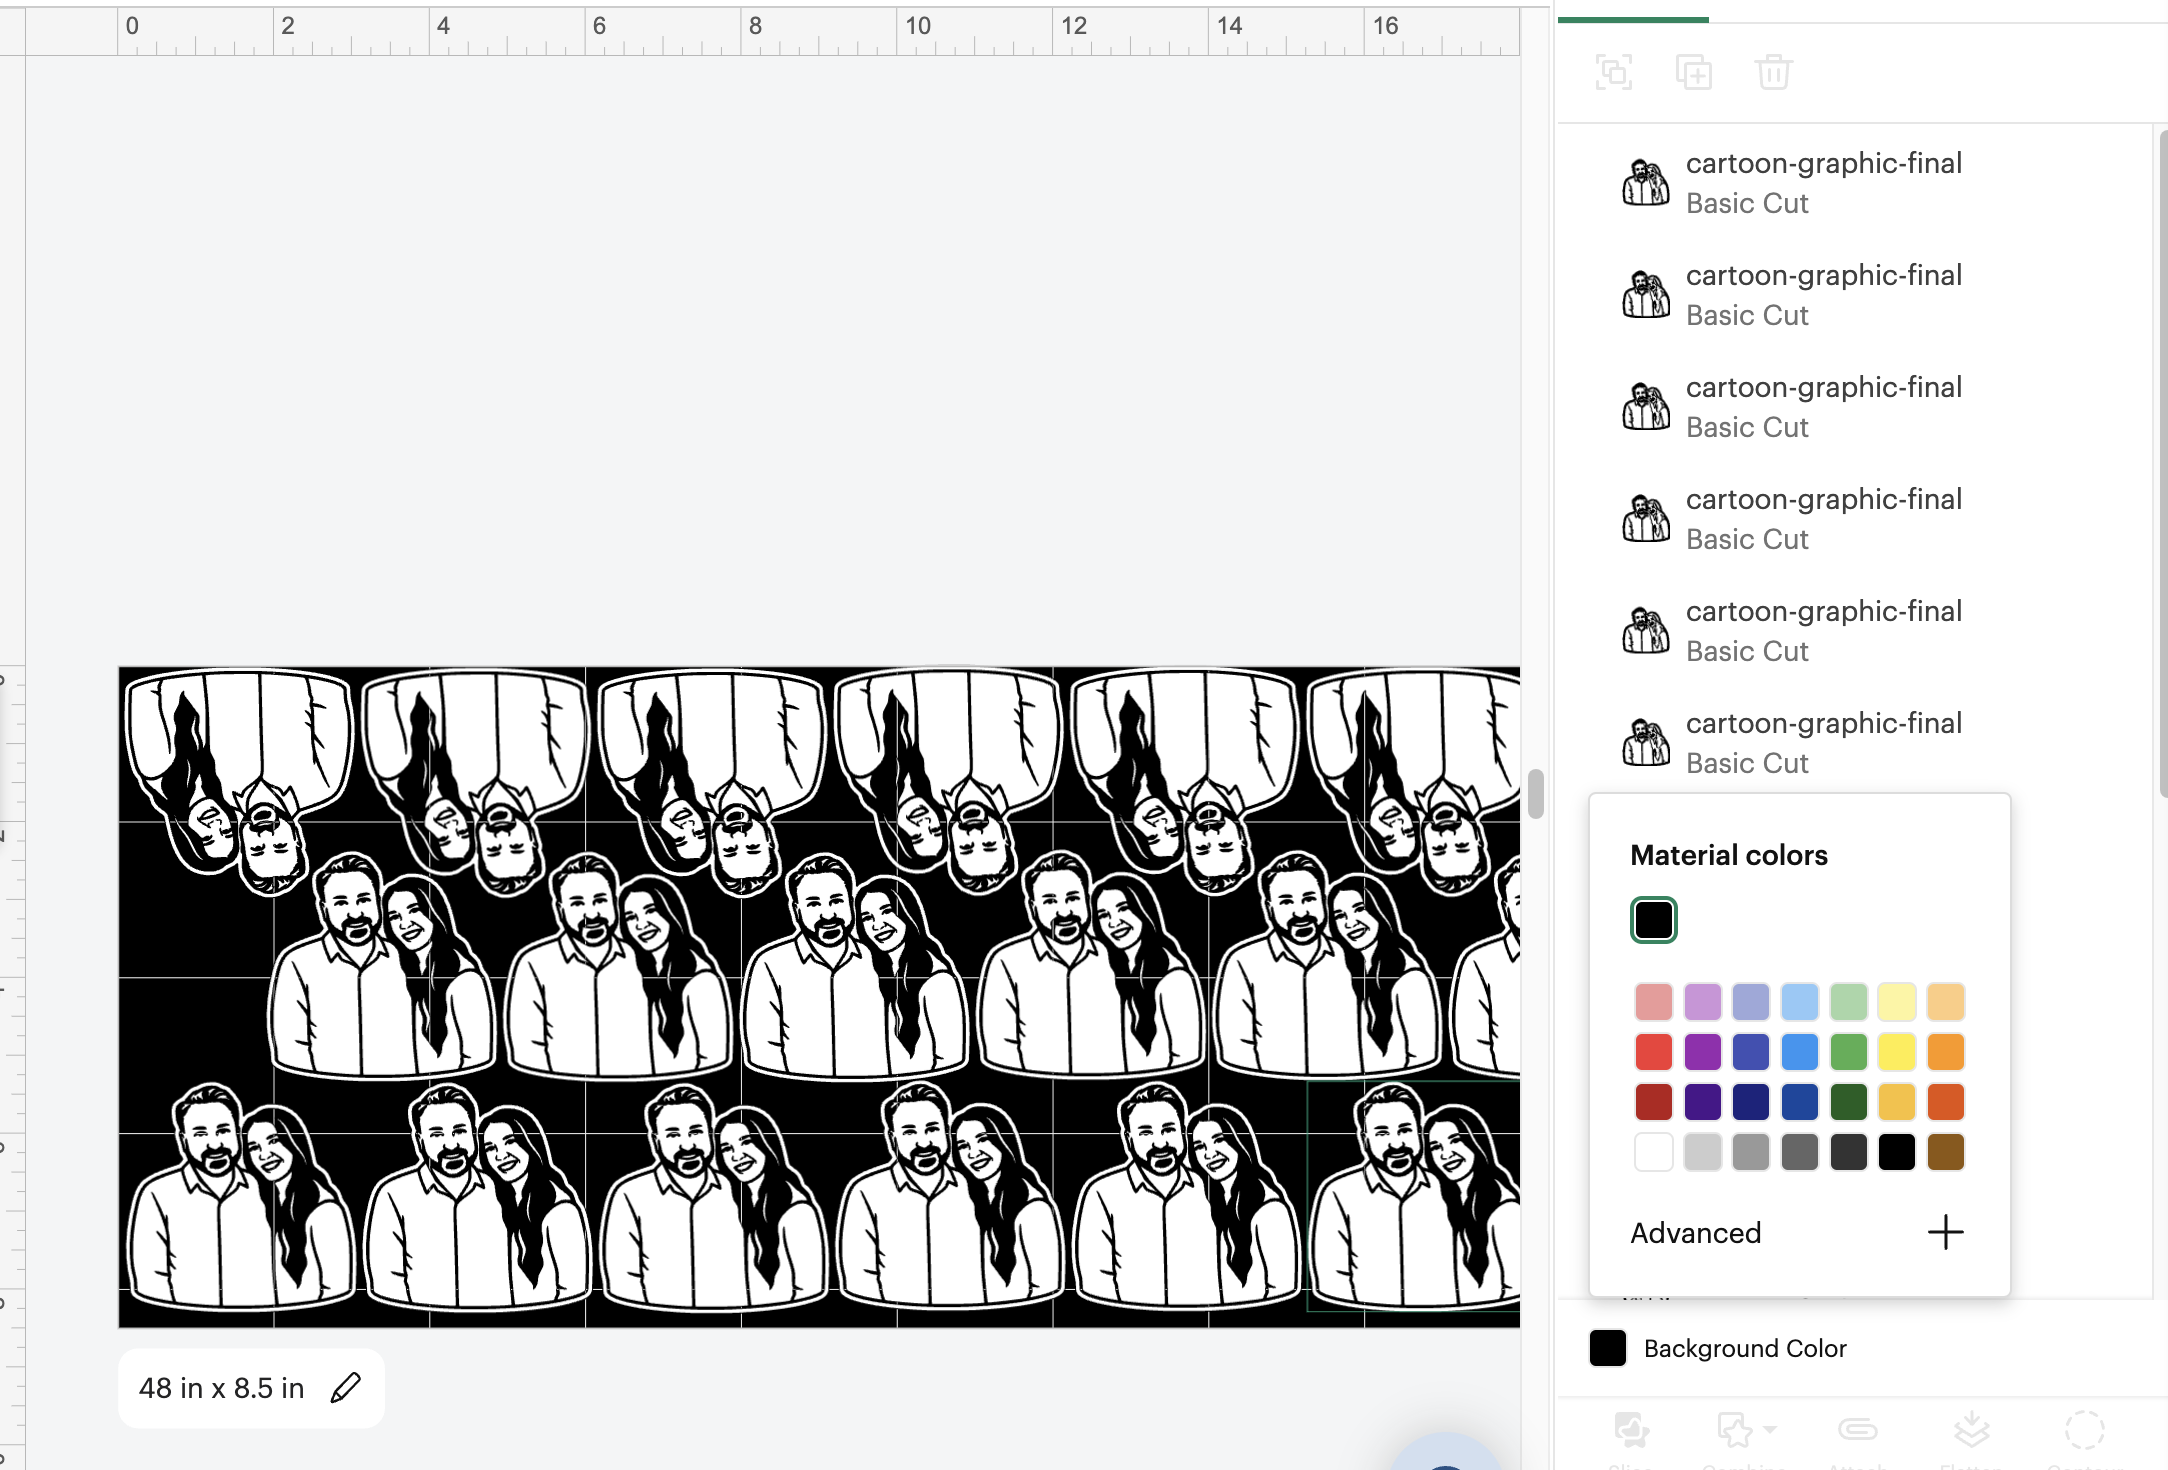
Now you take it into
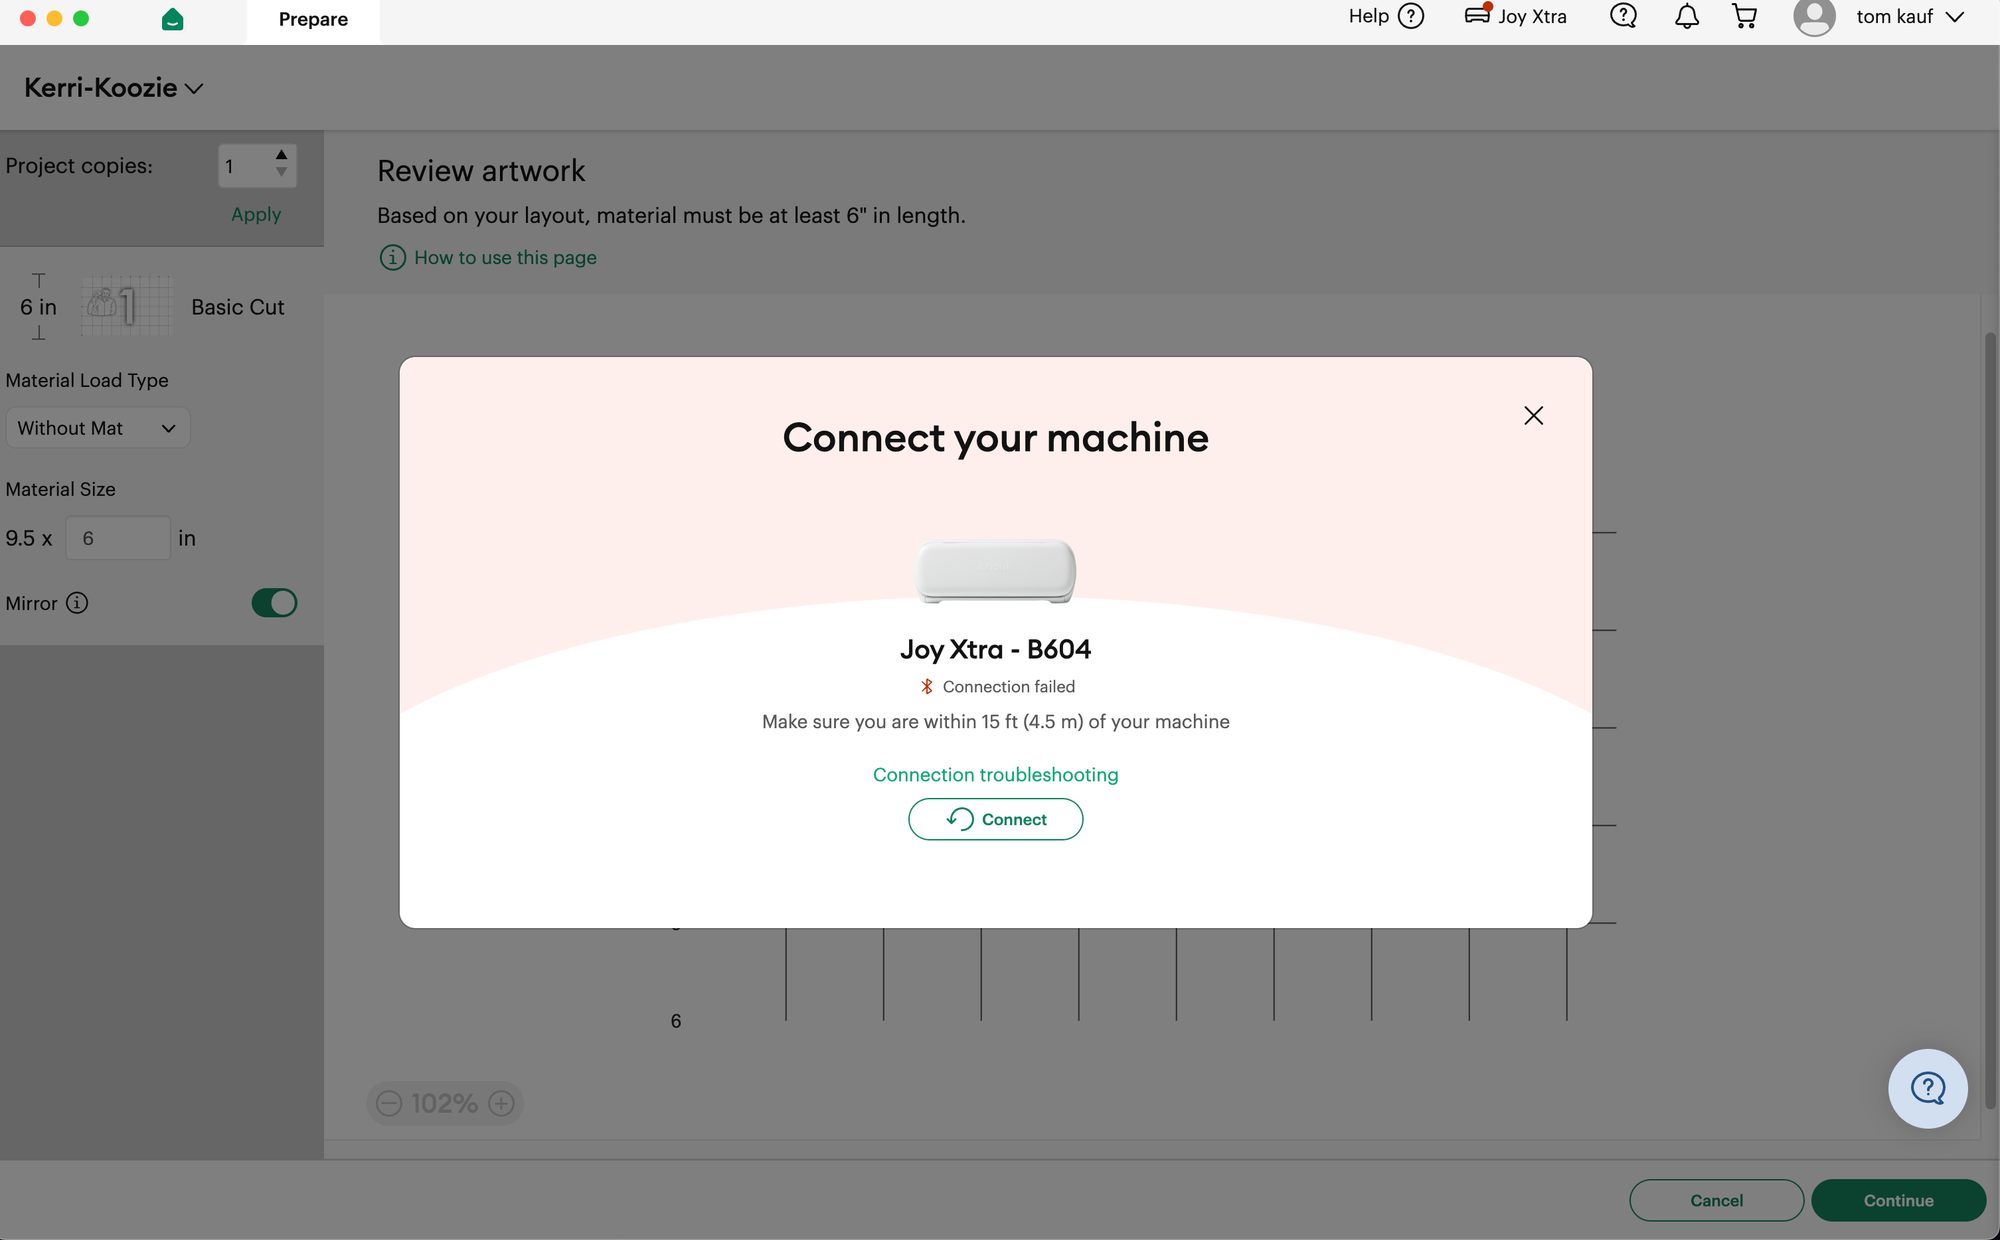
Connect to your cricut. Then you select Smart Iron on HTV, and it should automatically mirror for you. Click cut, load in the material, click Go on your job.
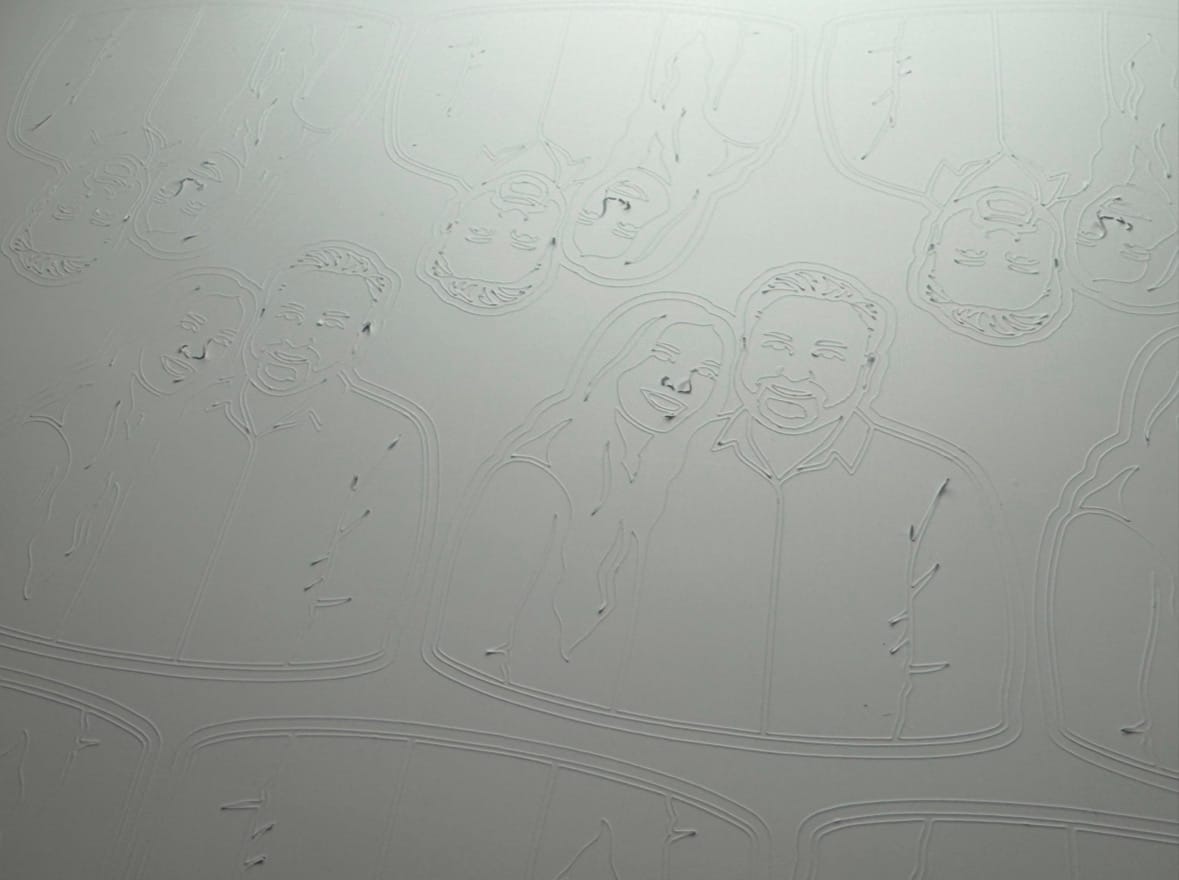
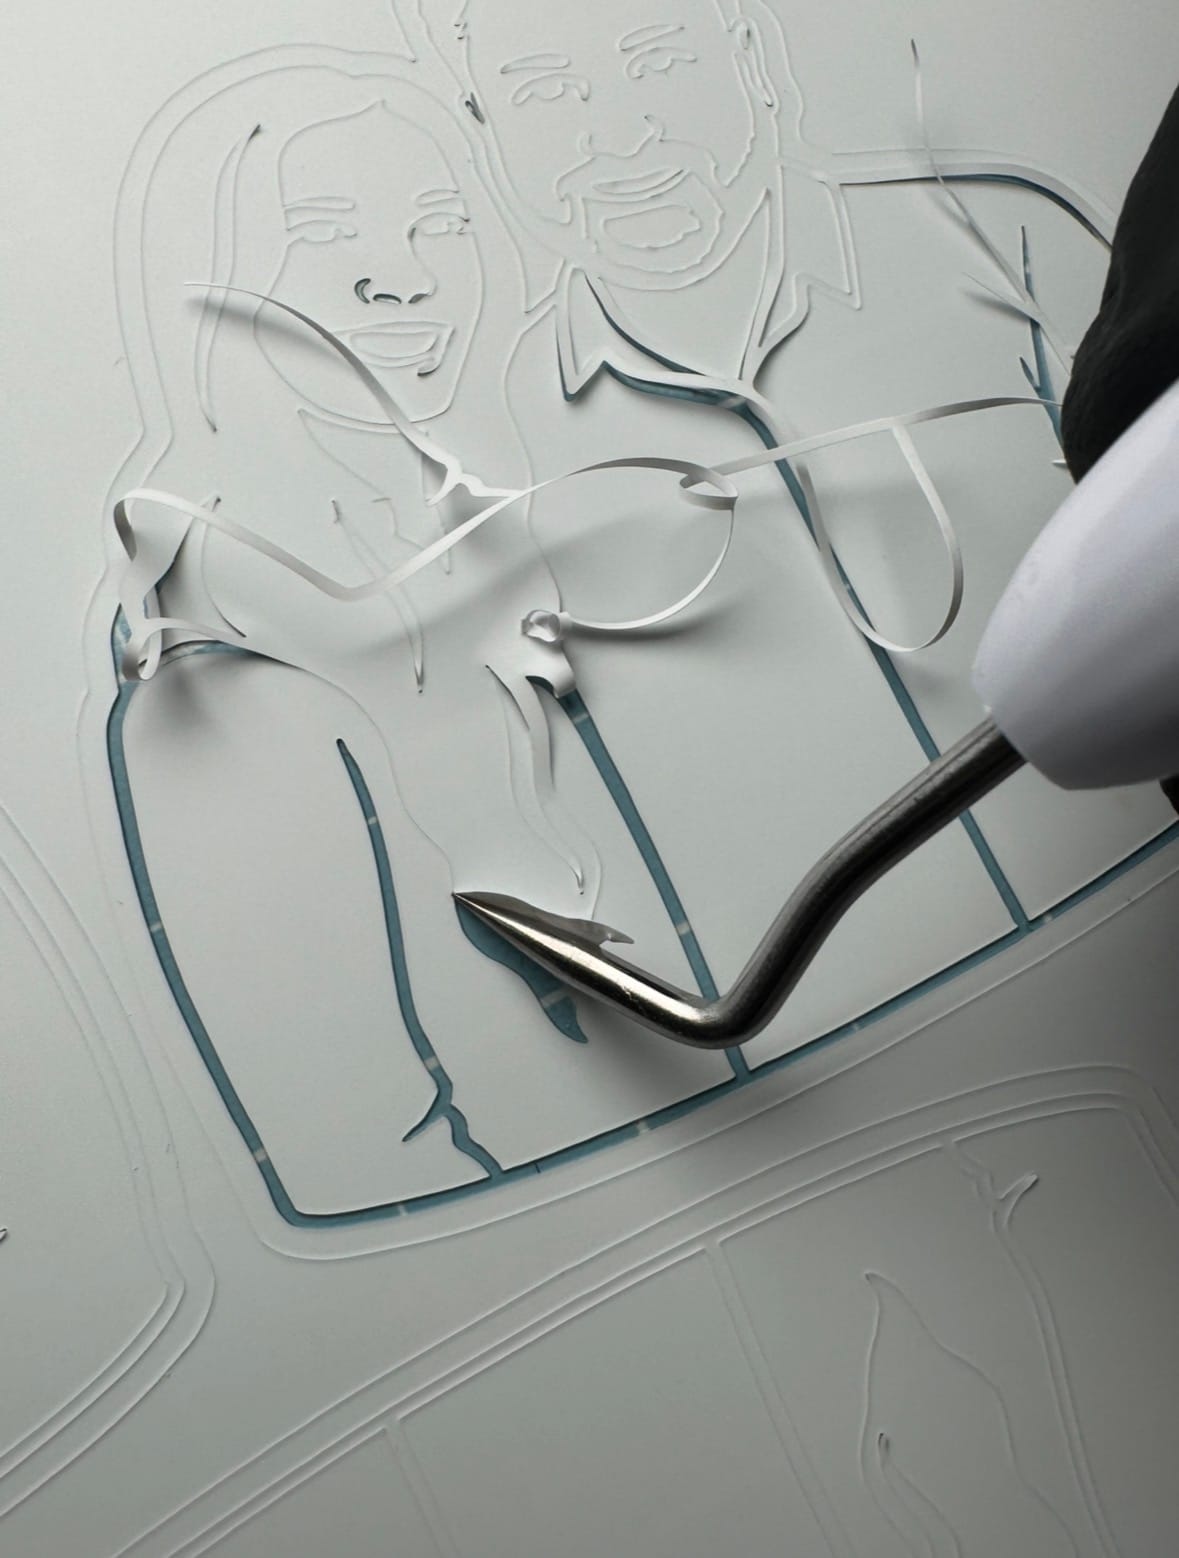
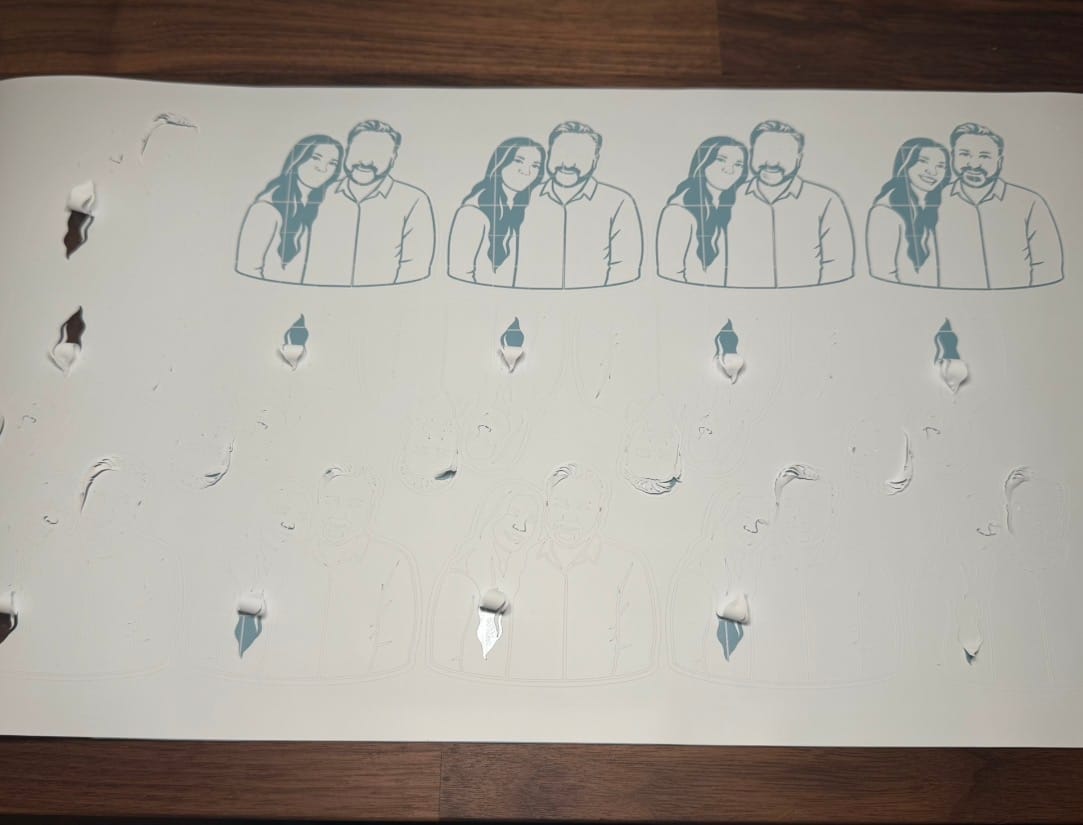
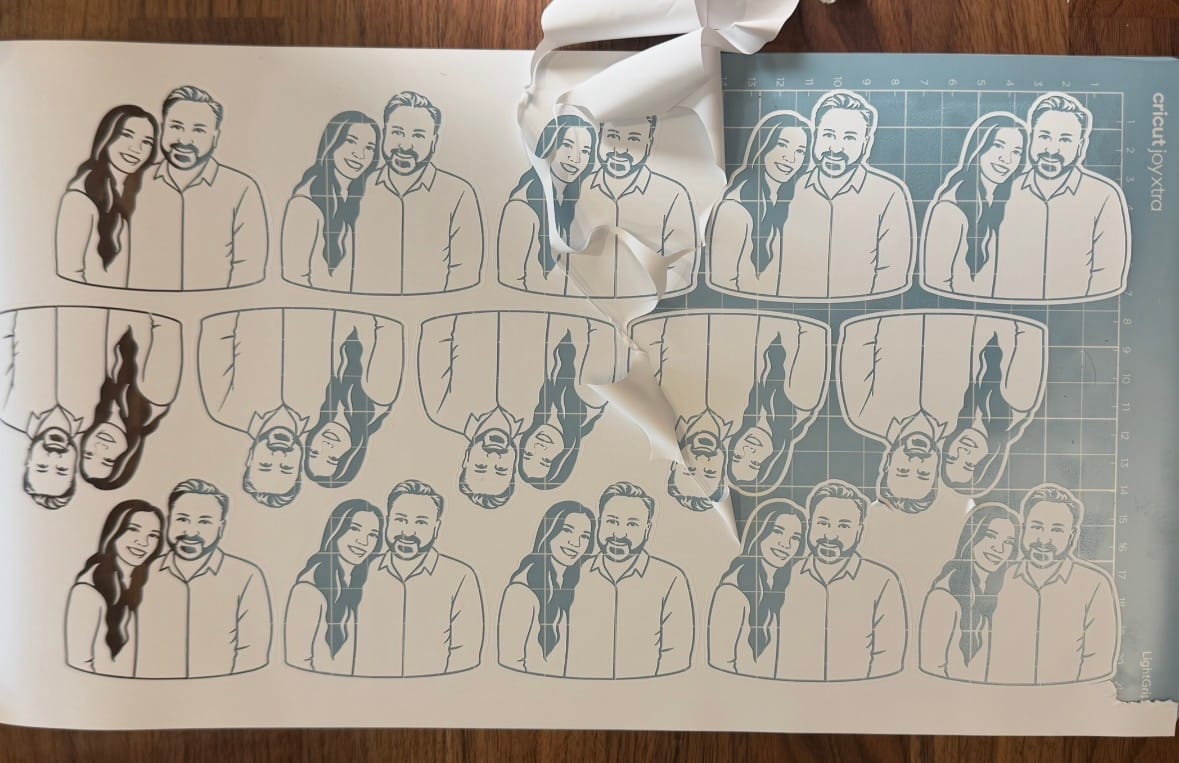
After weeding the graphics, cut them into individual cards so they can be transferred onto each koozie individually. I like to warm up the koozie with the iron for 3-5 seconds then I immediately place the vinyl graphic with plastic onto the sleeve, sticky side down. This in theory helps keep the vinyl graphic in place better. As recommended by the material, I place a piece of baking parchment paper in between the graphic and the iron to protect the vinyl. Then firmly press the on the koozie for about 15 seconds. After 15 seconds, remove the iron, take off the parchment paper and place the koozie aside to cool down.
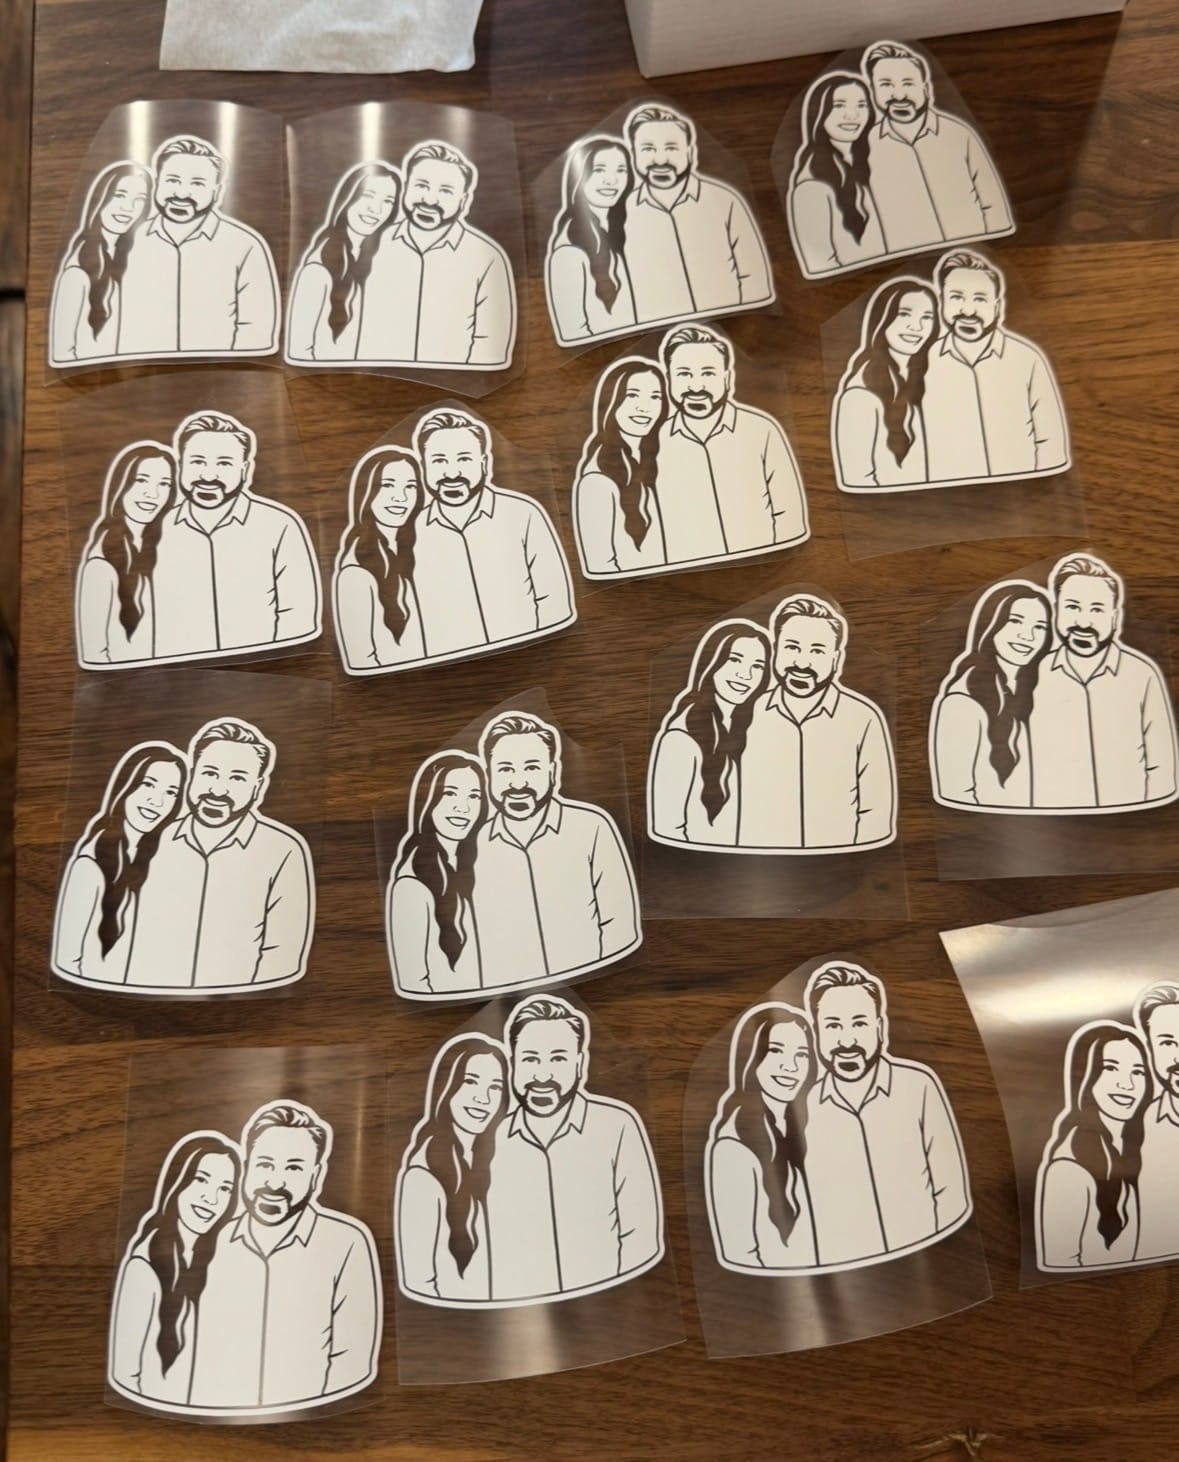
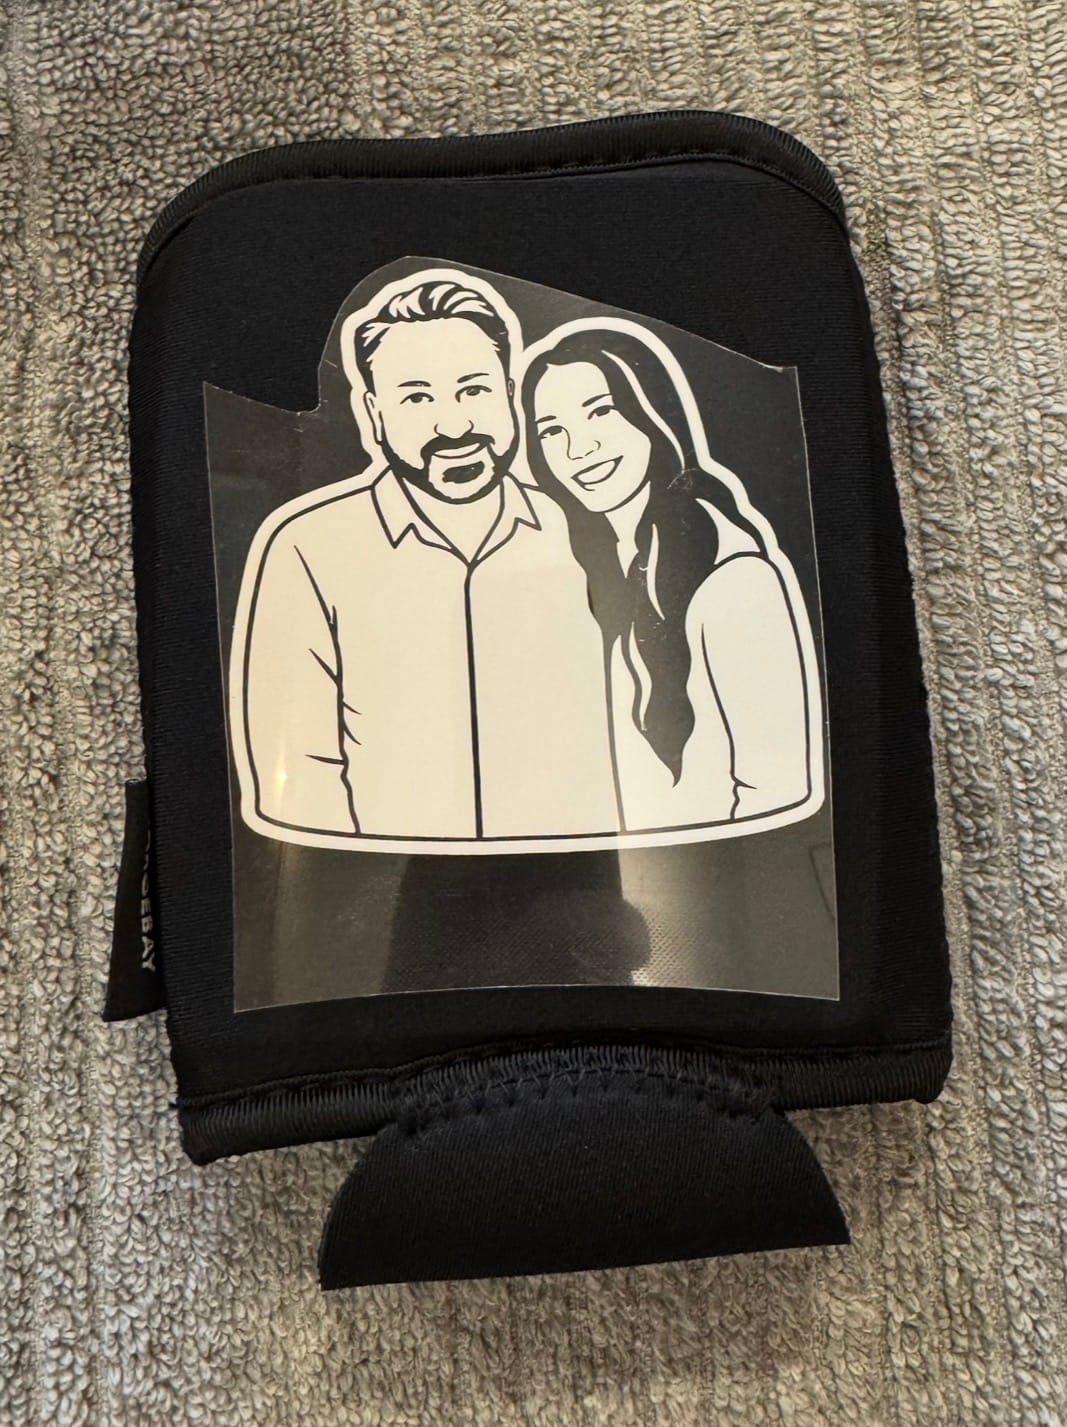
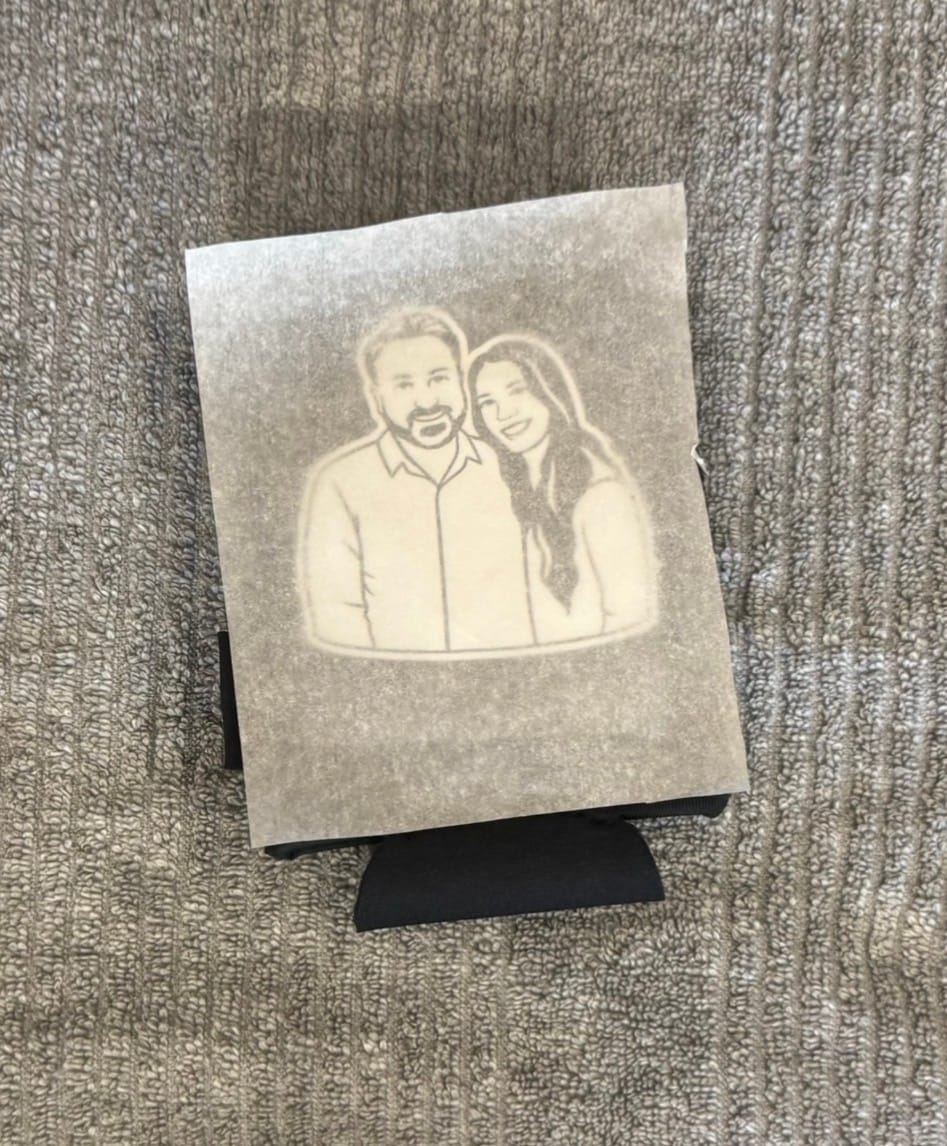
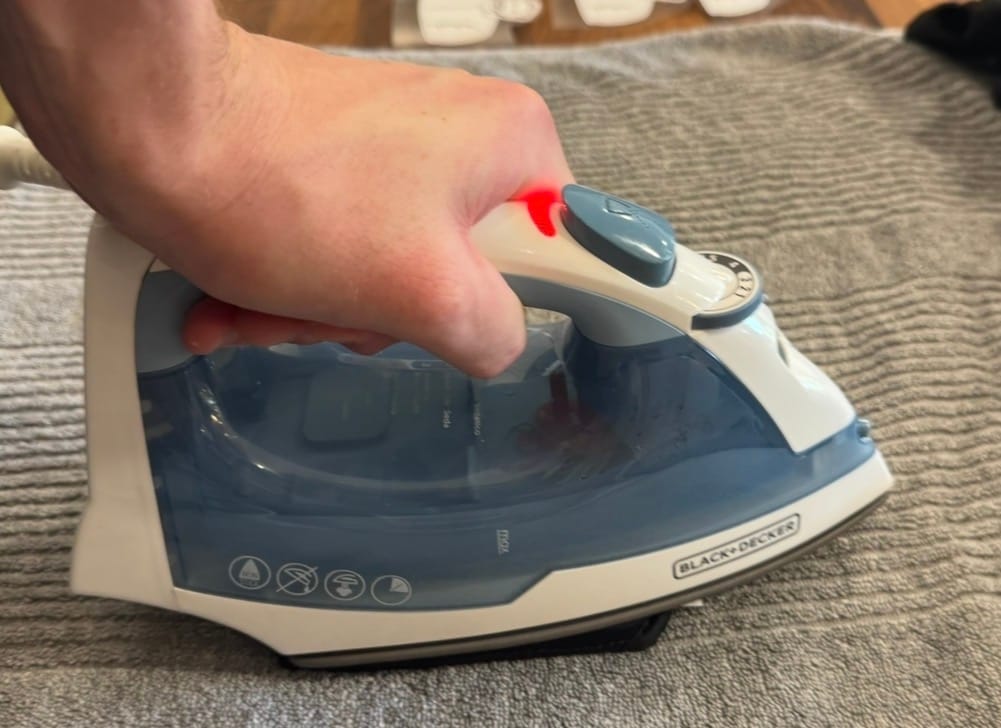
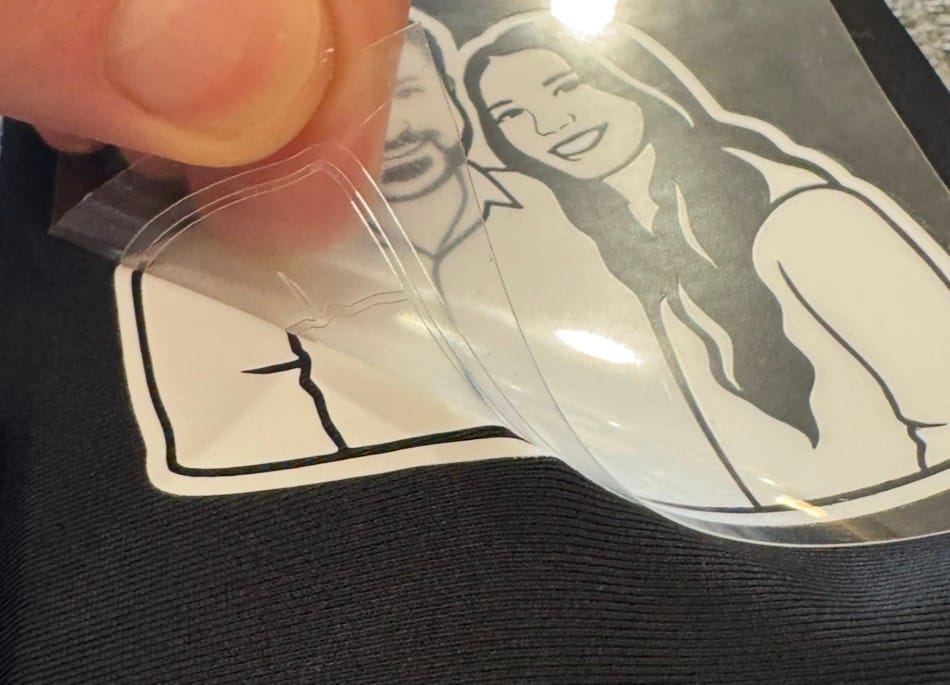
Do not remove the transfer plastic until fully cooled (5-10 minutes). I used a Thermal Imaging camera because I just have one and was curious, but just wait til it feels cool to the touch and then peel. Once peeled, you should be good to go. Enjoy!
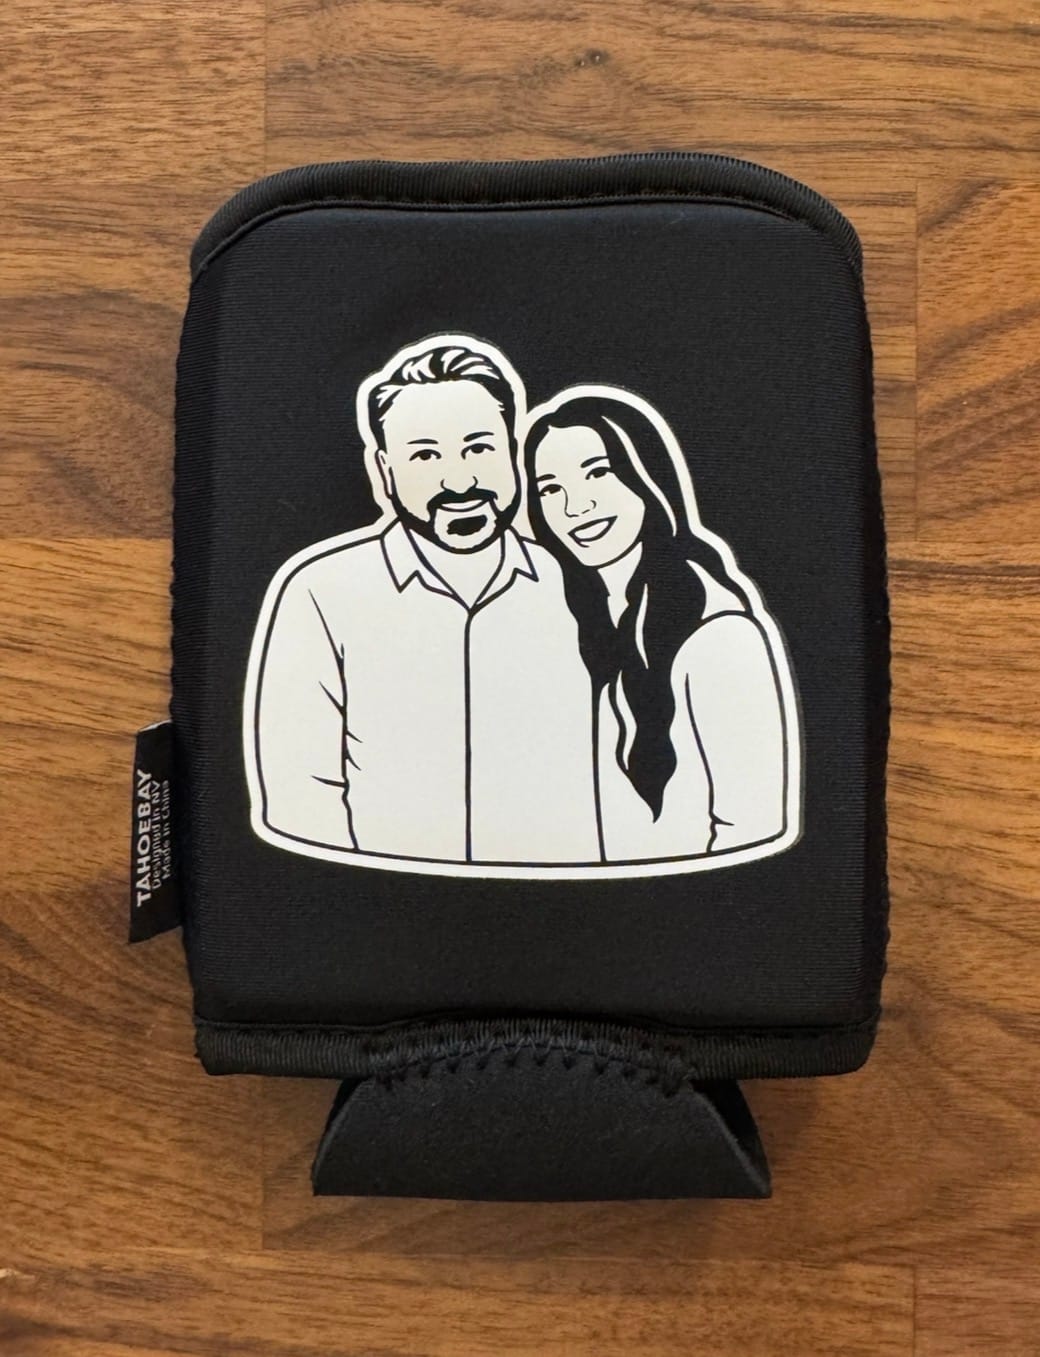
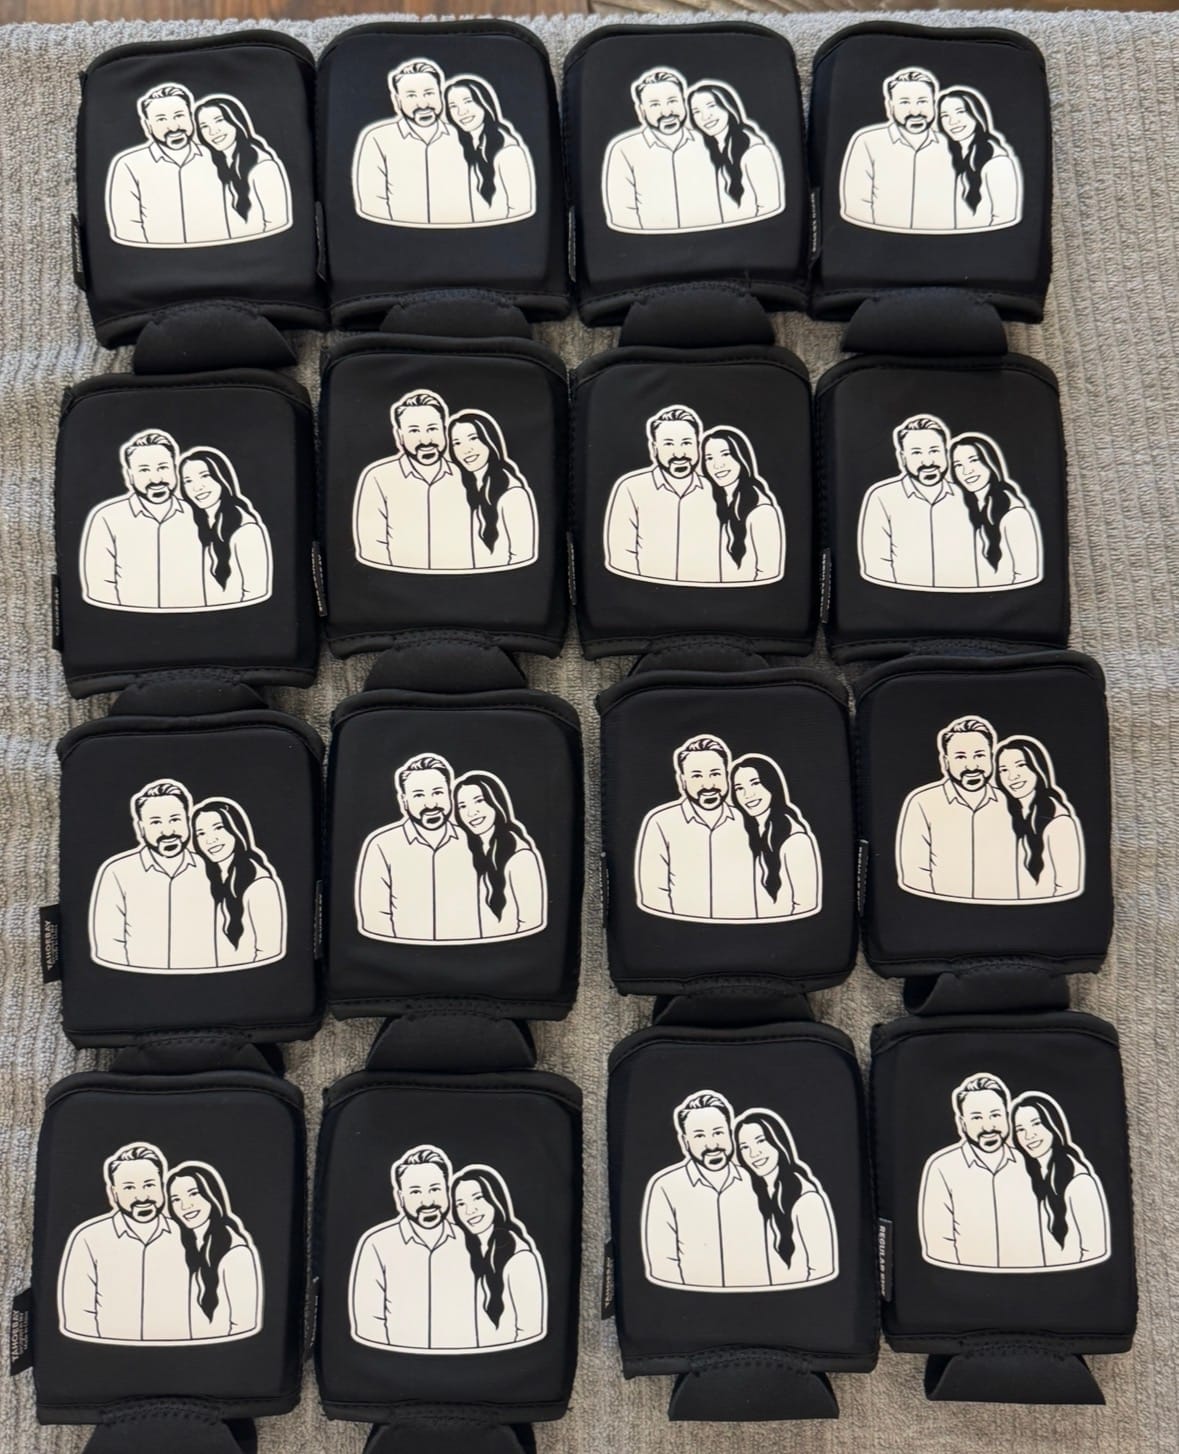
I made 16 for a wedding.
I highly recommend you try this out!