Building a Miniature Billboard for my Mini Fridge

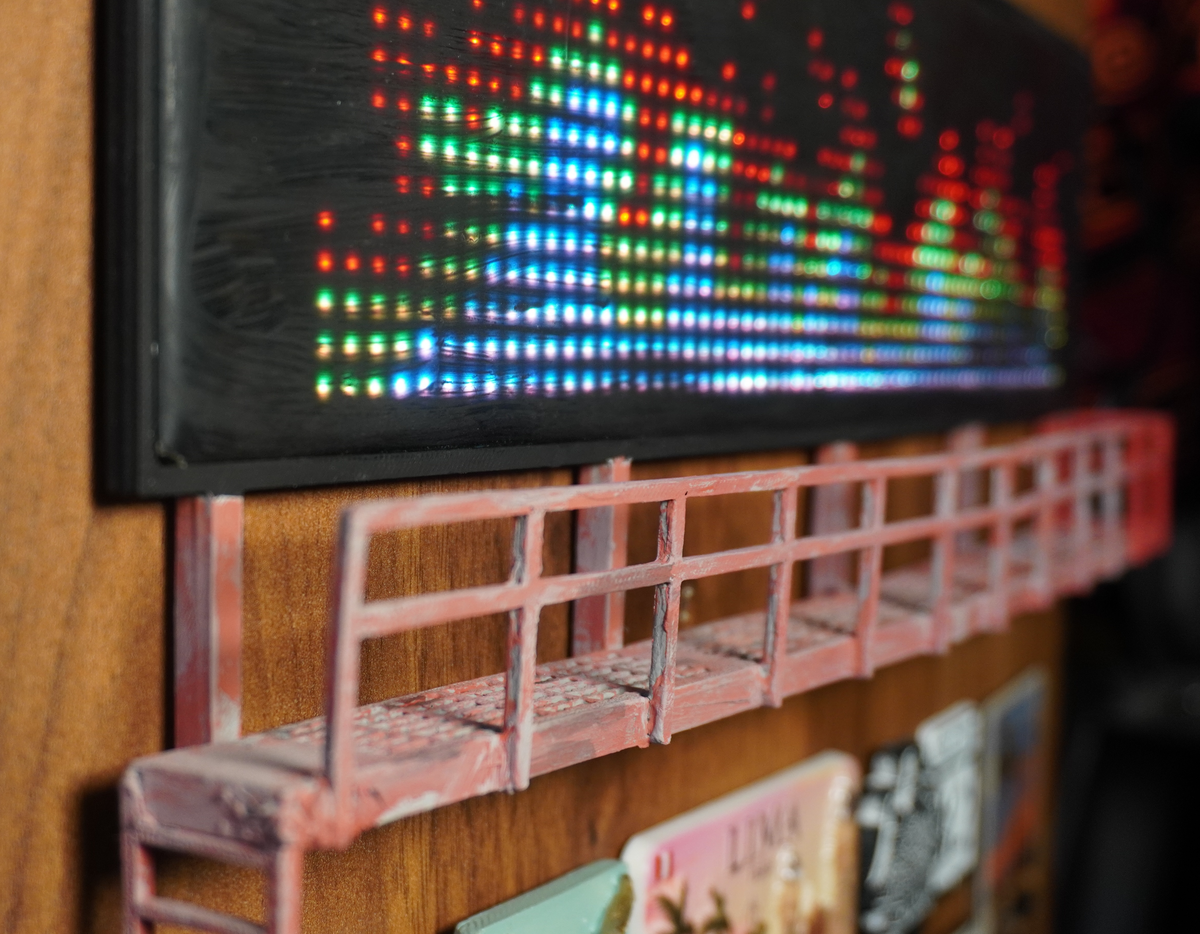
You know, there's something about miniatures that tickles the psyche. I truly think there is nothing more human than calling mini versions of inanimate objects cute. Tiny tree? Cute. Tiny cup? Cute. Tiny shoe? S'Cute. There seems to be some deep beautiful link rooting this phenom into how we perceive tiny humans (babies). But enough of all this tiny chatter.
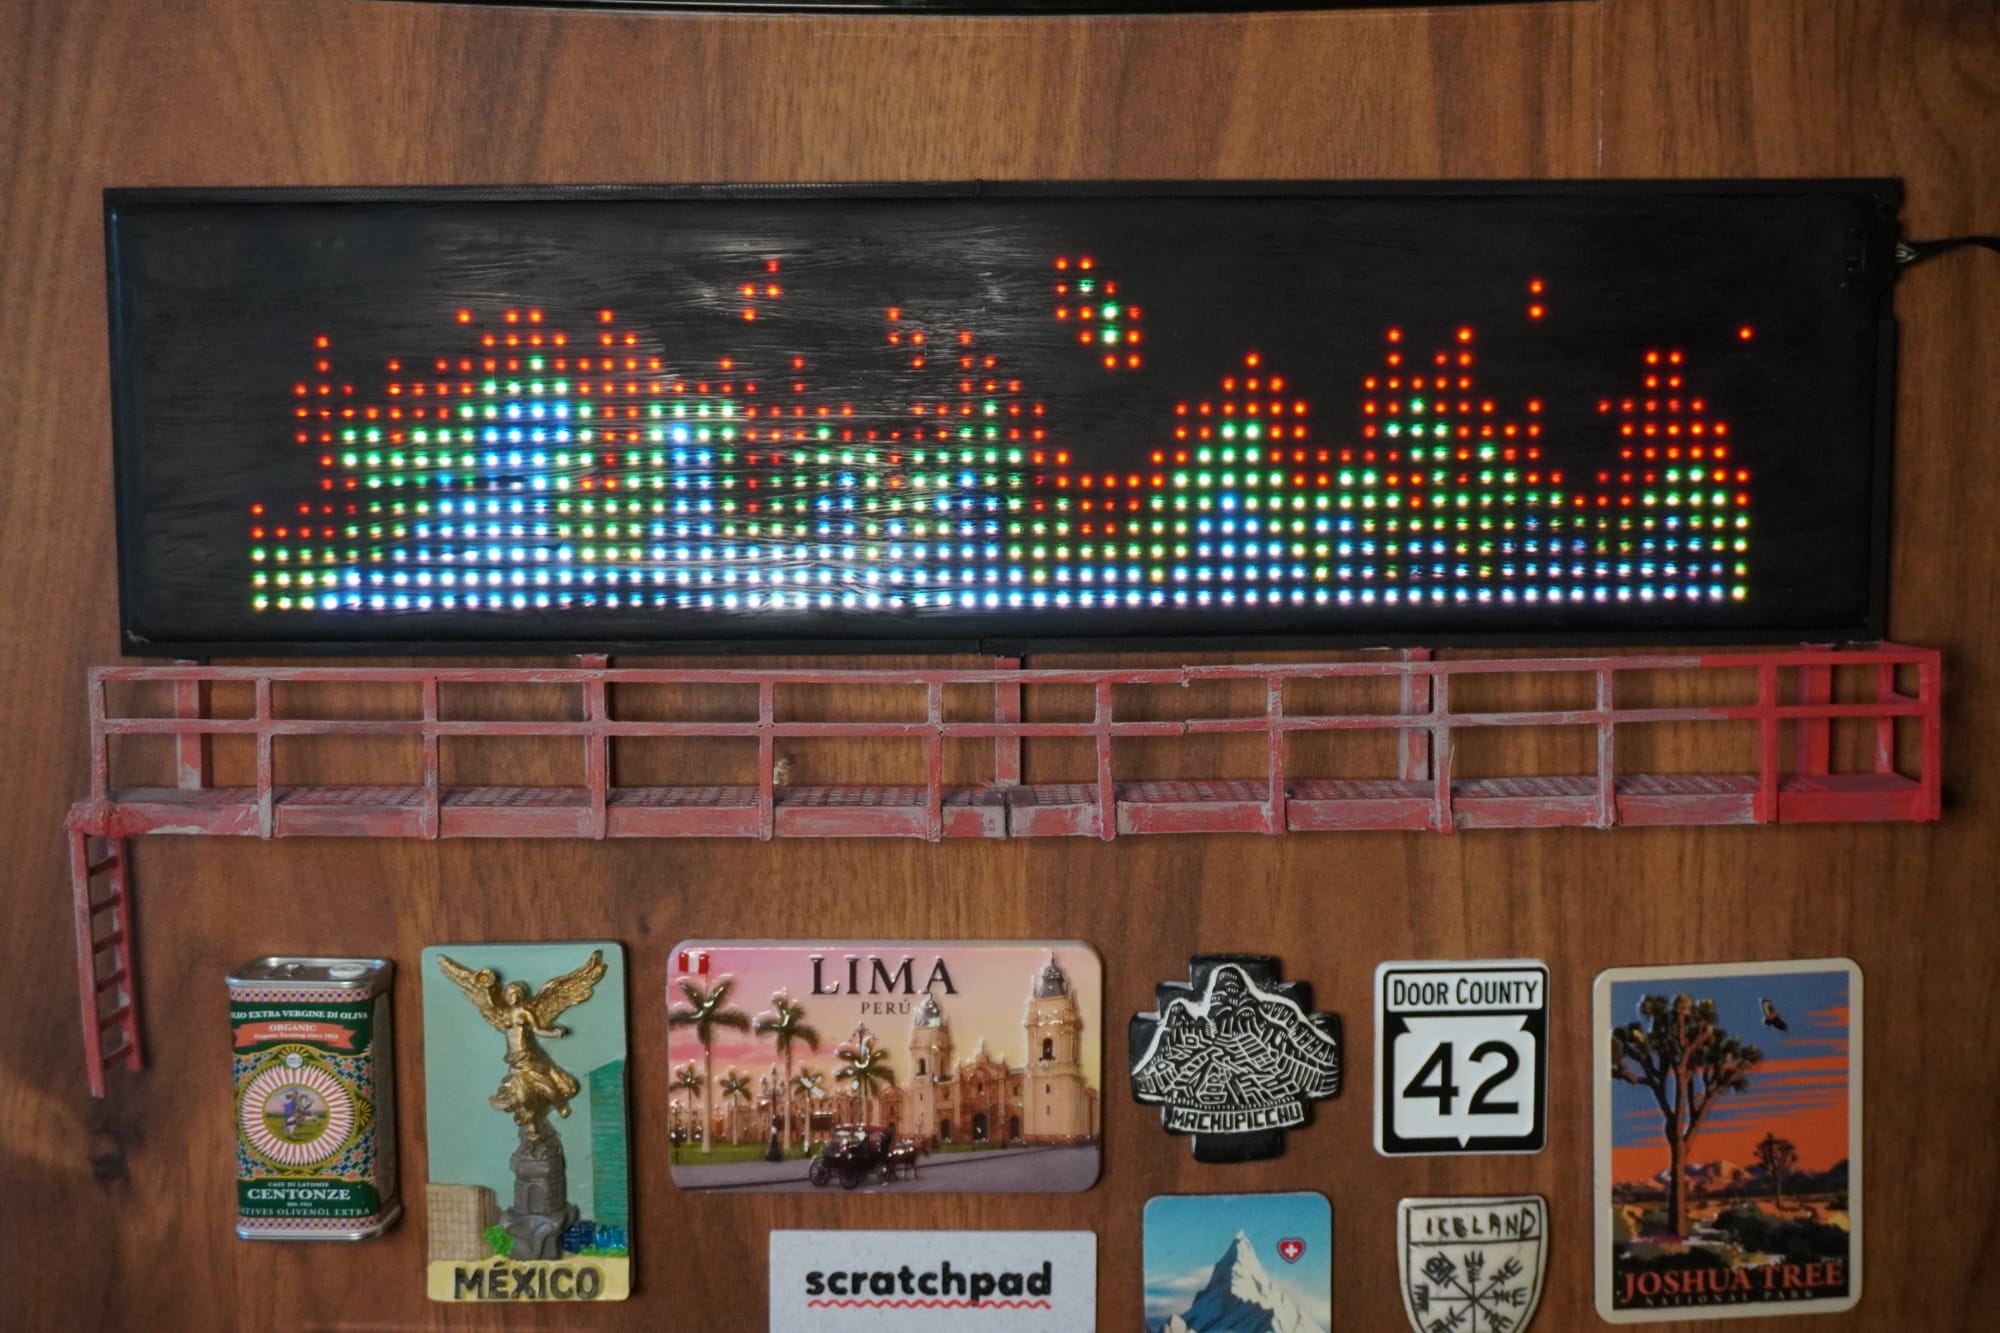
This project spawned on a whim. I've had this bluetooth programmable LED sign for some time now. Just one of those projects that never made it out of the group chat. In the midst of throwing home assistant integrations at everything under the f—ing sun, the perfect idea sank in. Let's build an extremely clunky, barely works, home assistant integration at the will of this random, $20, extremely cheap LED sign. All because I just happen to have it lying around. Typical. And casually, like many projects, I began not even a SMIDGEN of that project before my next idea intervened. I latched into a spur of the moment idea that this LED Sign would look so cute as a tiny billboard, well before it touches my network. To Fusion 360 we go!
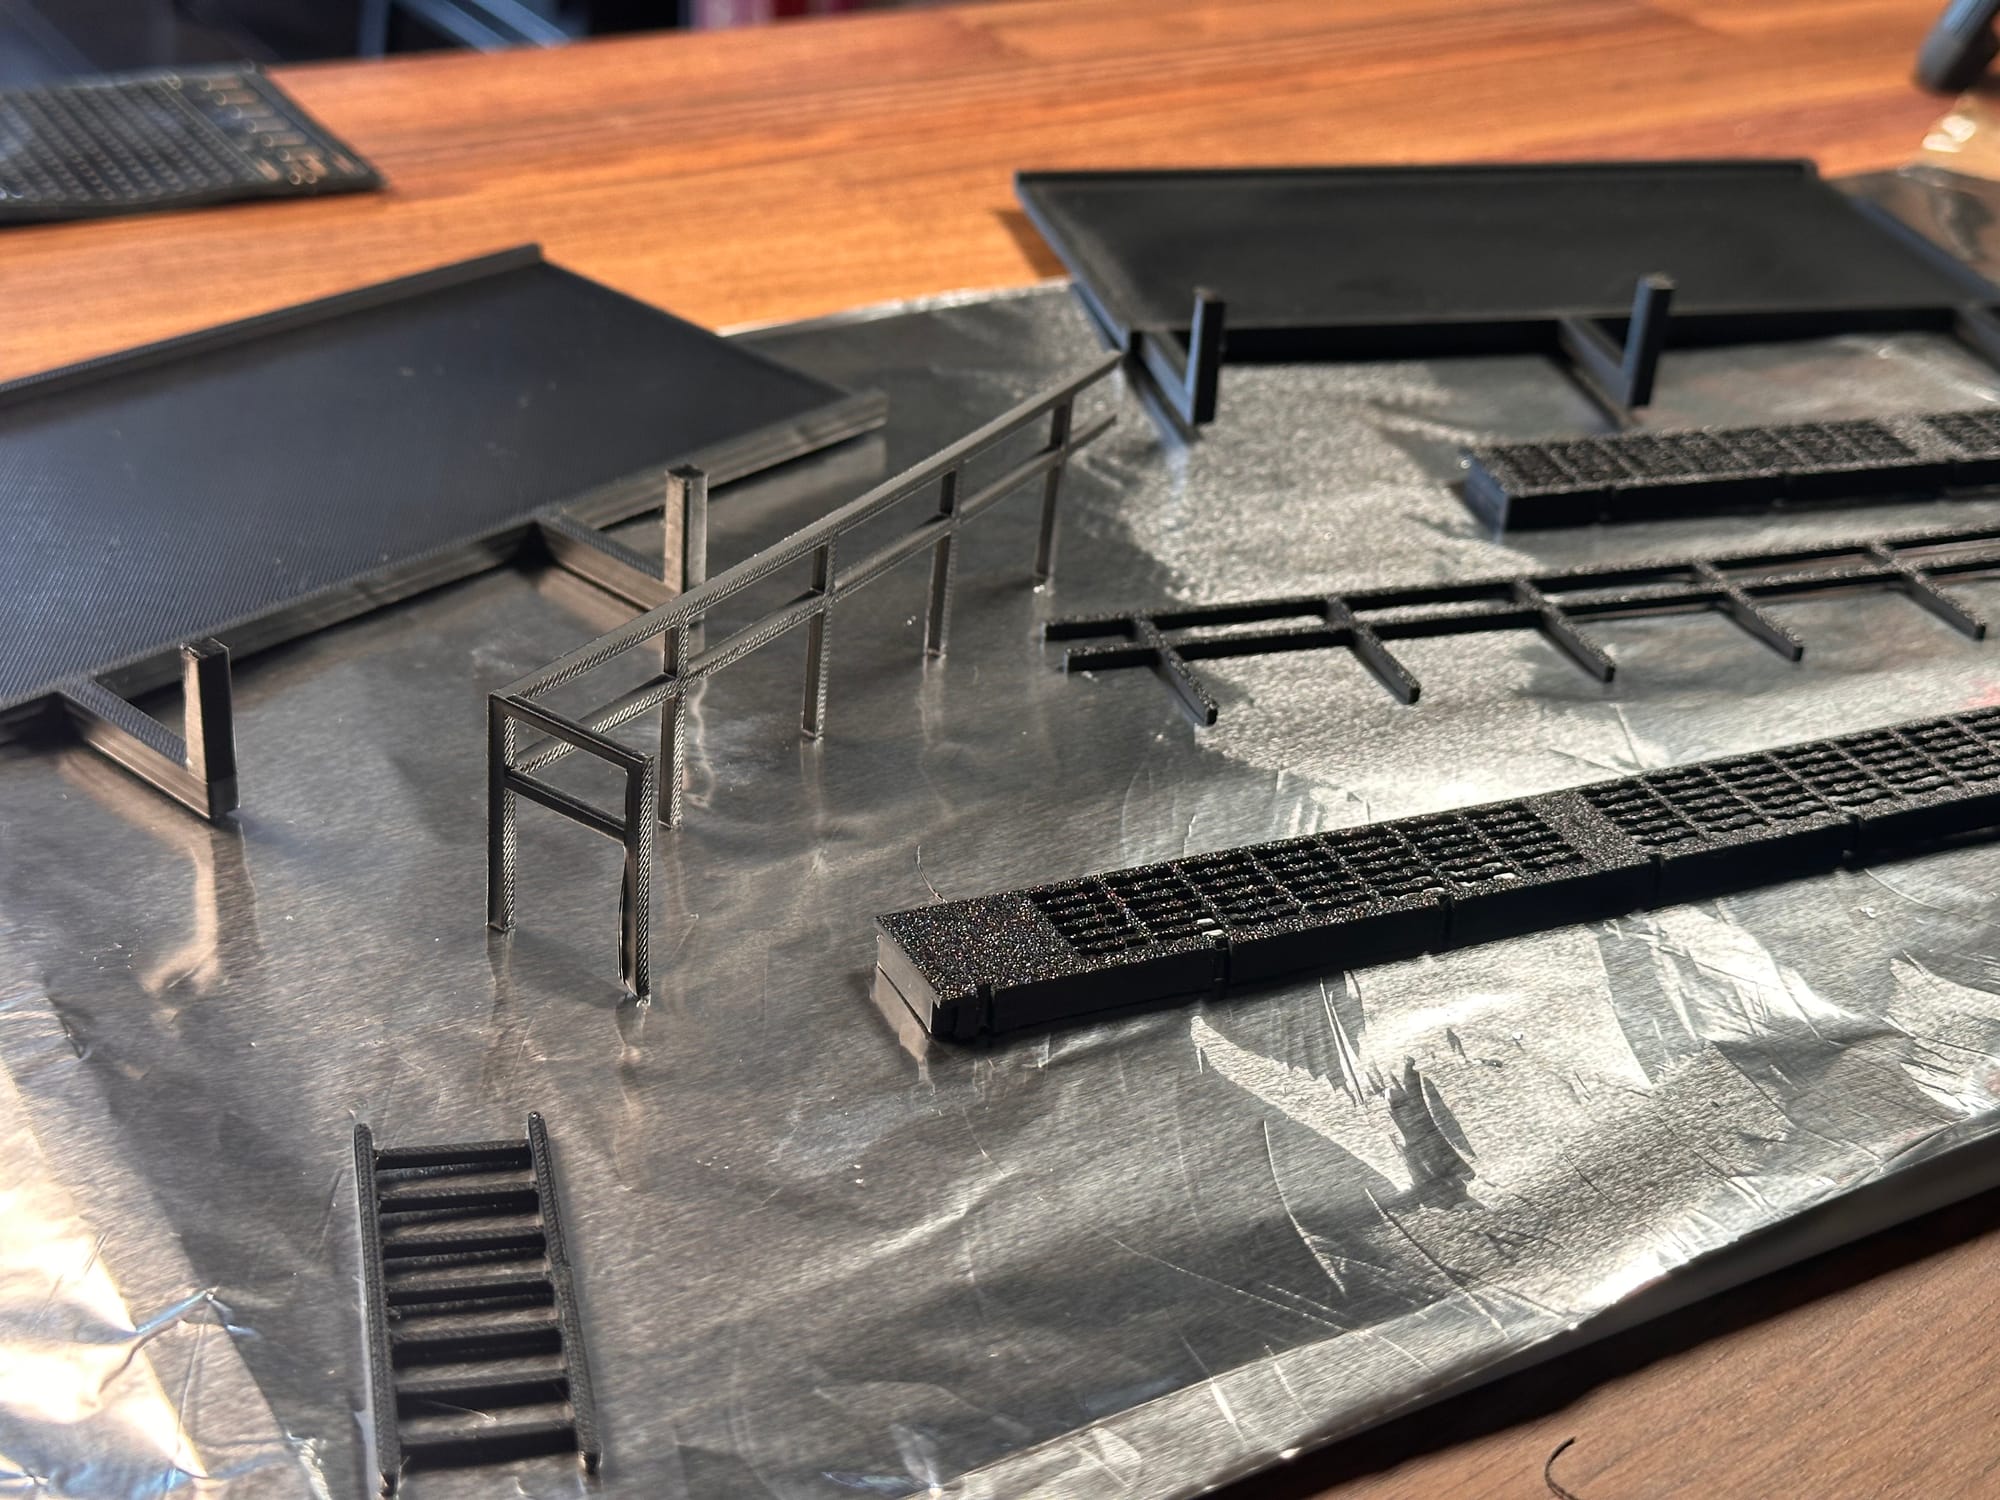
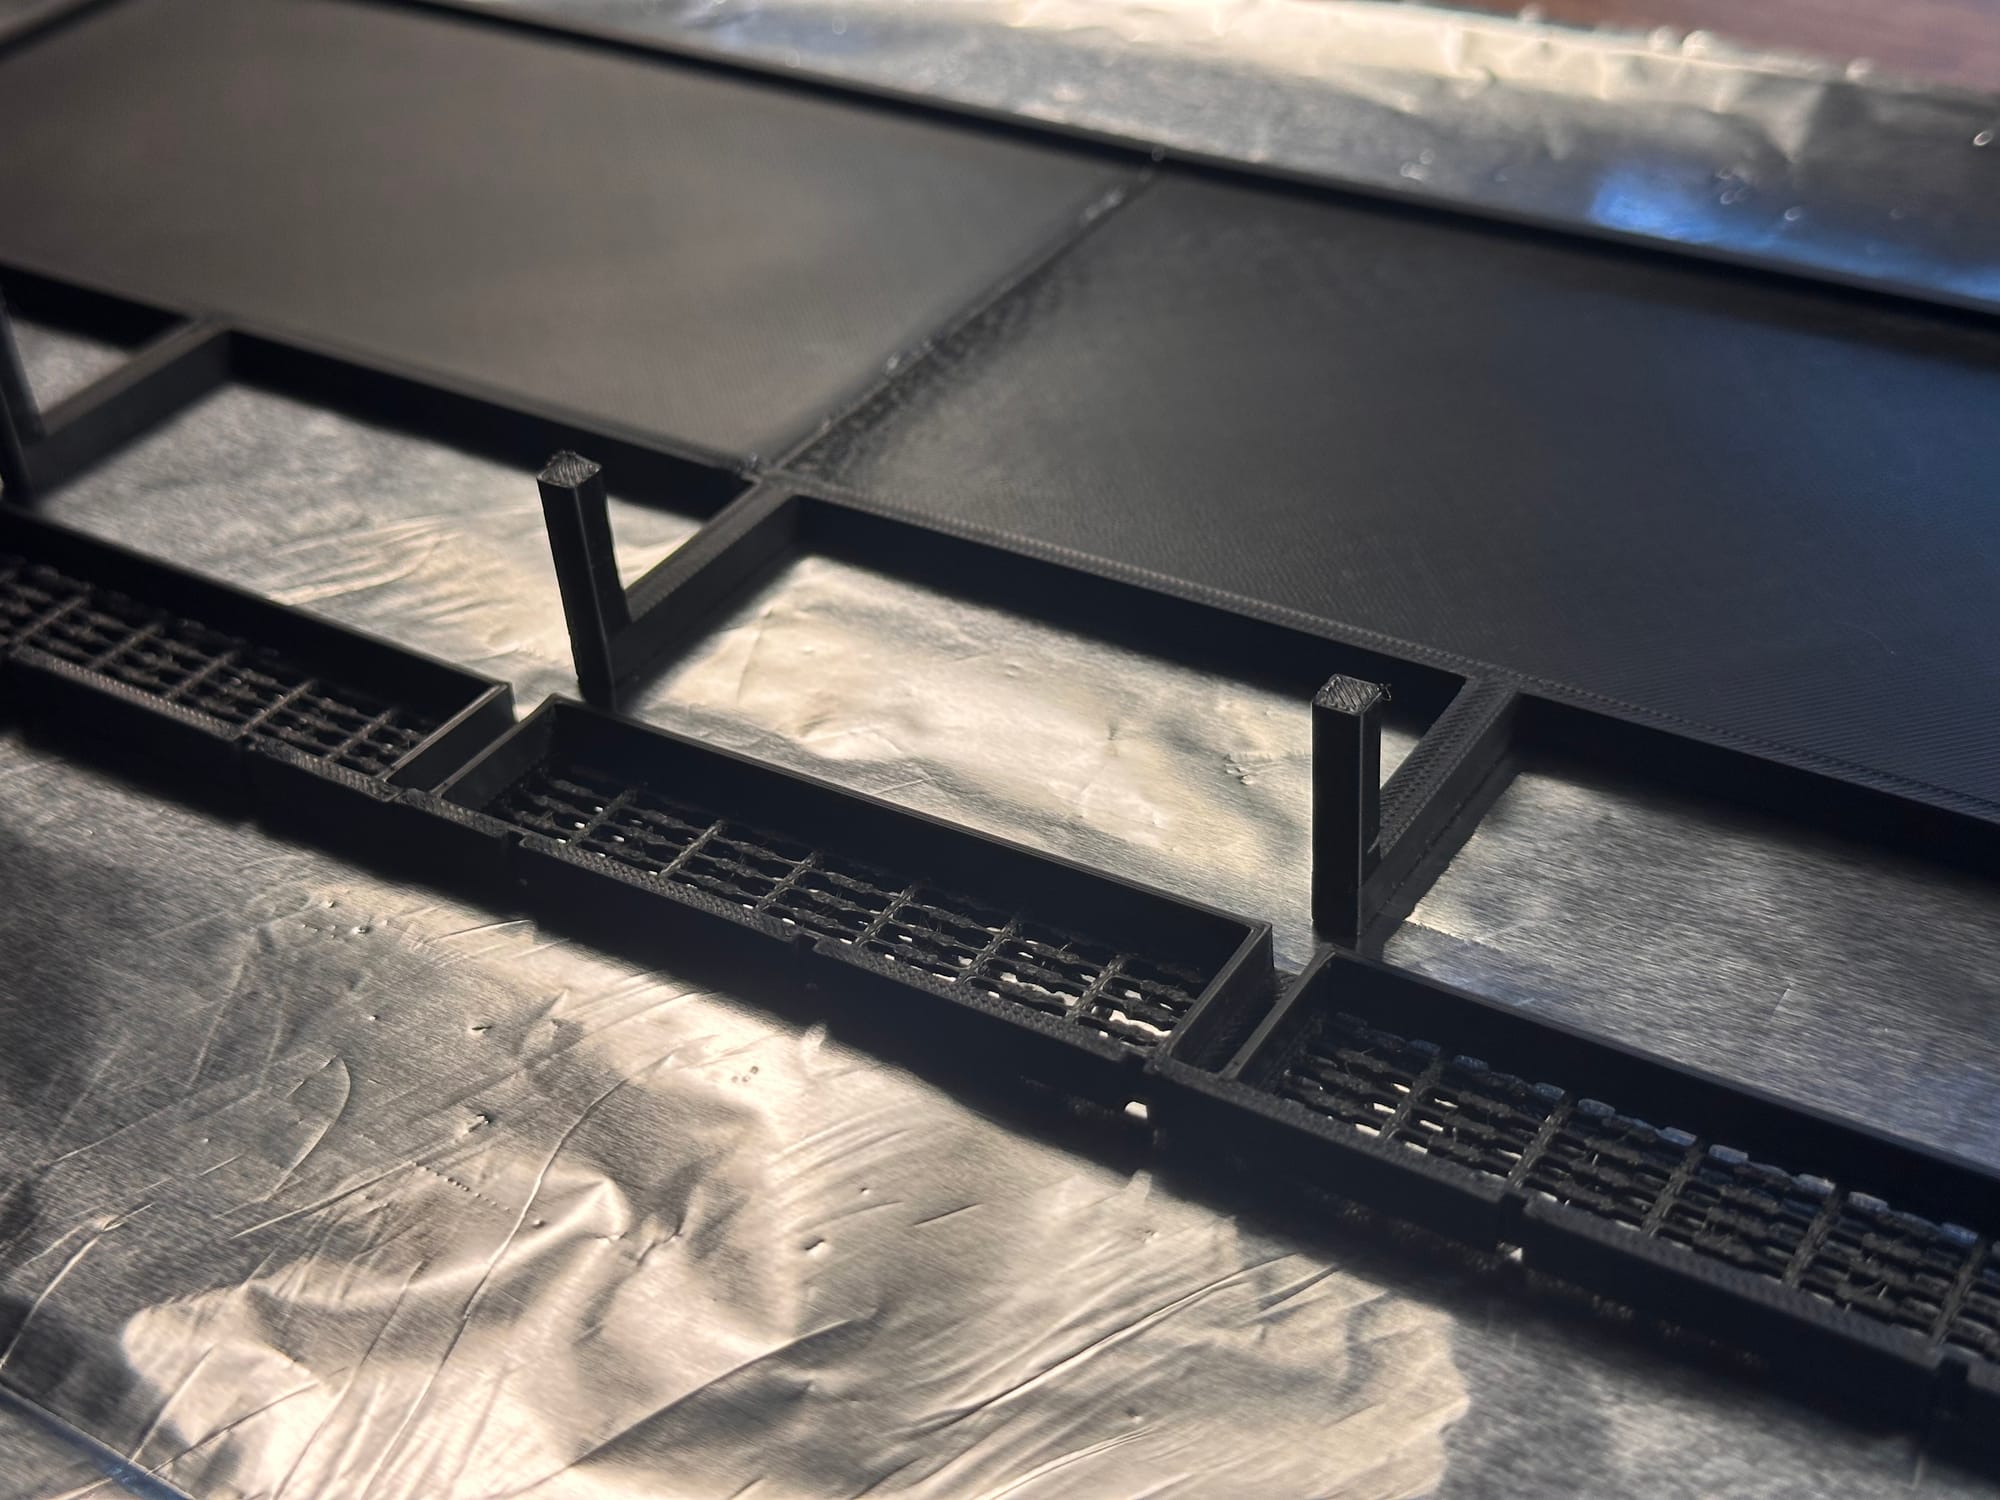
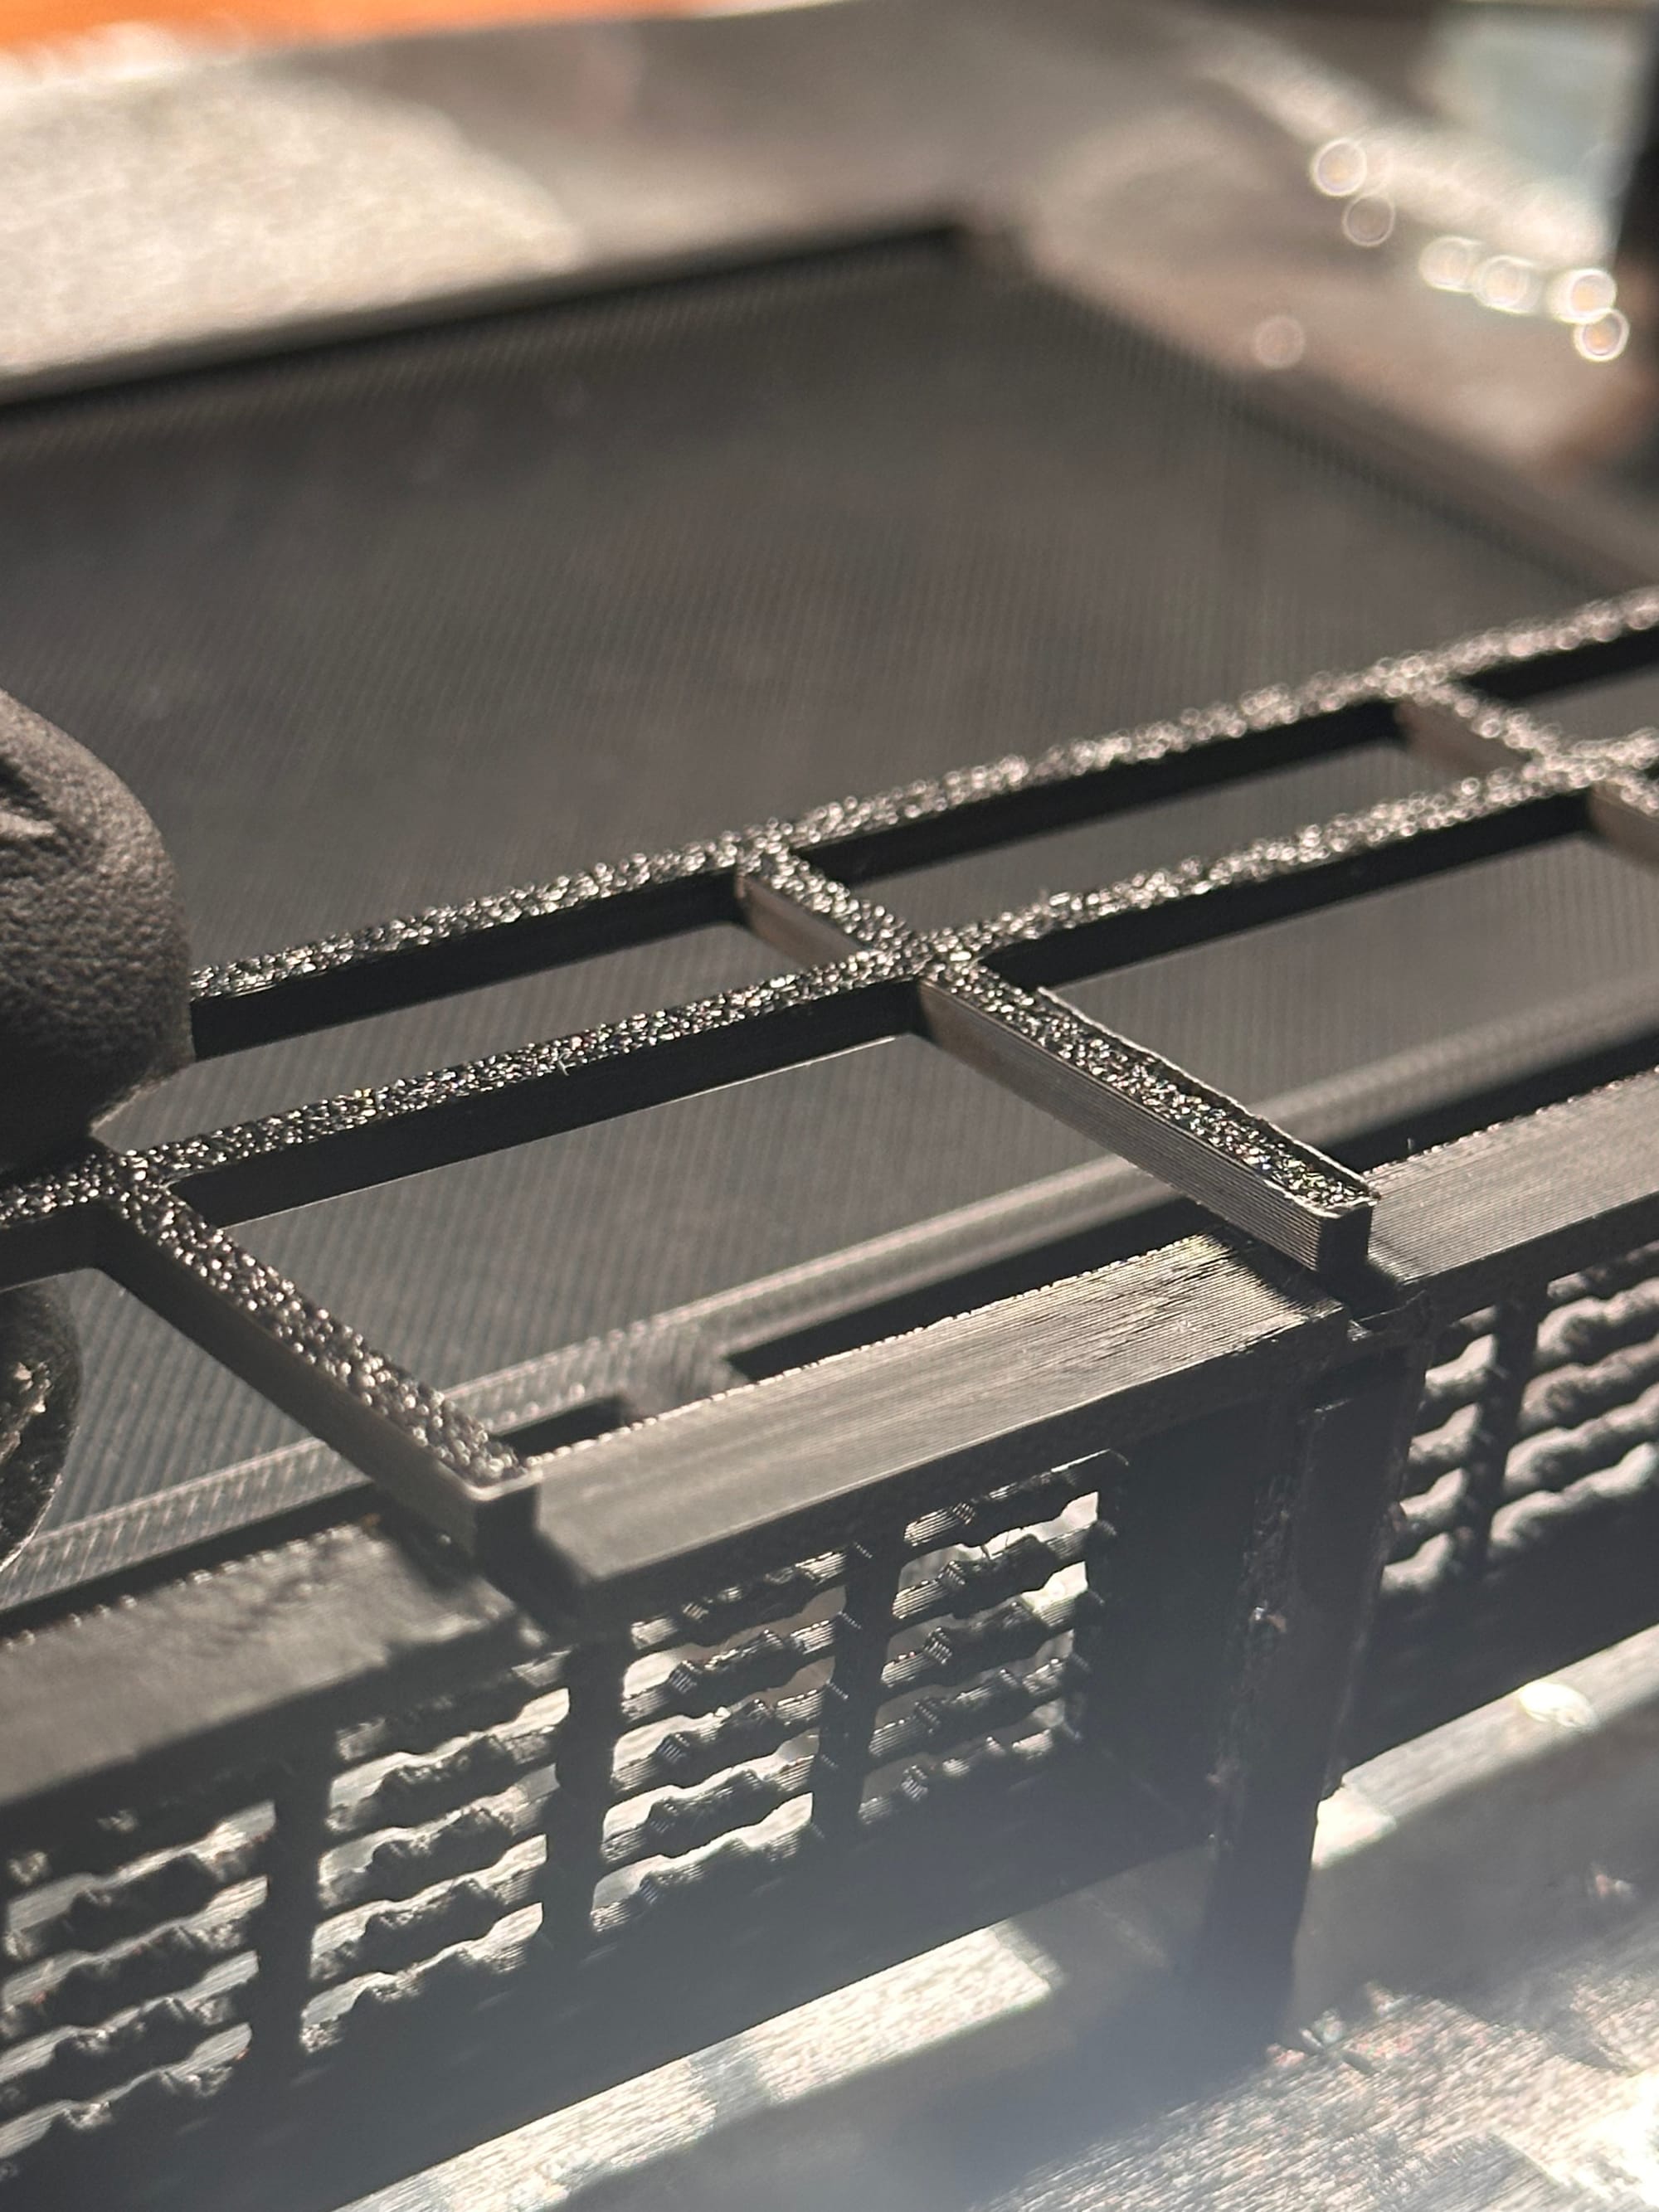
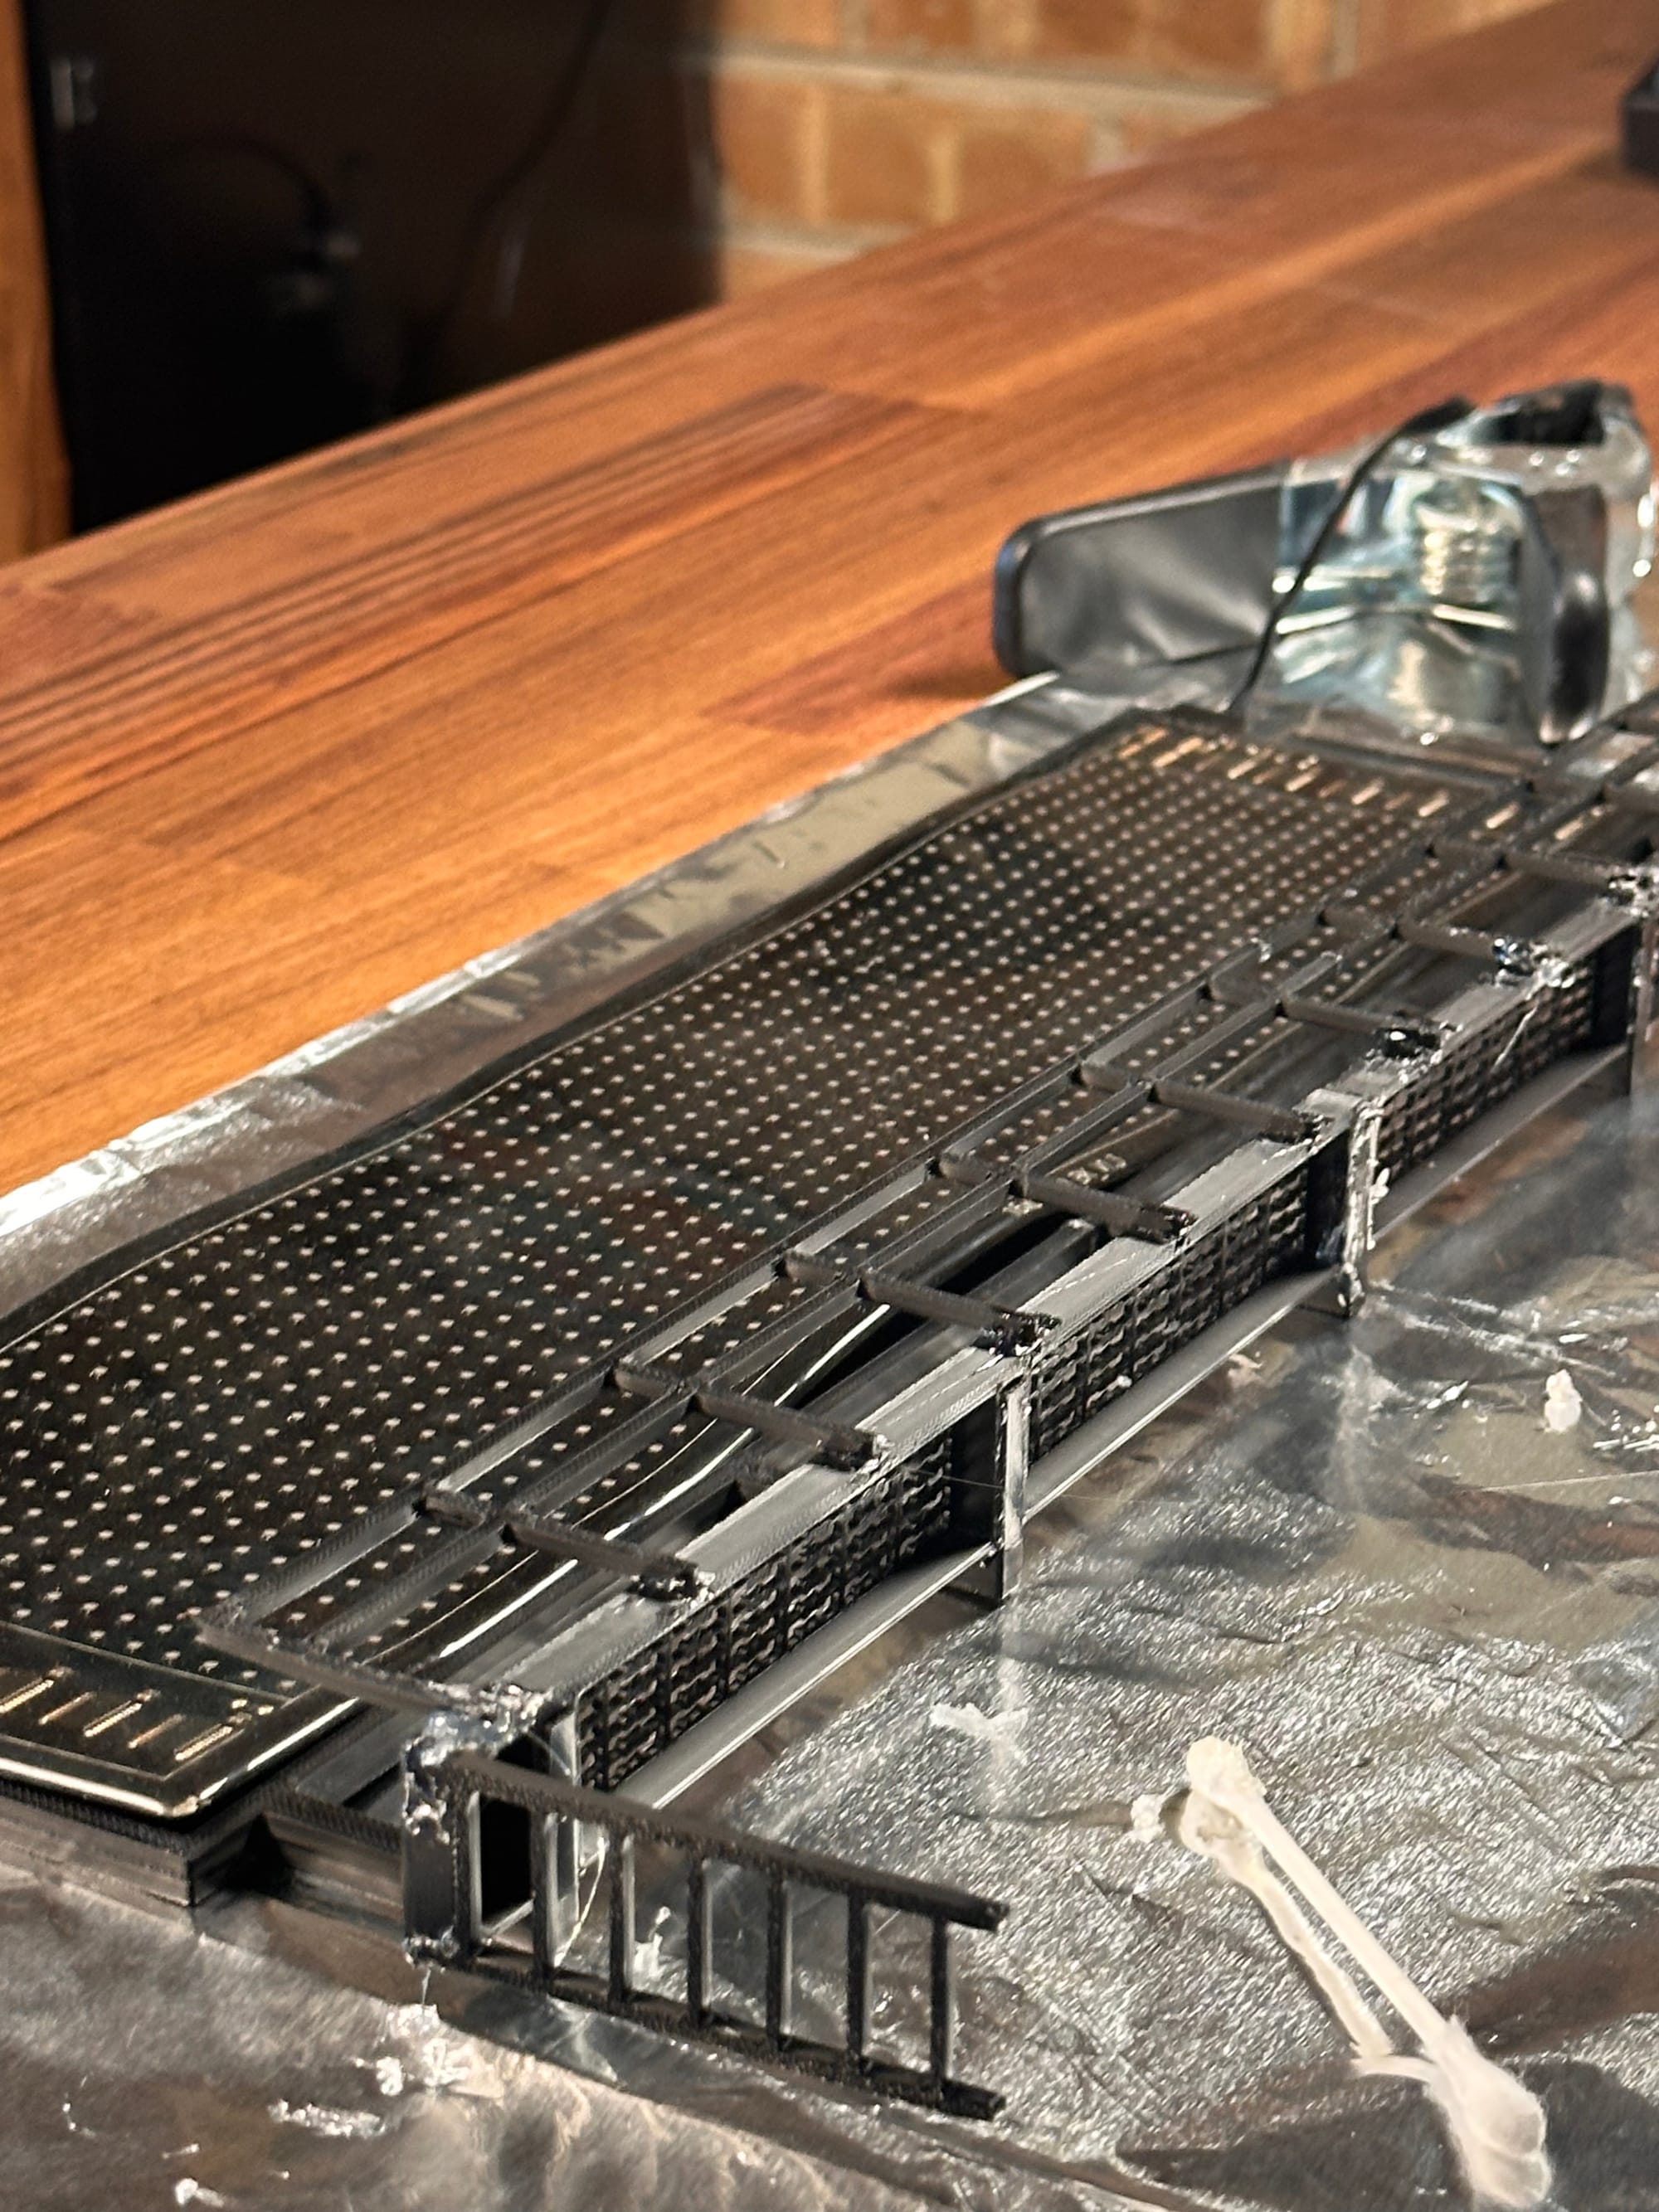
I was looking to take screenshots of the fusion project for this post. As it turns out, I may have lost the CAD file forever. into black void. whoops. Well, I spent little to no time on 3D design anyways. I kept it short and sweet. Took quick measurements. Eyeballed the rest. My intent was to subject the entire assembly process to the KRAGLE (i.e. just gonna glue it together with contact adhesive). I printed all the pieces, laid 'em out on some tin foil (listen idk what I am doin here – atleast I wore gloves), and just like a 6 DoF industrial robotic arm on a Toyota factory floor, I assembled (glued).
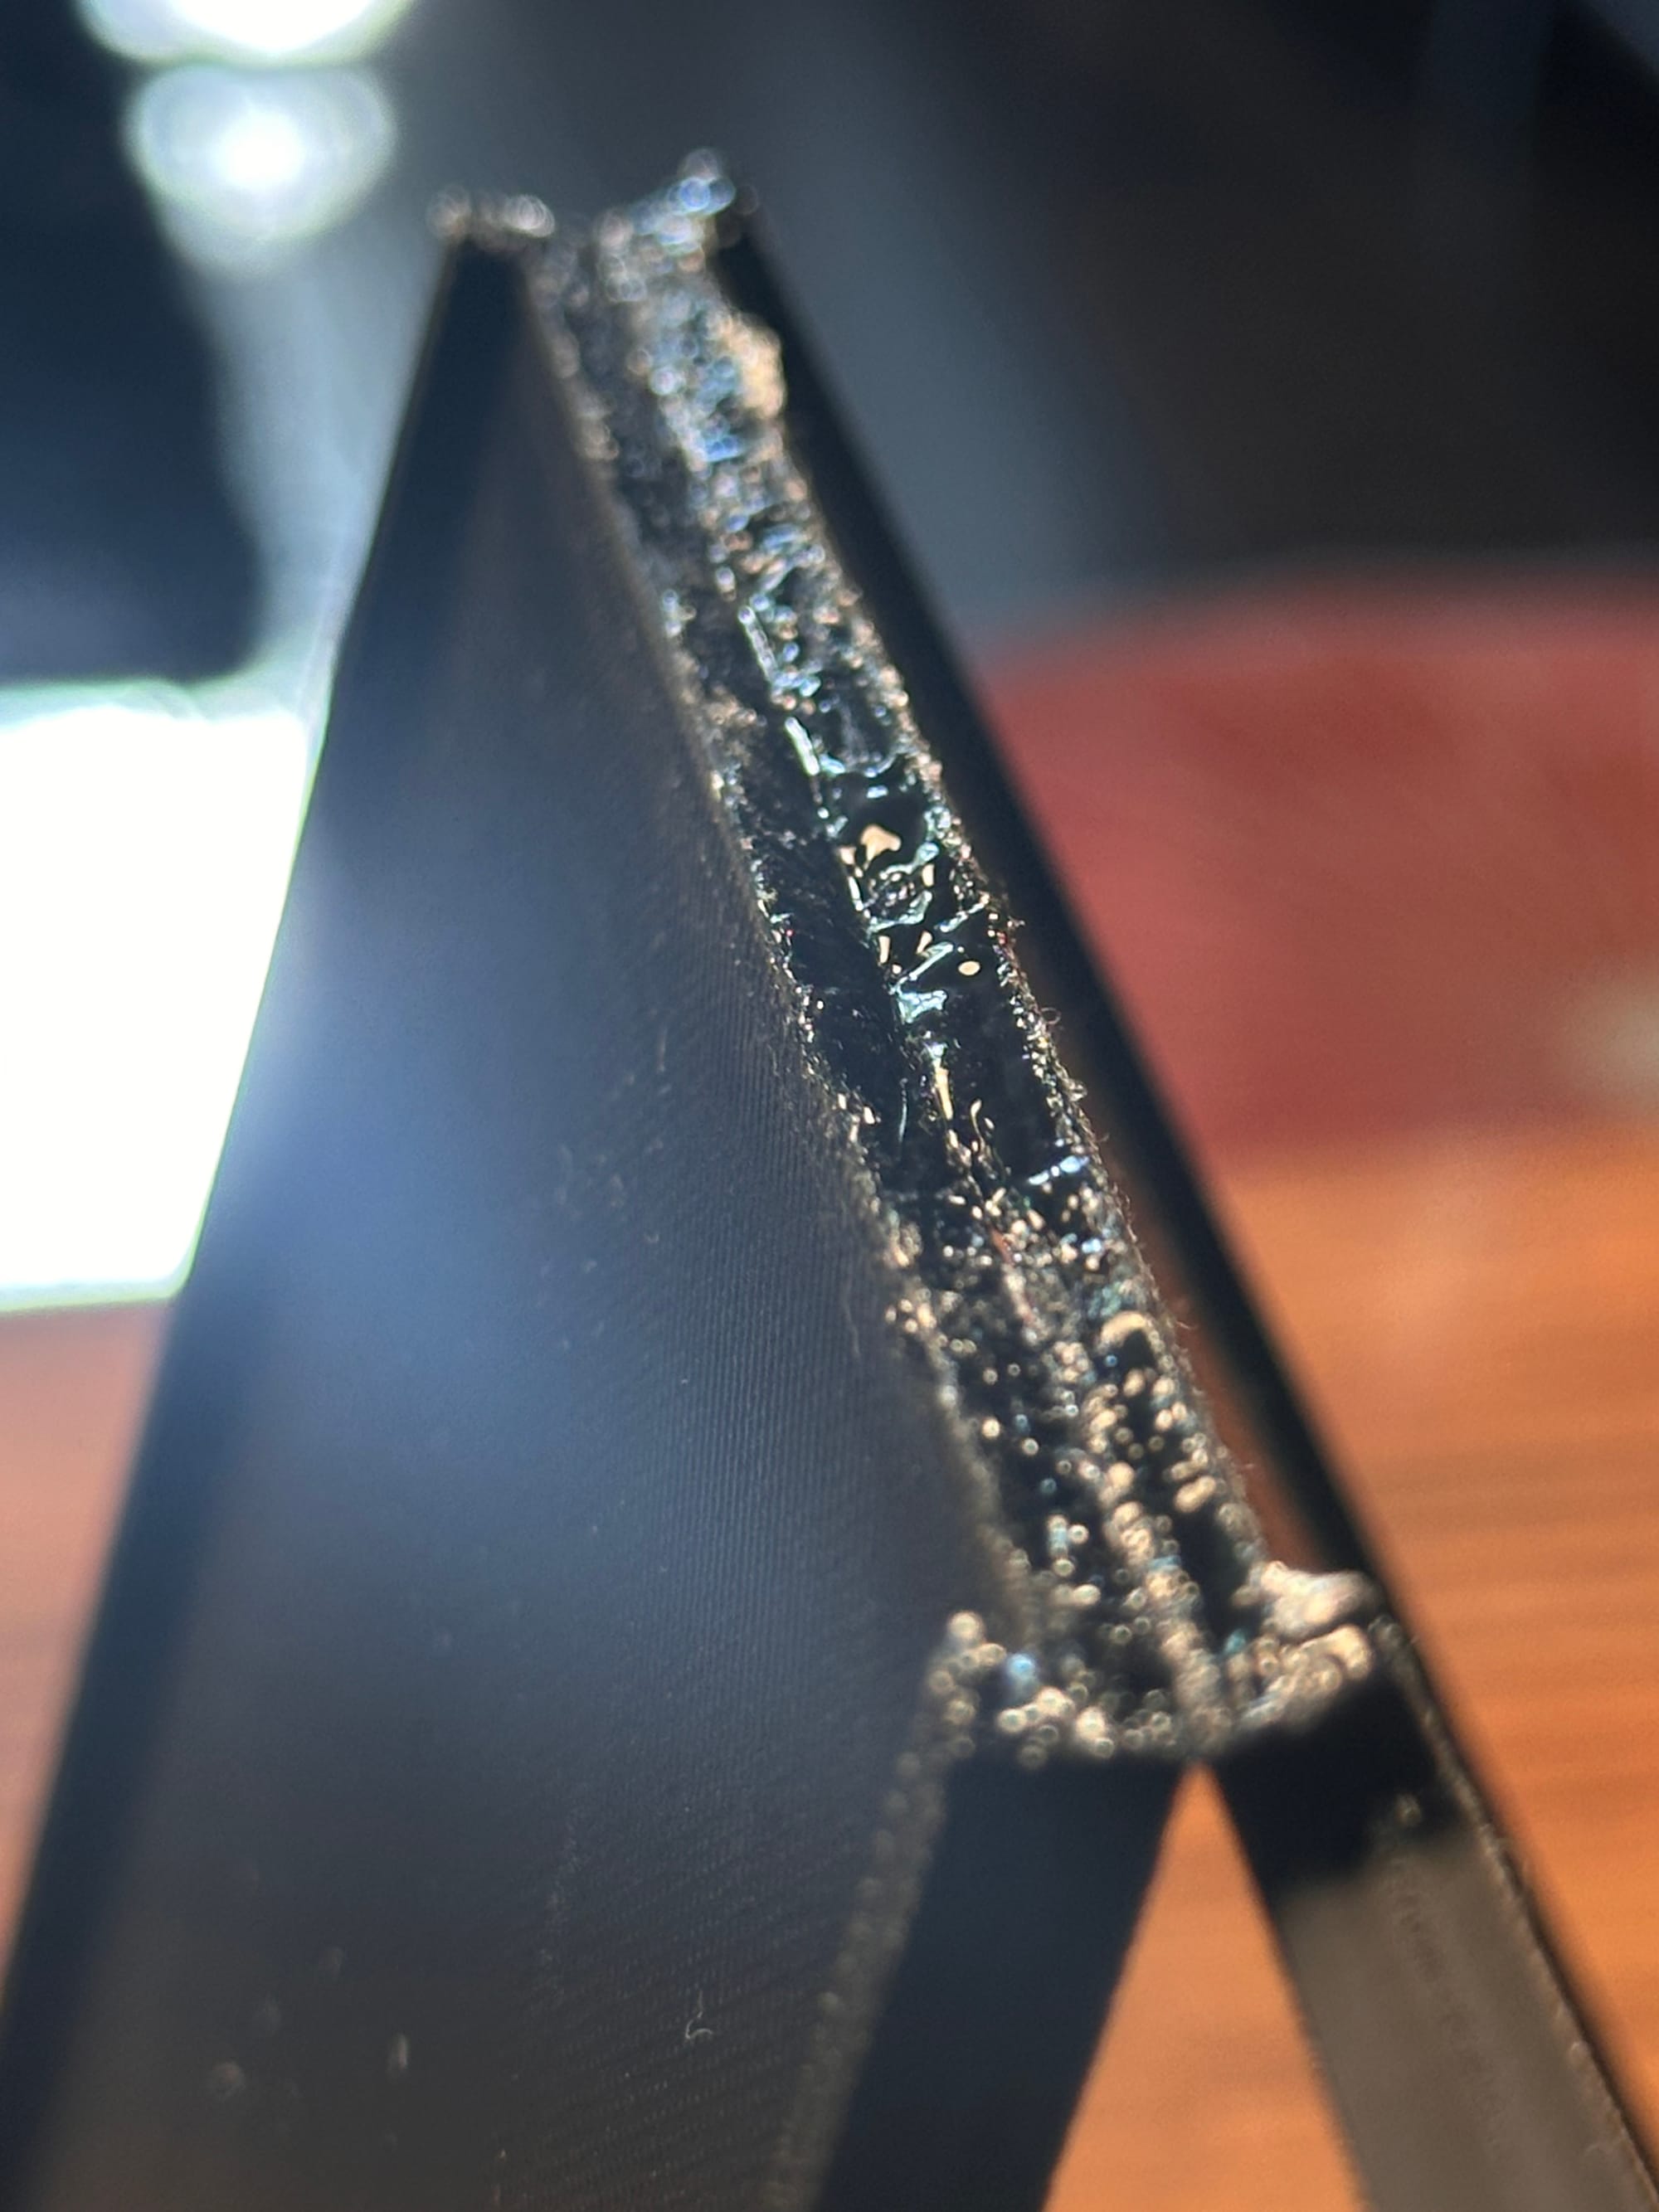
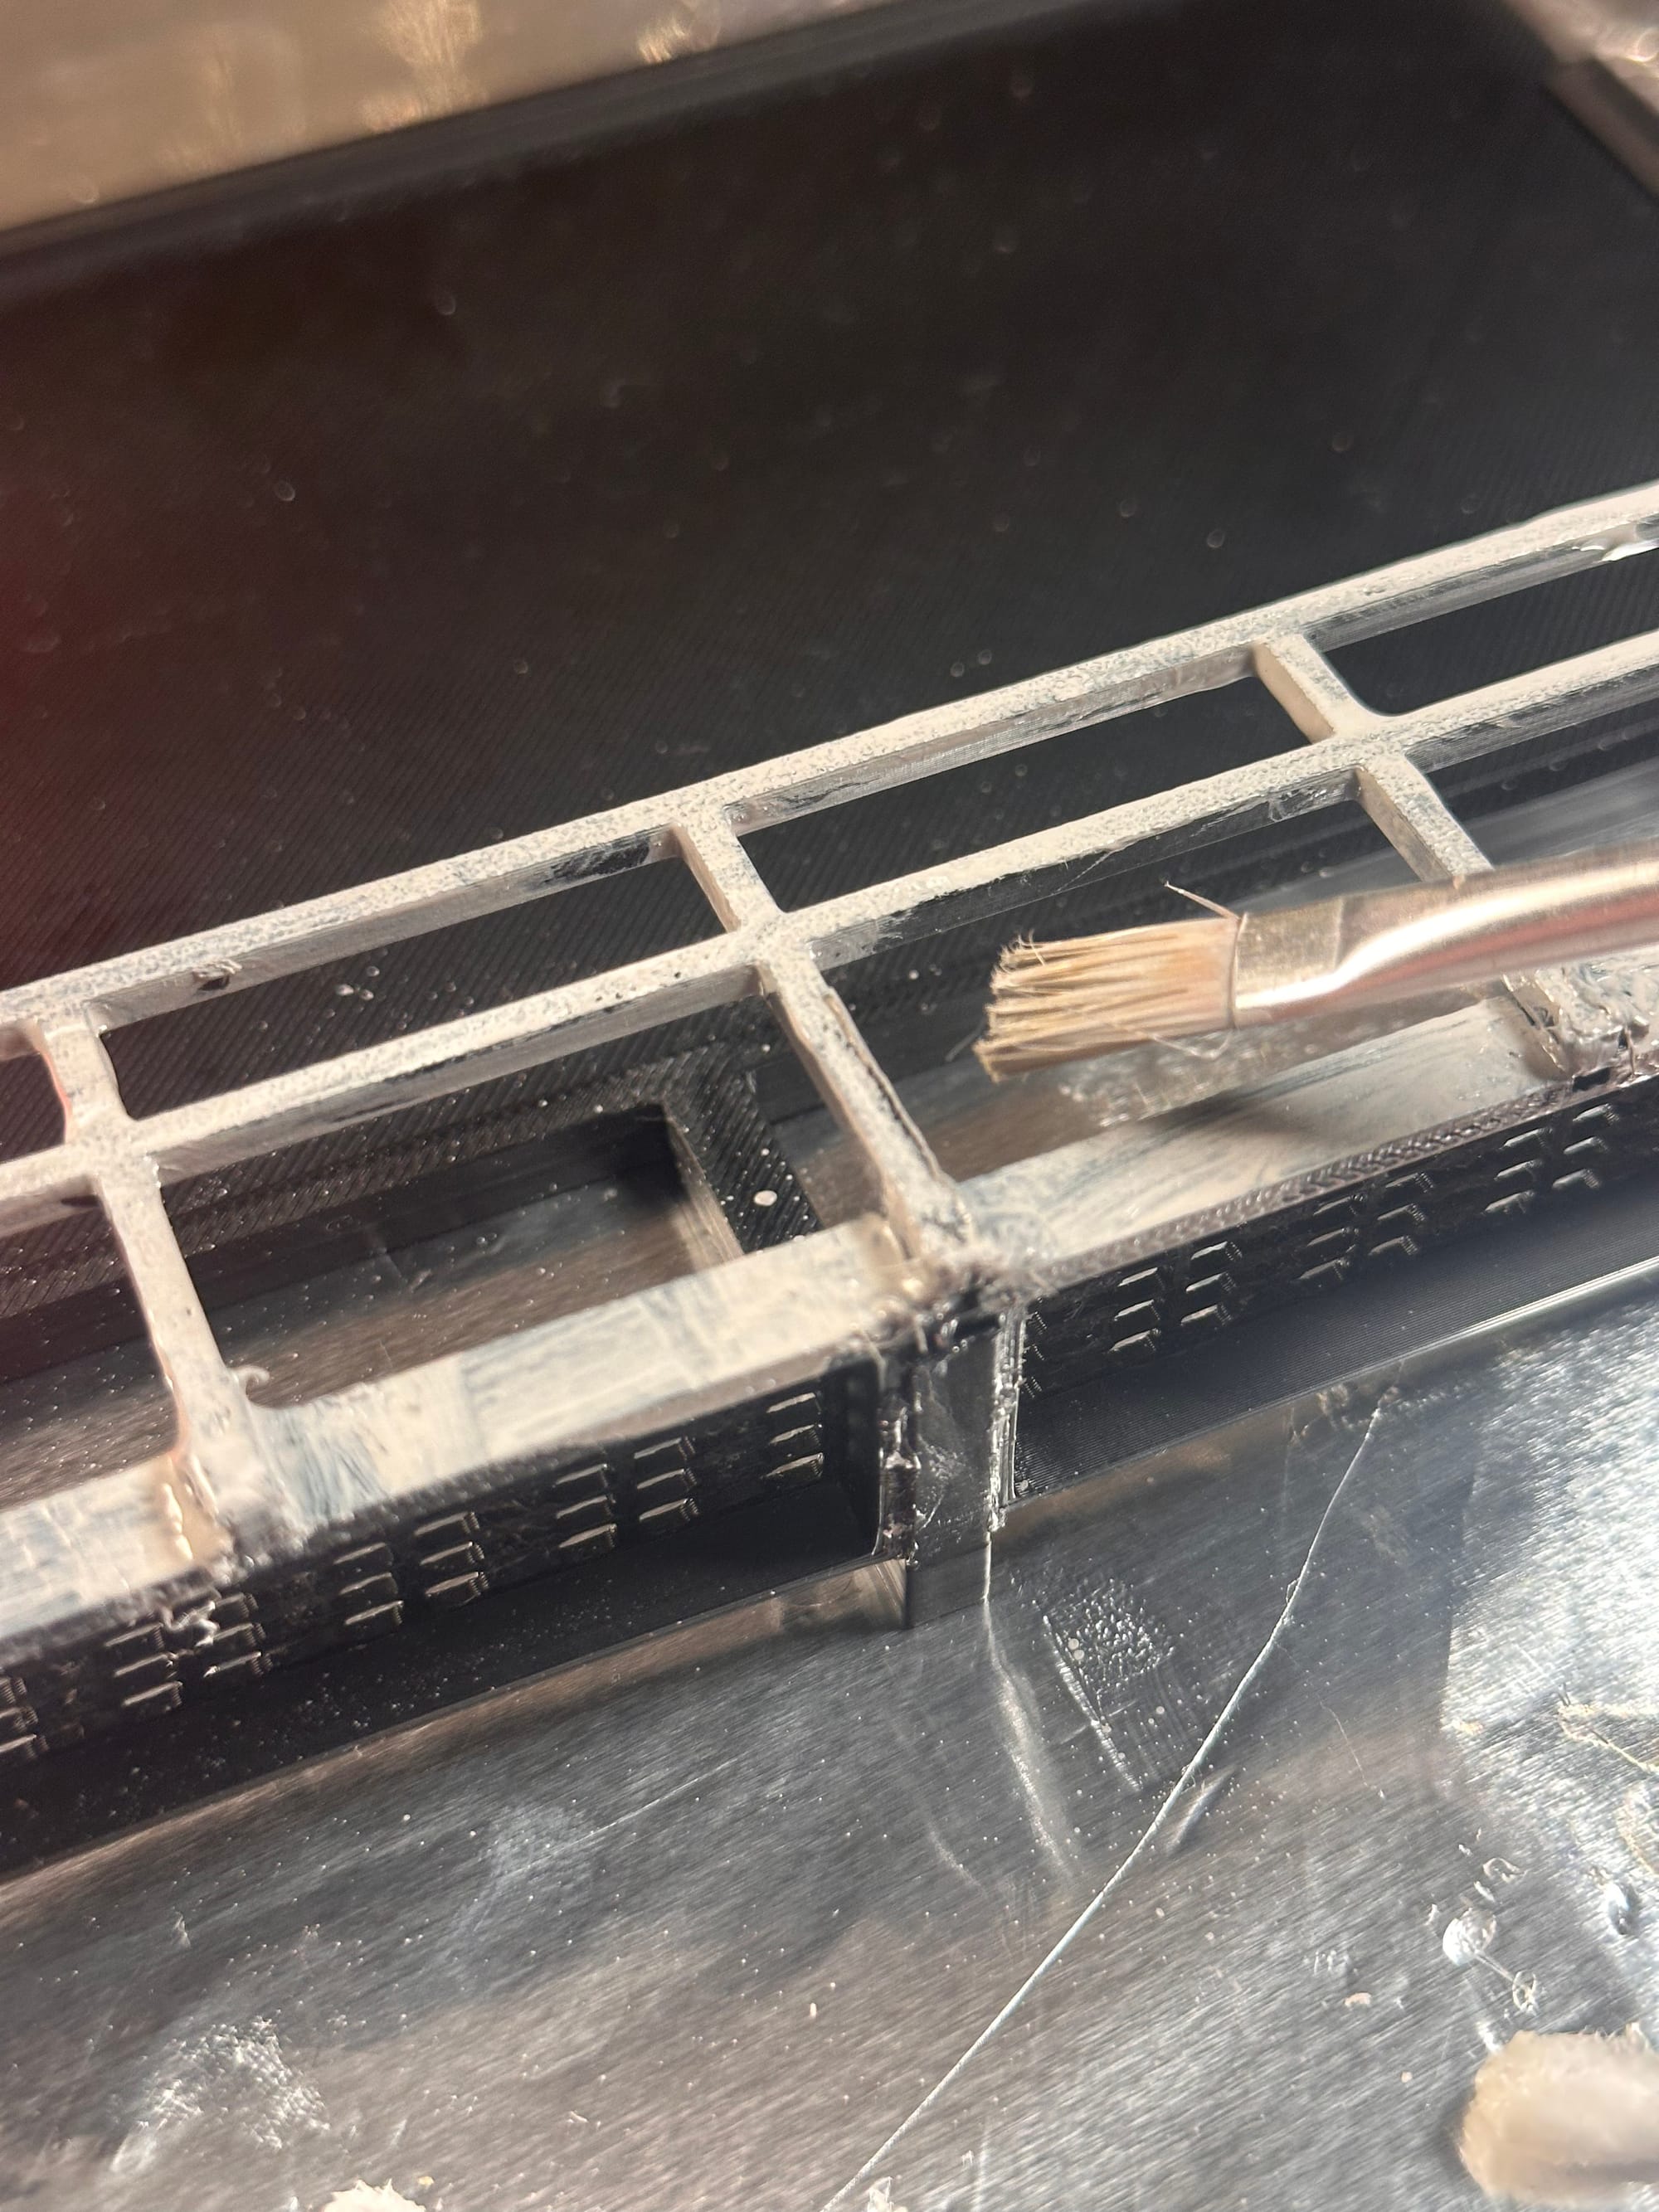
Contact adhesive (use) like E6000 is the best for a quick setting, fairly strong adhesion for most materials. And the best part, unlike most super glues, the adhesive residuals give a clear finish – well, mostly. I used a brush to get into some tighter areas, but honestly, I found it no more effective than using a small swab or stick. Plus it ruined the brush. So I recommend using a swap. Once again, I said I don't know what I am doing here.
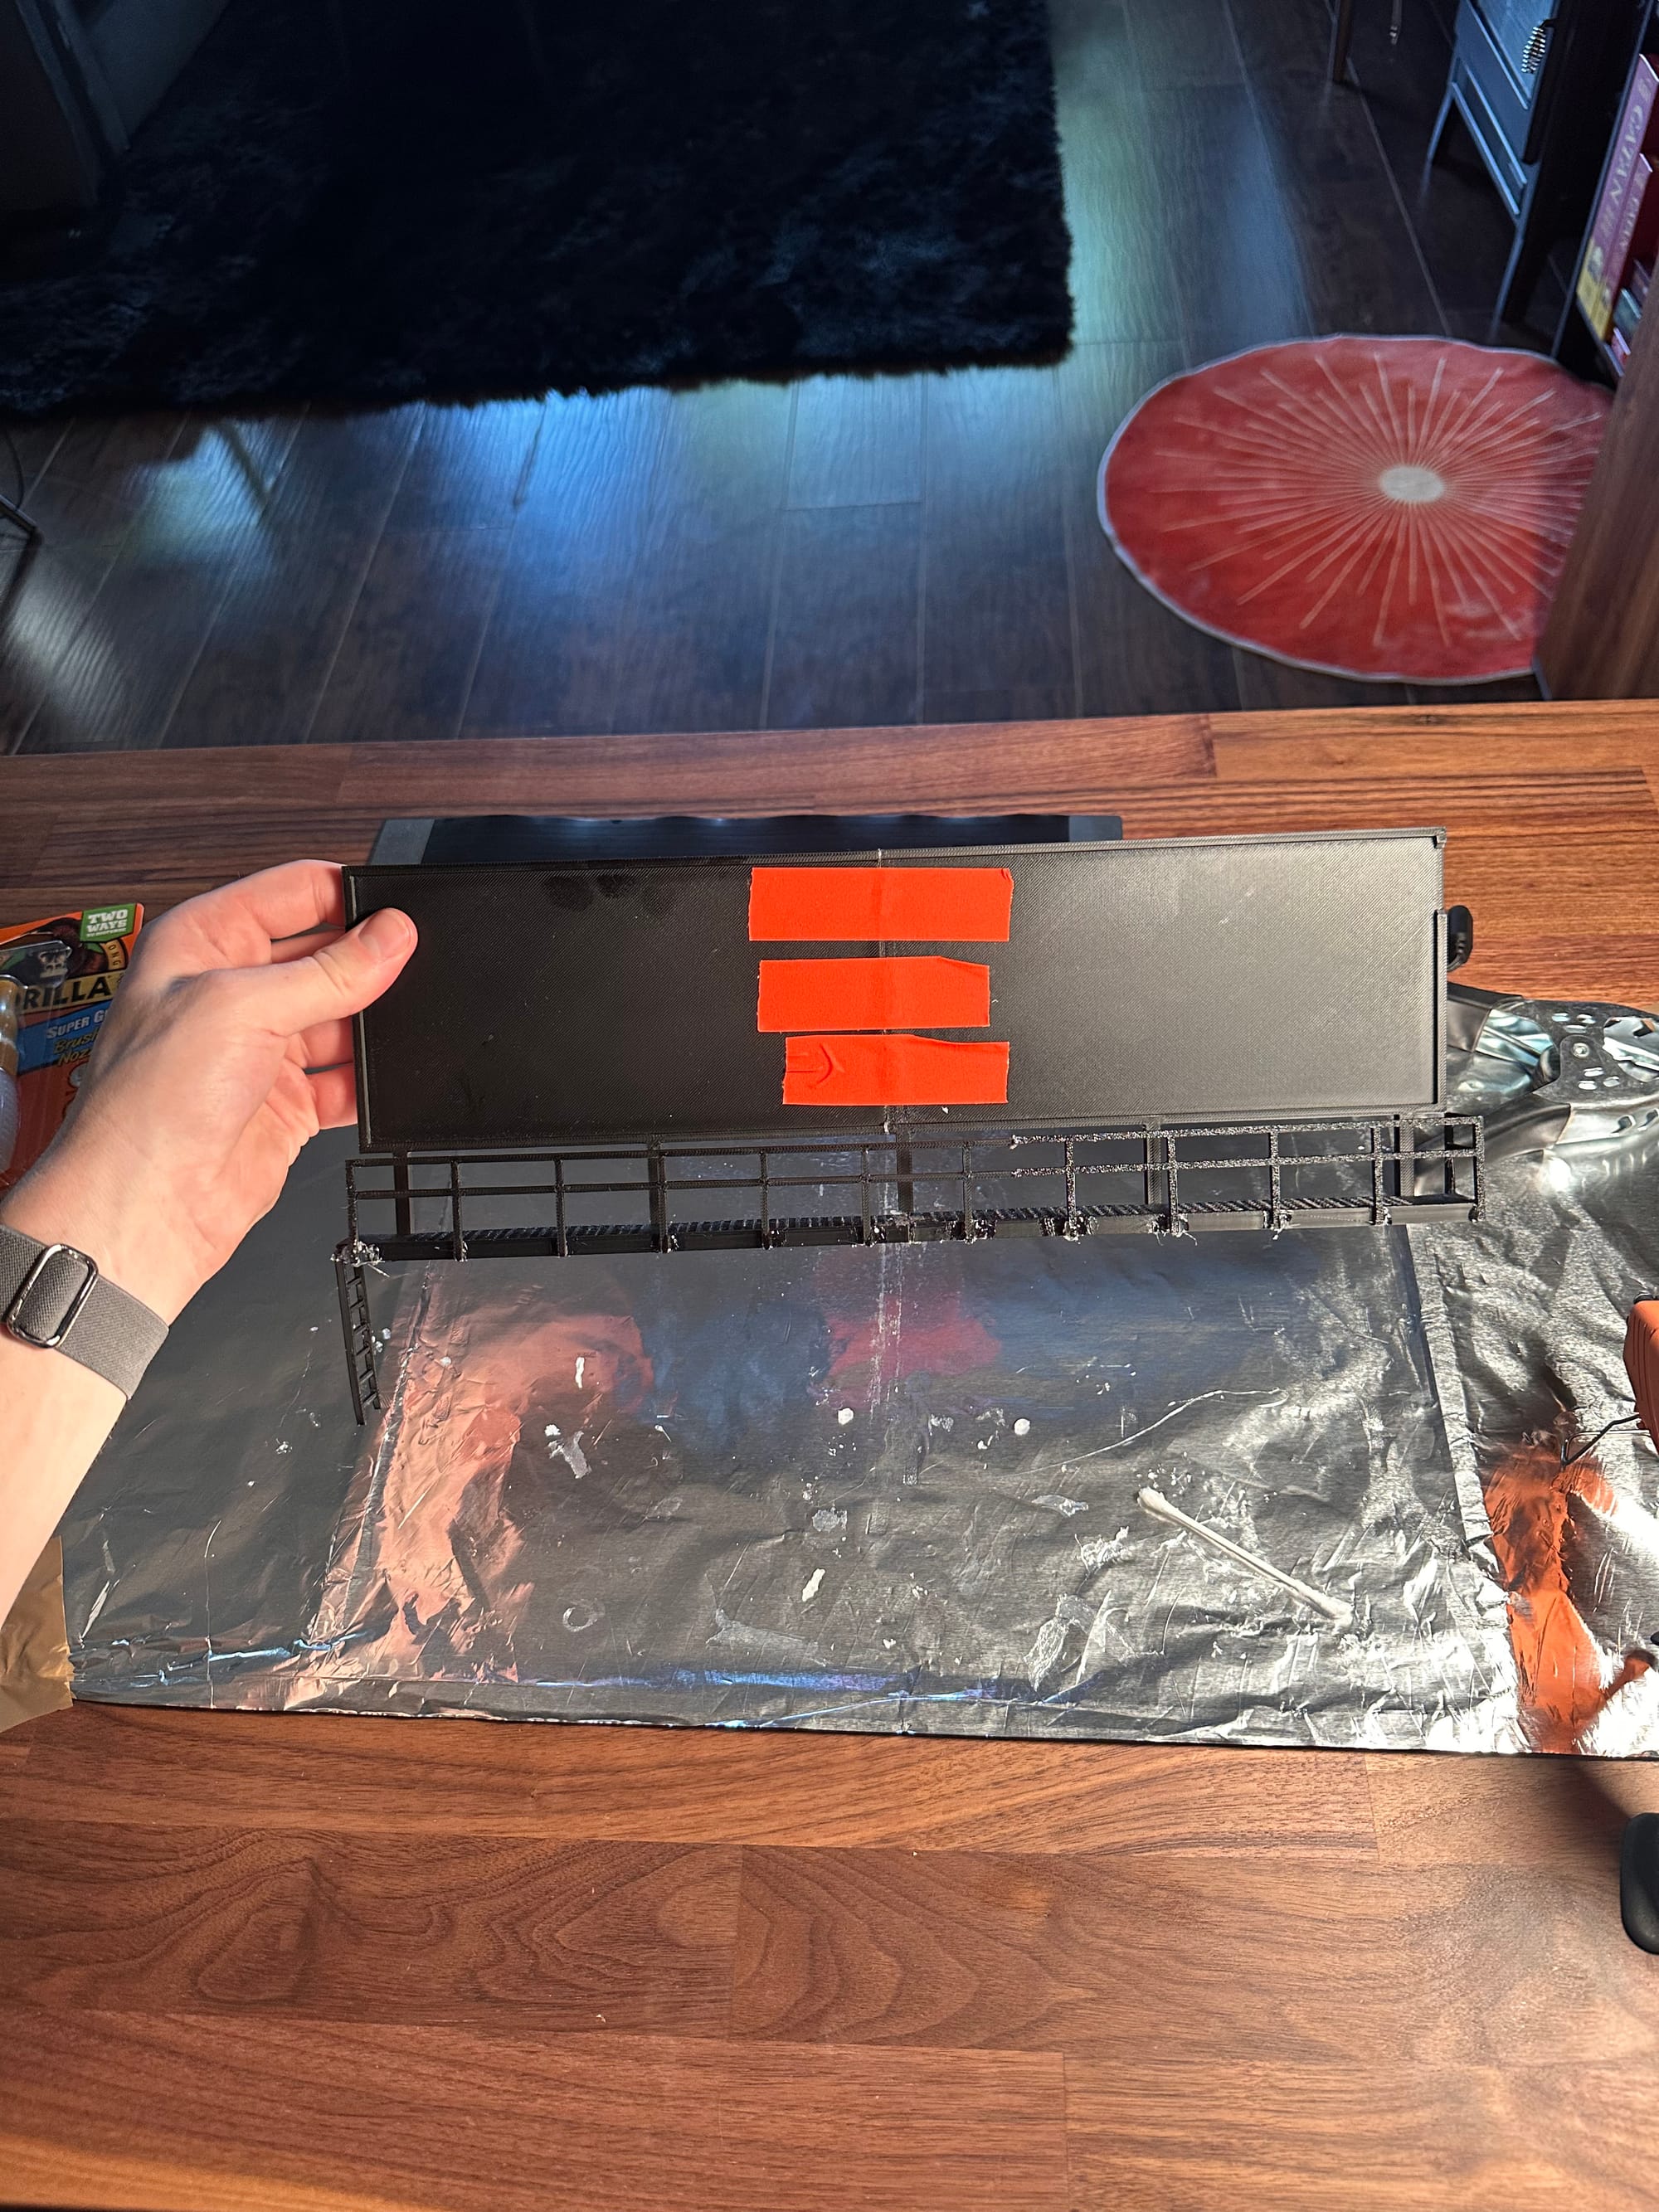
In some of the images below, you may see some red tape. I used some on hand gaffer tape to temporarily fasten the left and right sides of the backing. (*Queue bad red tape joke*)
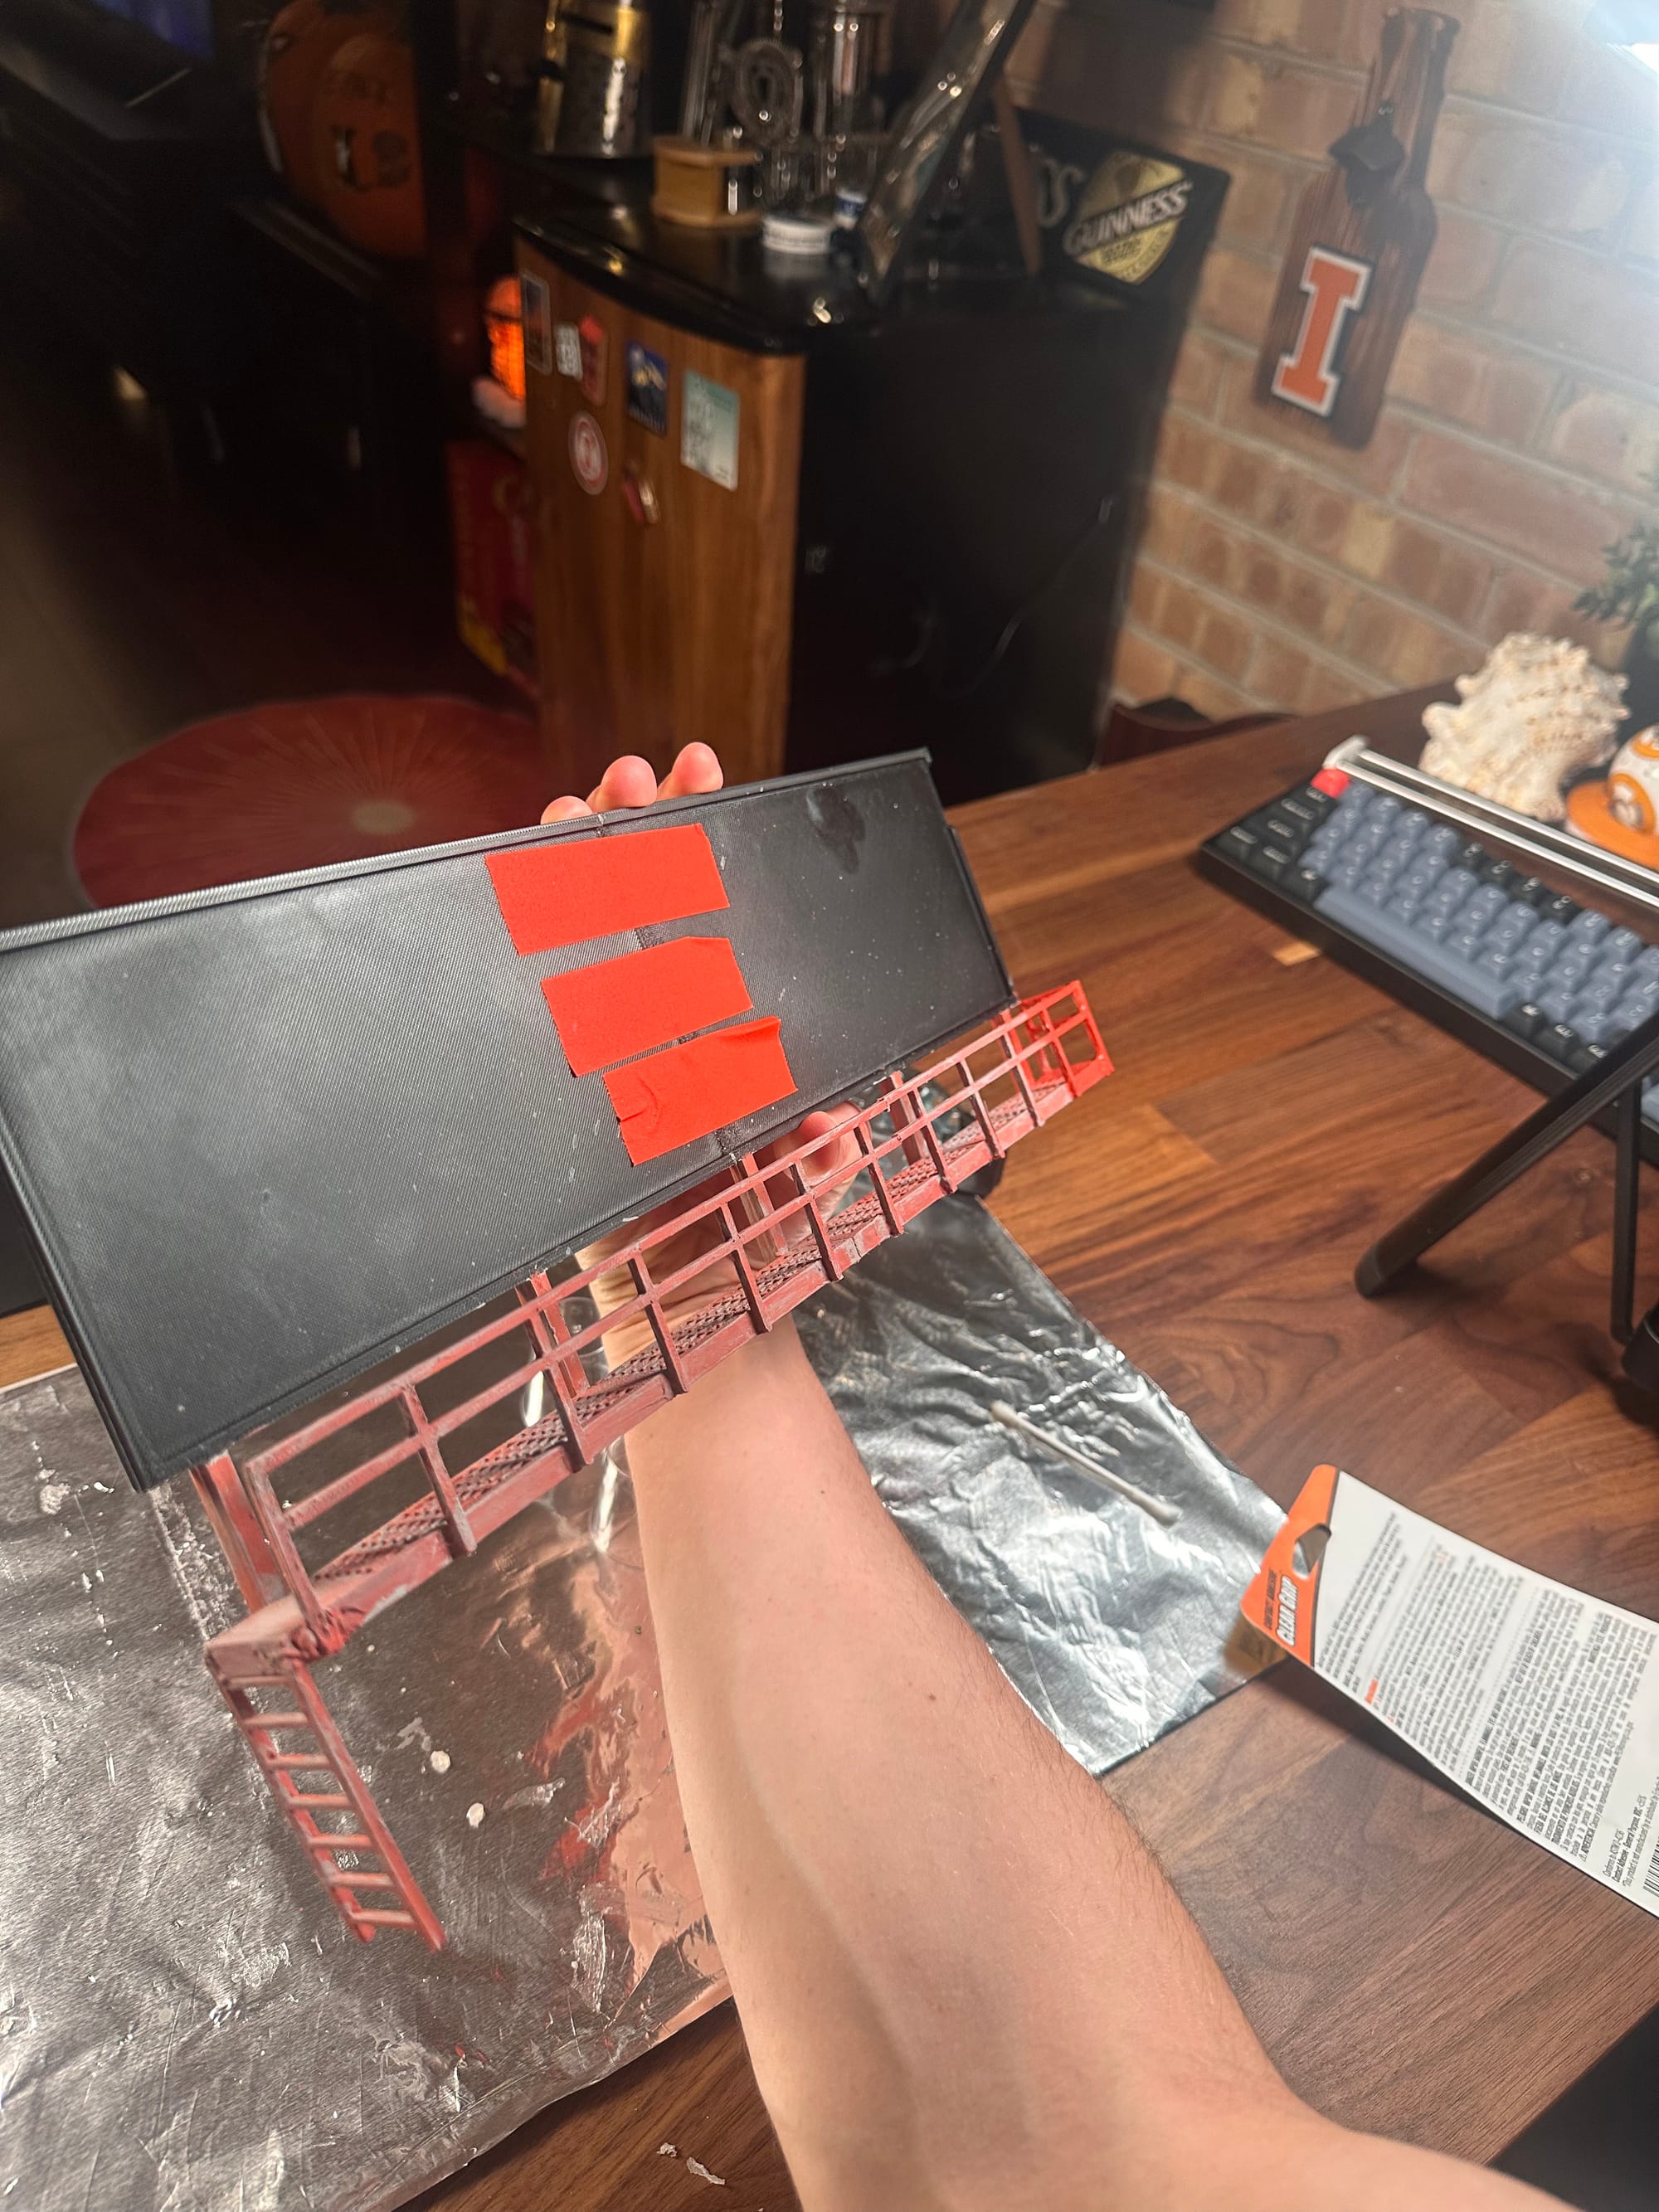
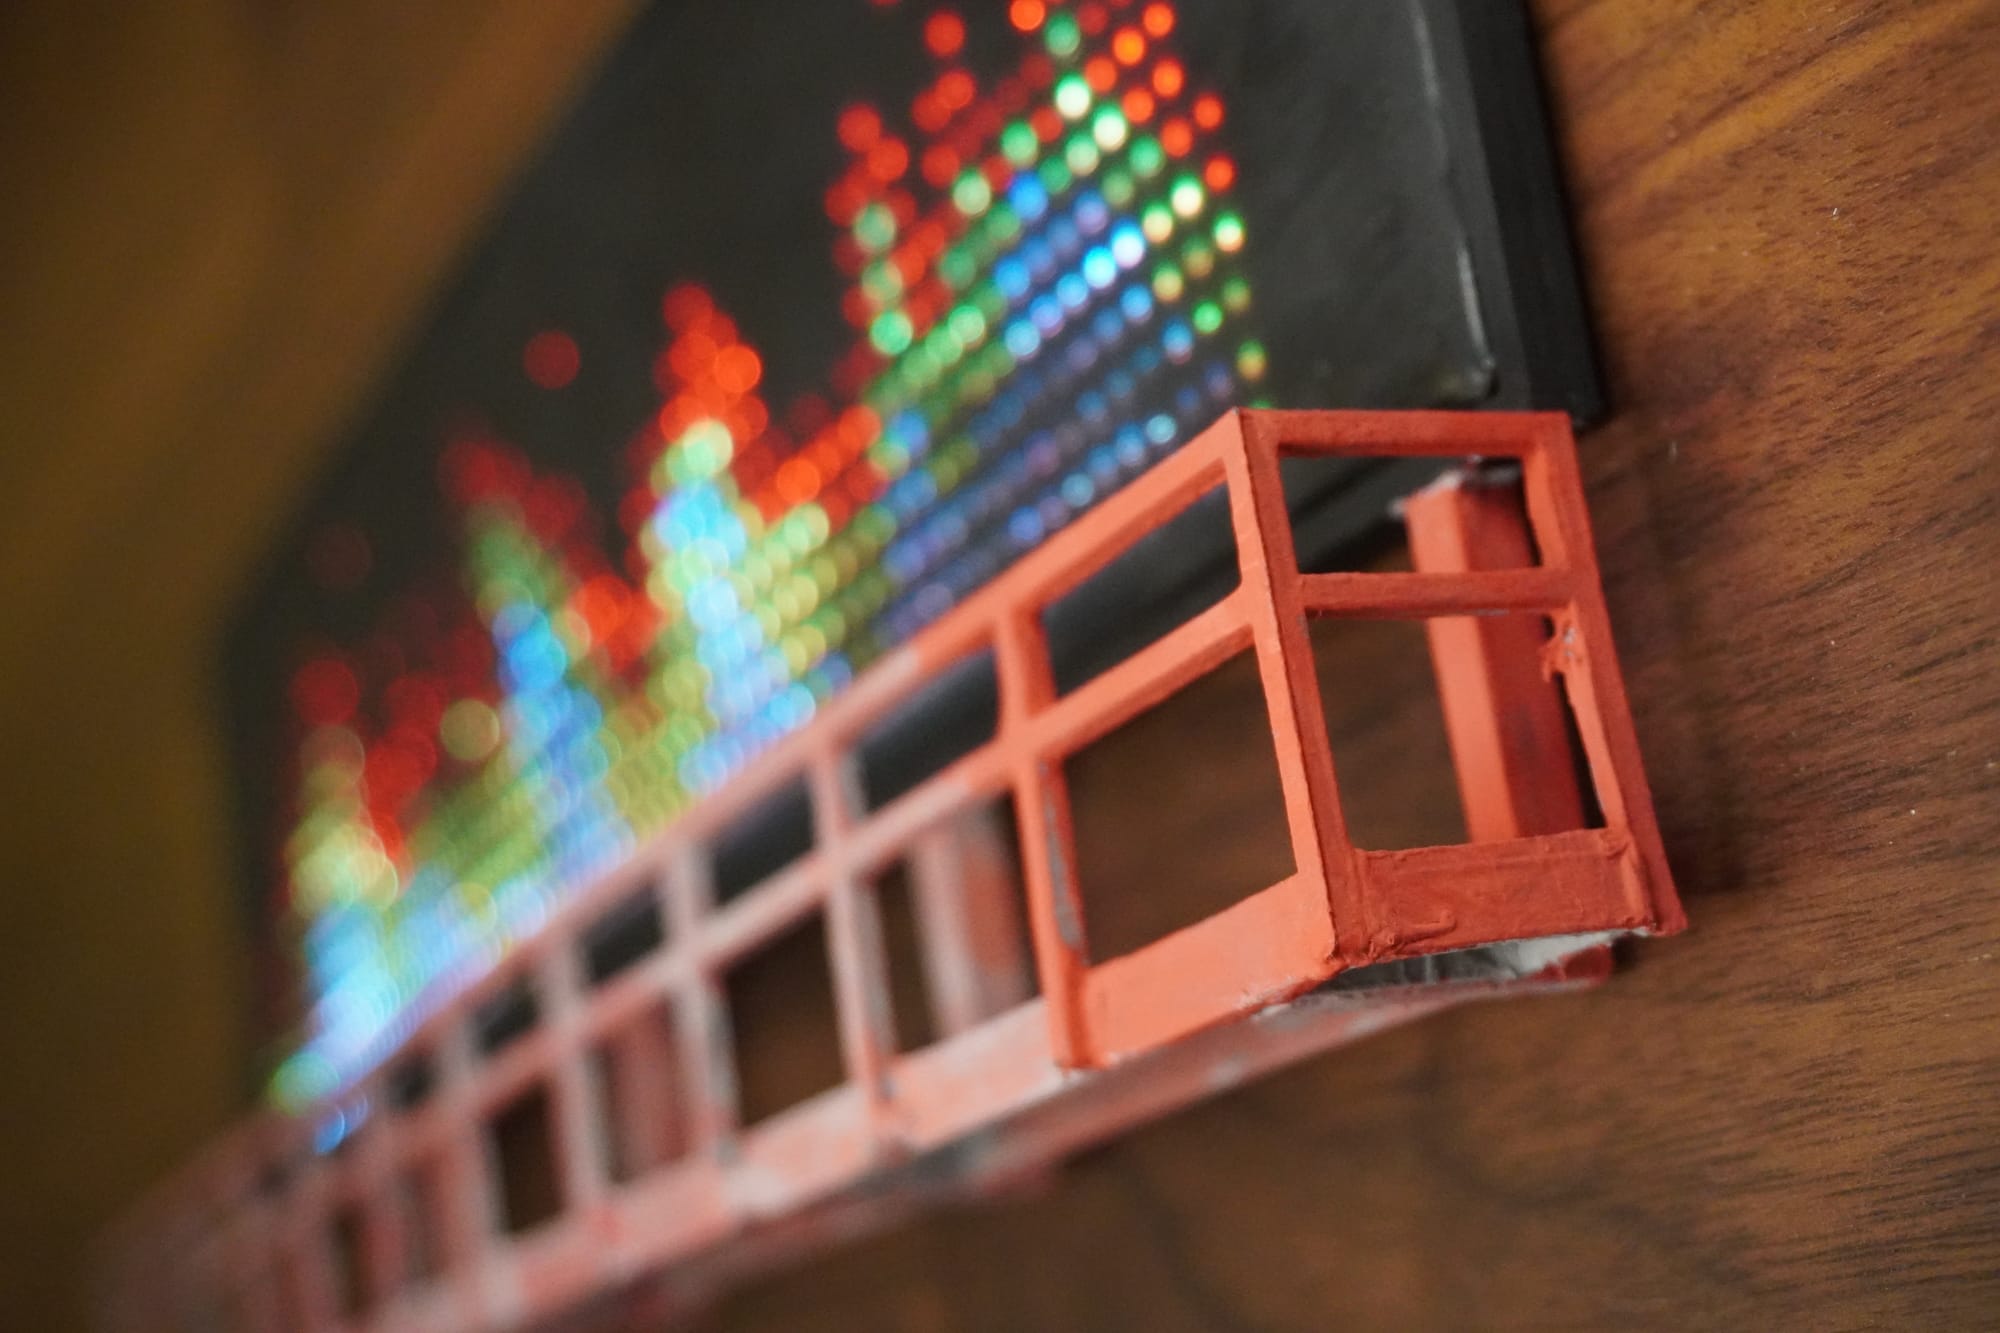
If I recall correctly, I think I waited a few hours to actually start painting. Who knows, impatience may have won and I jumped right in. Don't really remember. But I gave the print a soft gray base, haphazardly & lazily, but also with the intention of a weathered look. Once that paint dried (prob during), I followed up with a red coat. If you notice the frame's right side, it looks like I gave up painting. Hold your horses. That is intention, my friends.
I was gonna 3D print a tiny figure painting a fresh coat onto it. With a tiny little paint brush and bucket. You know, really bring it to life. Let's just say we never gott passed the red tape on this one.
I stuck some magnets in the back, press fit the LED panel into place, and slapped on the fridge. Oh, I also lightly painted over the LED panel. The thing came with a waterproofed clear coat over the pixels, but I really felt seeing the pixels really taints the mirage. I only succeeded after trying some, let's say, rather crude masking attempts.
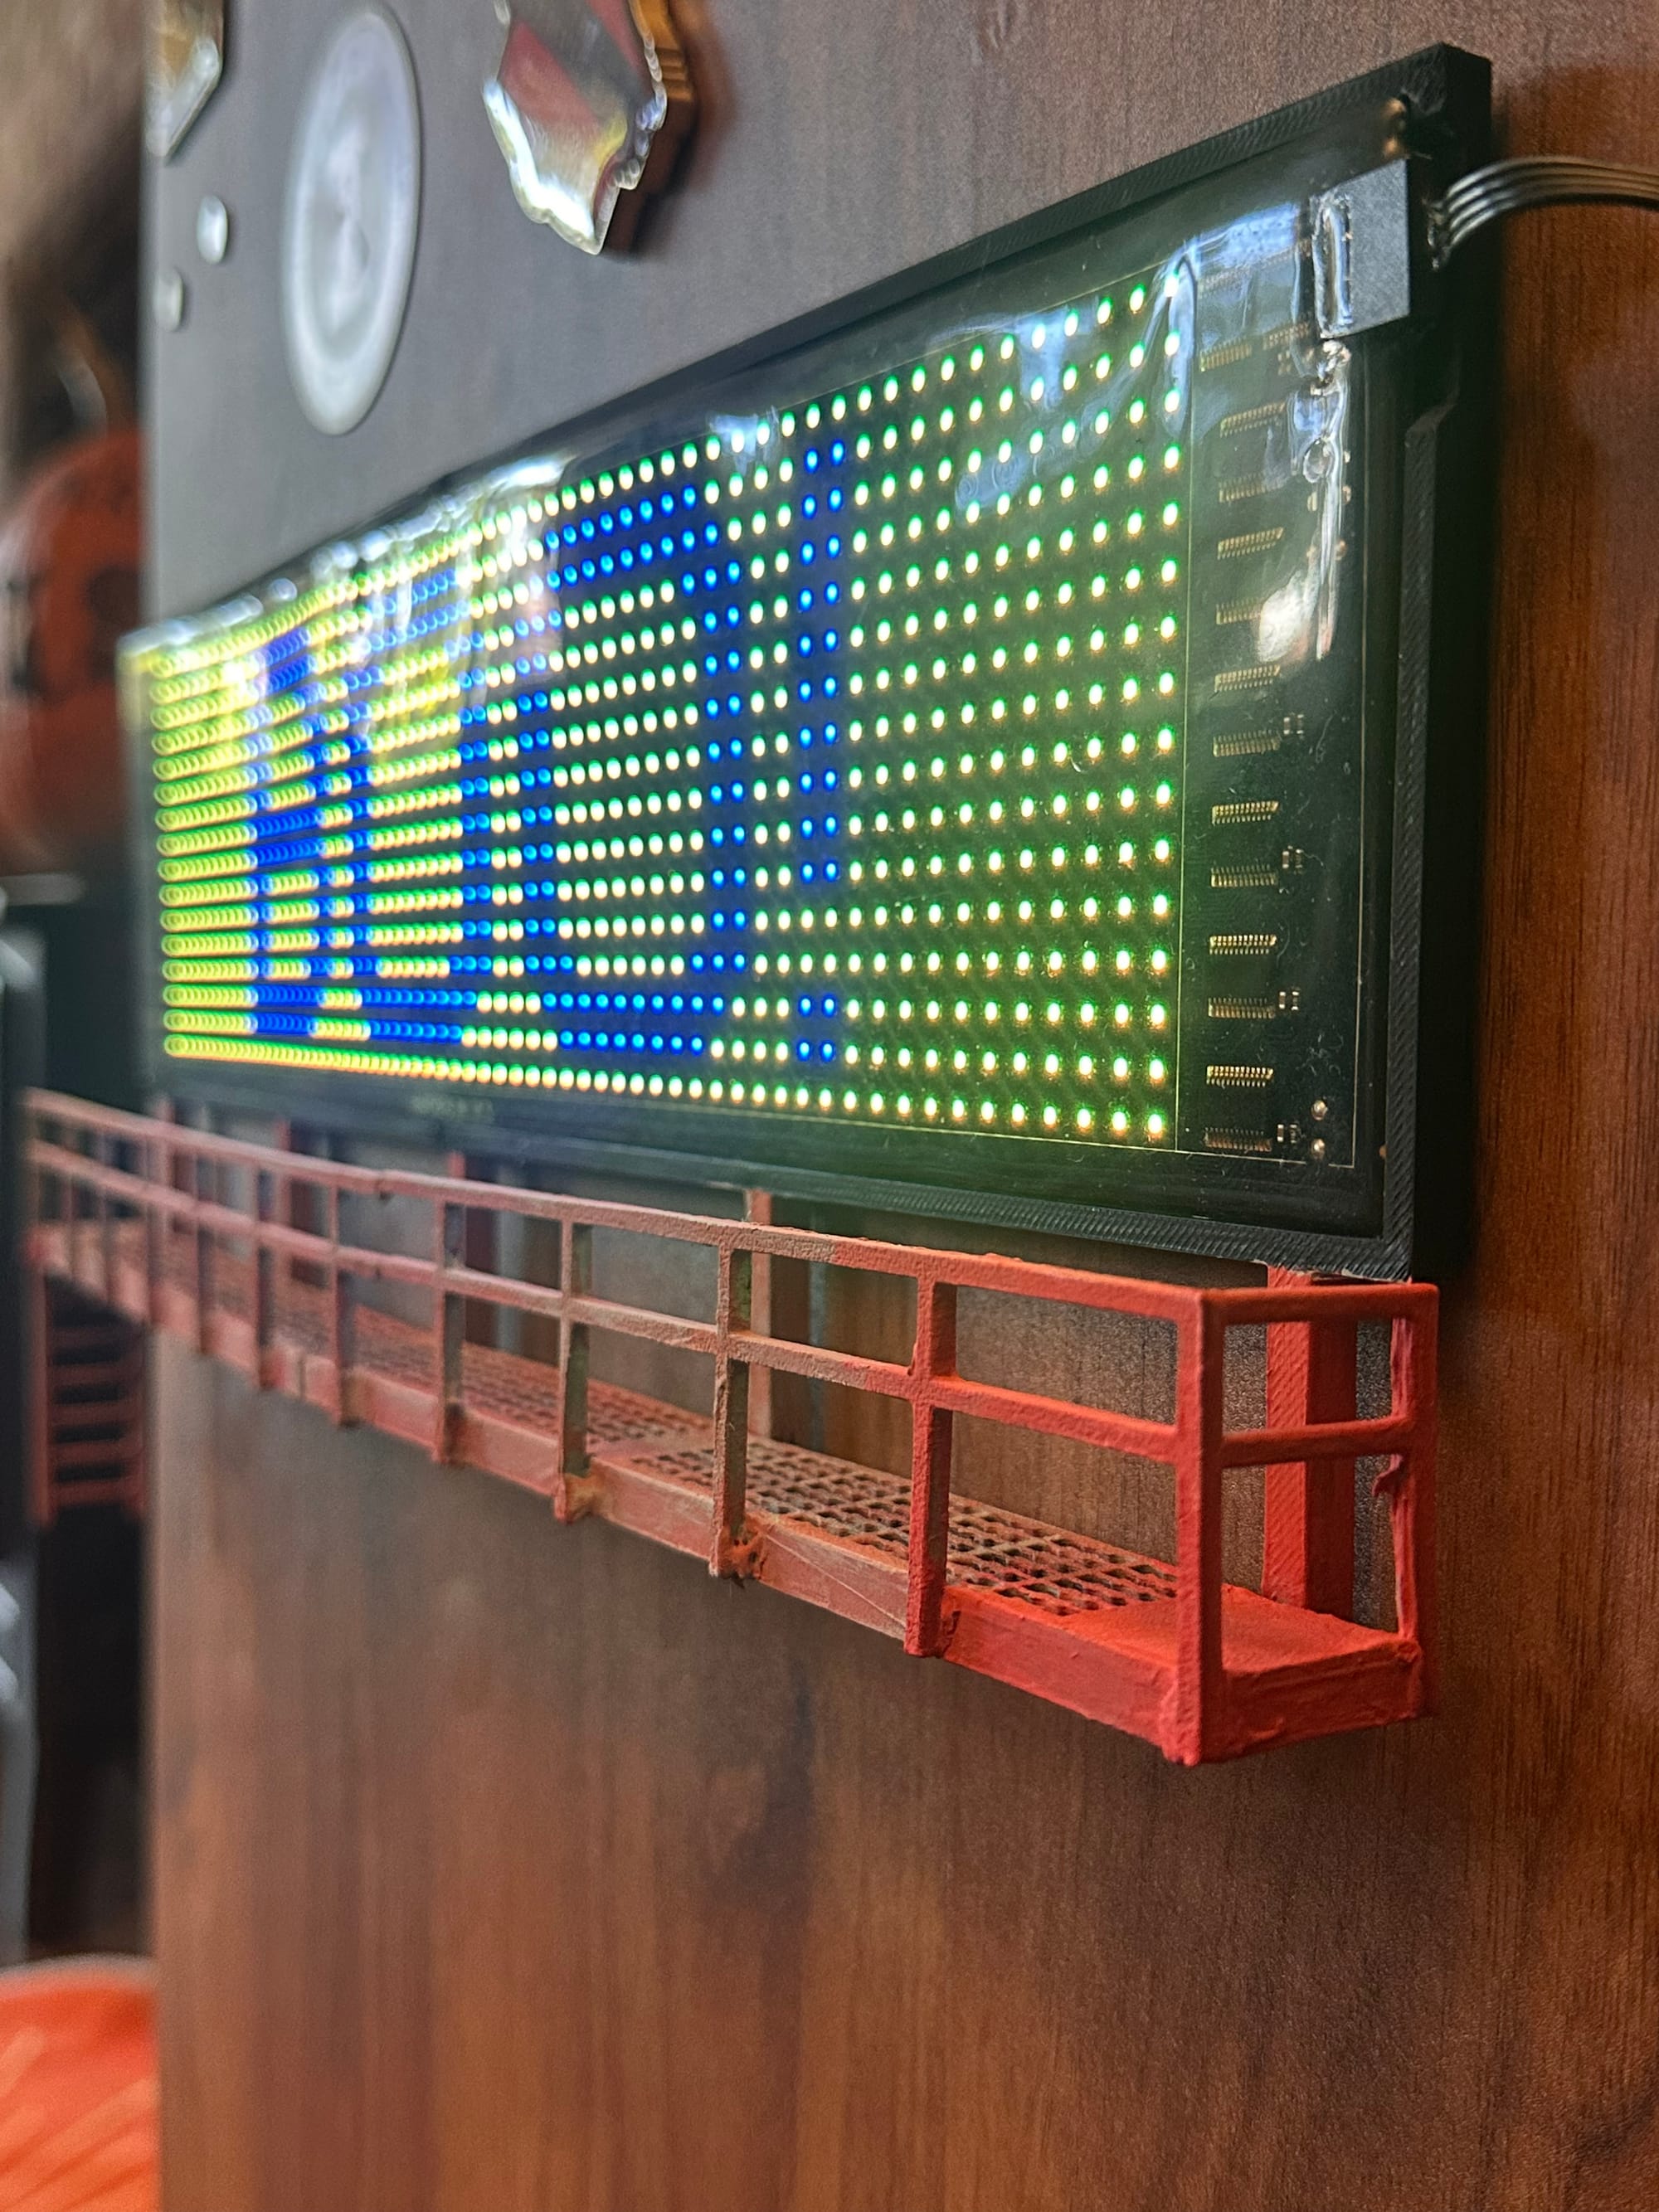
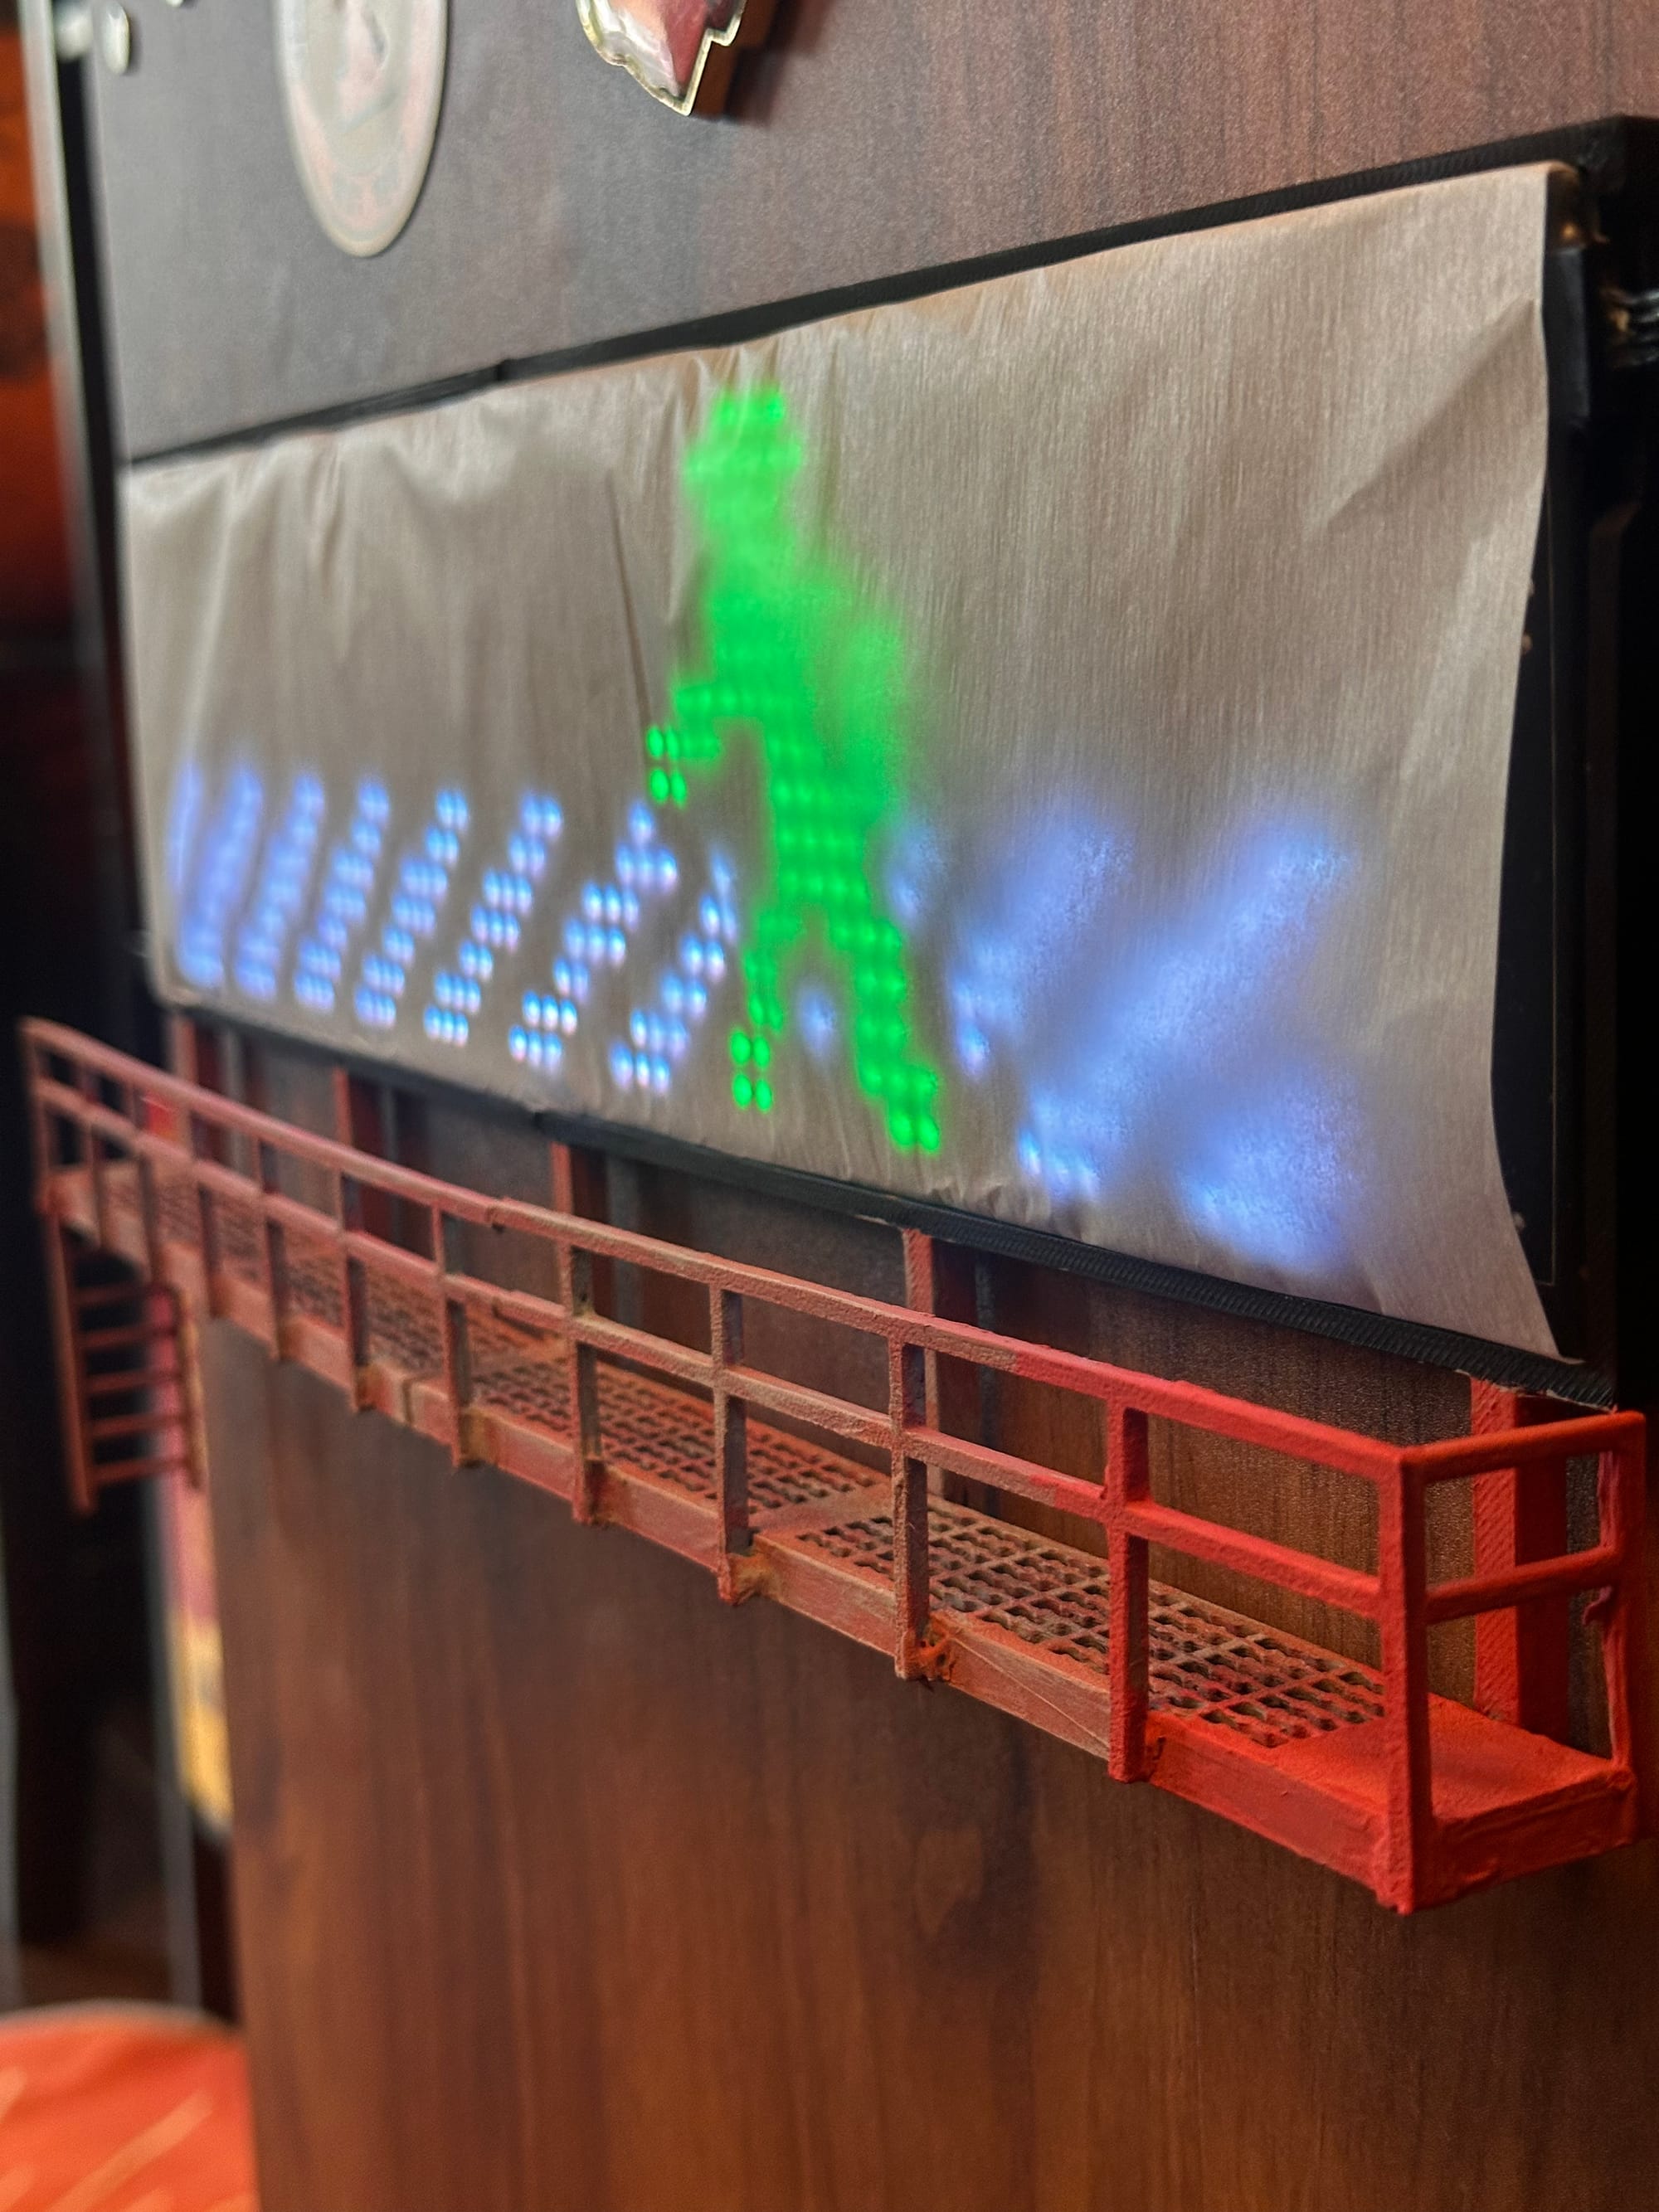
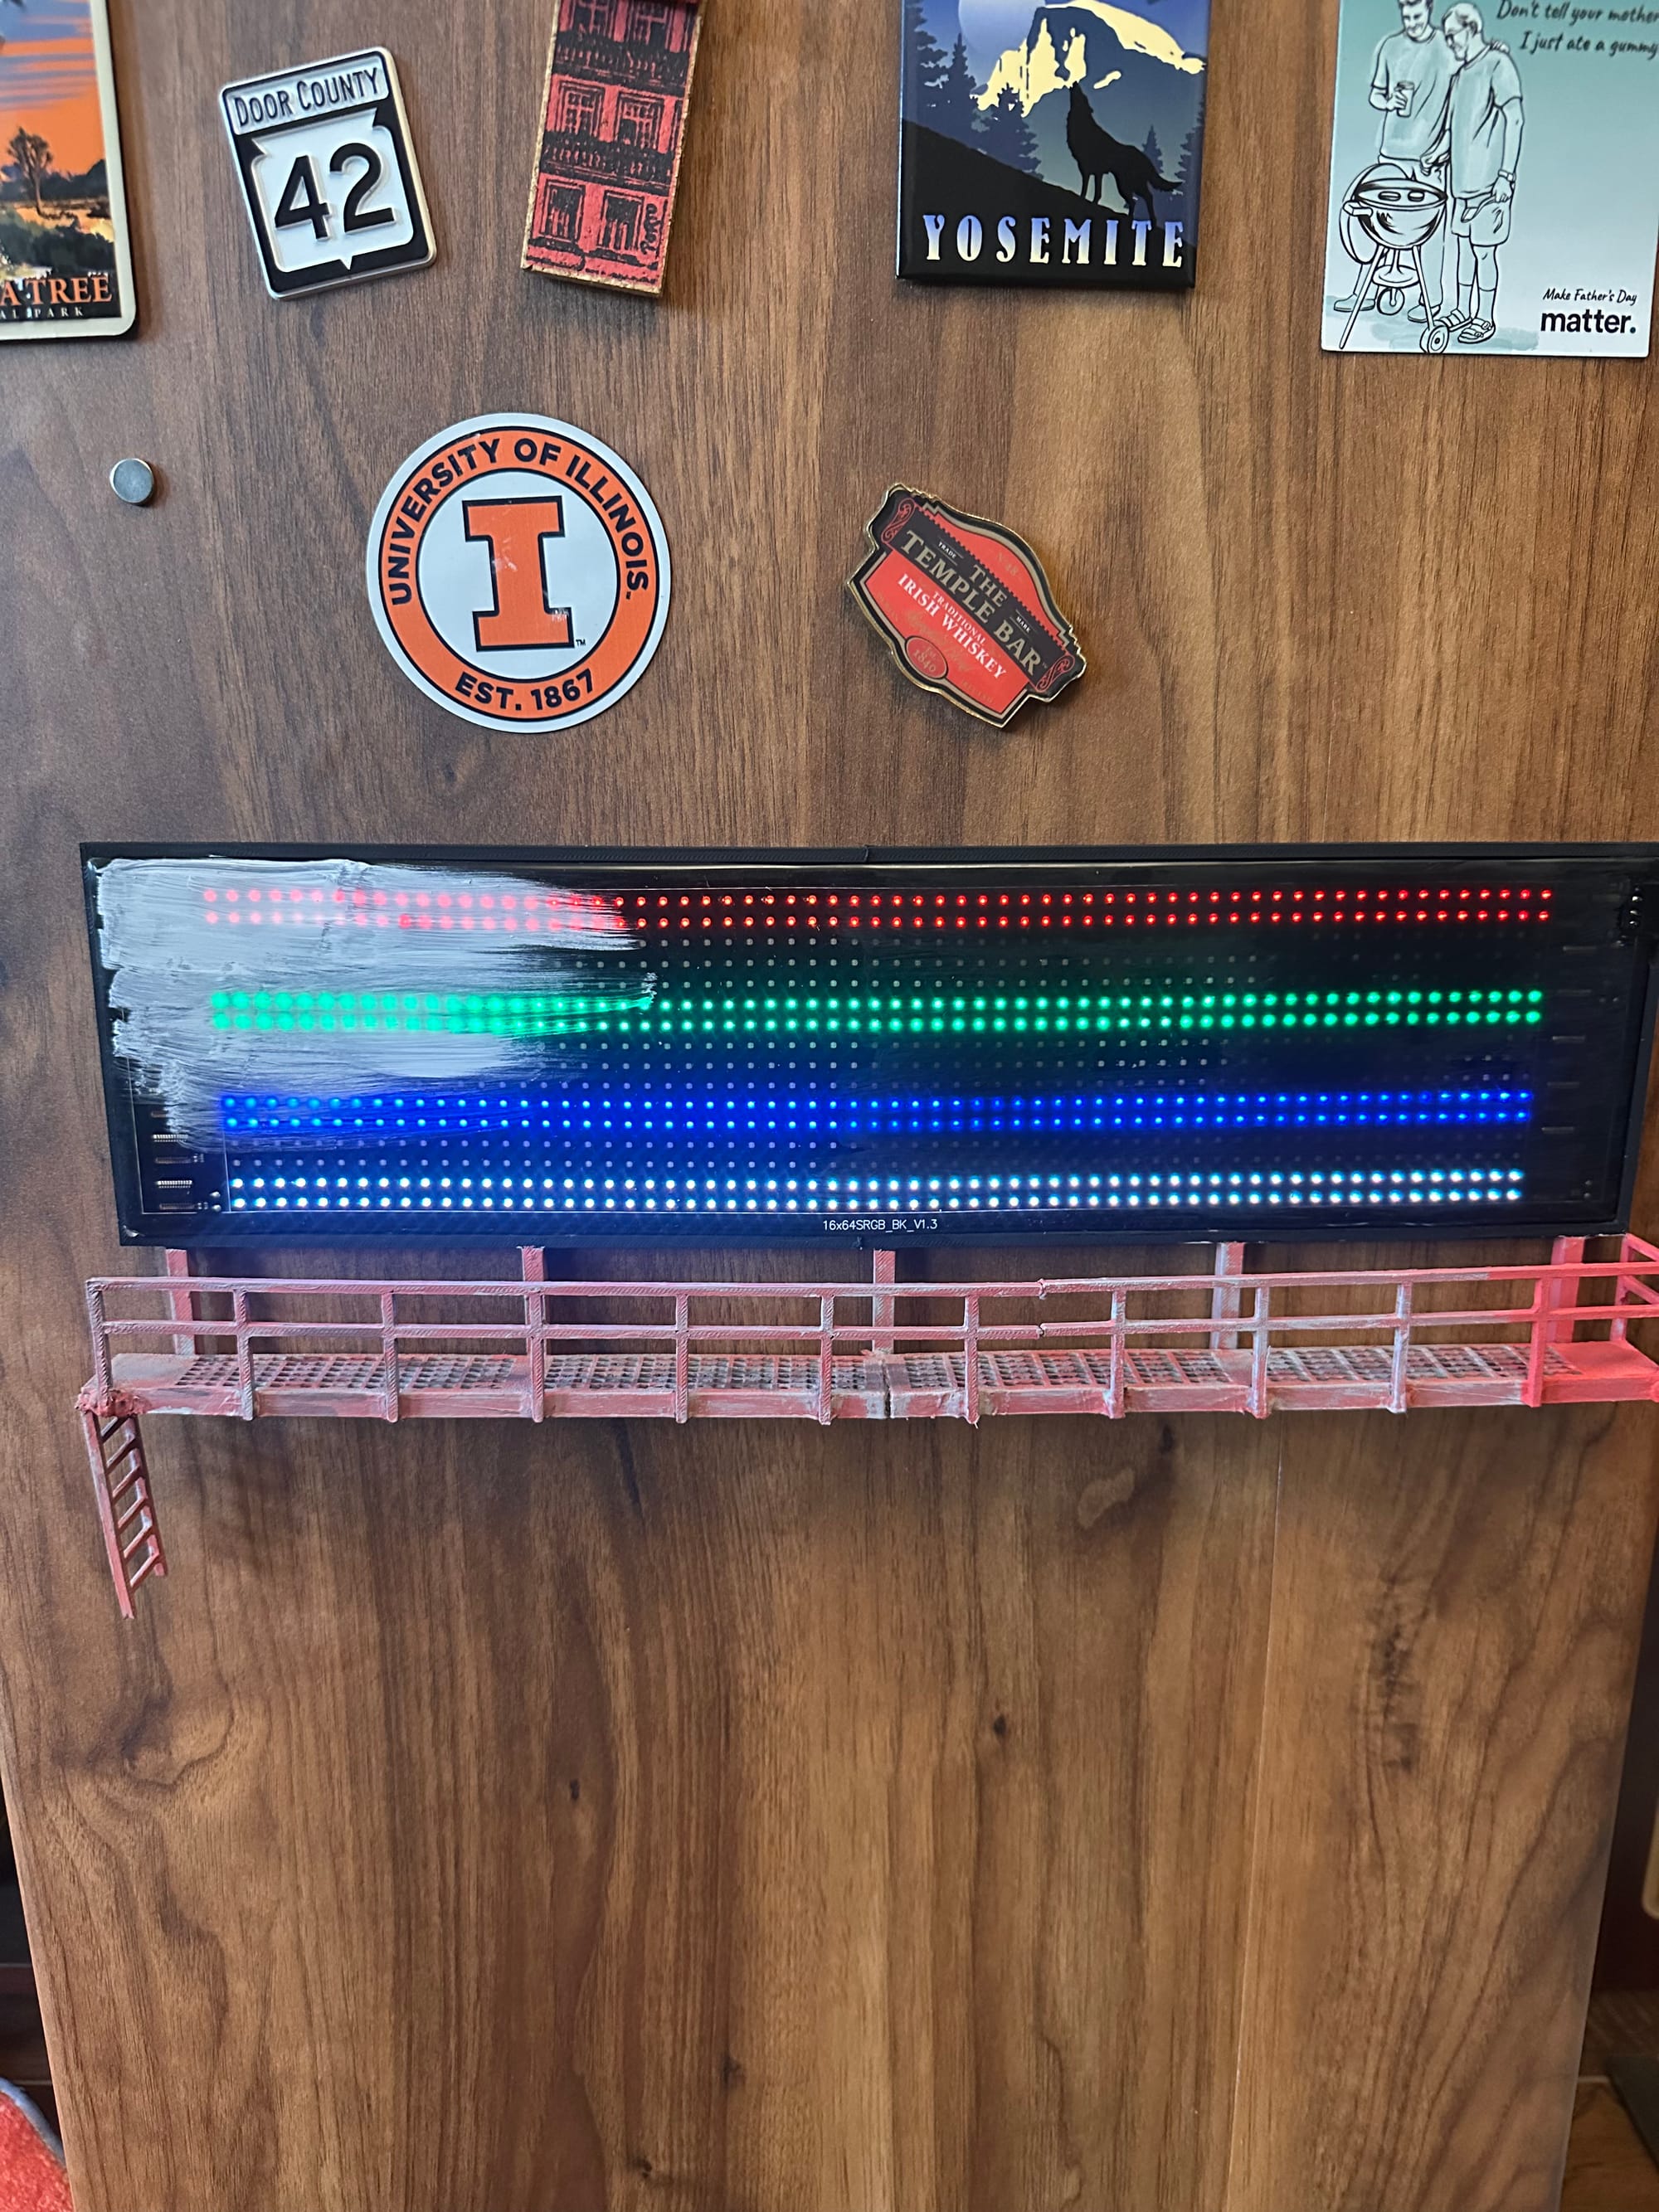
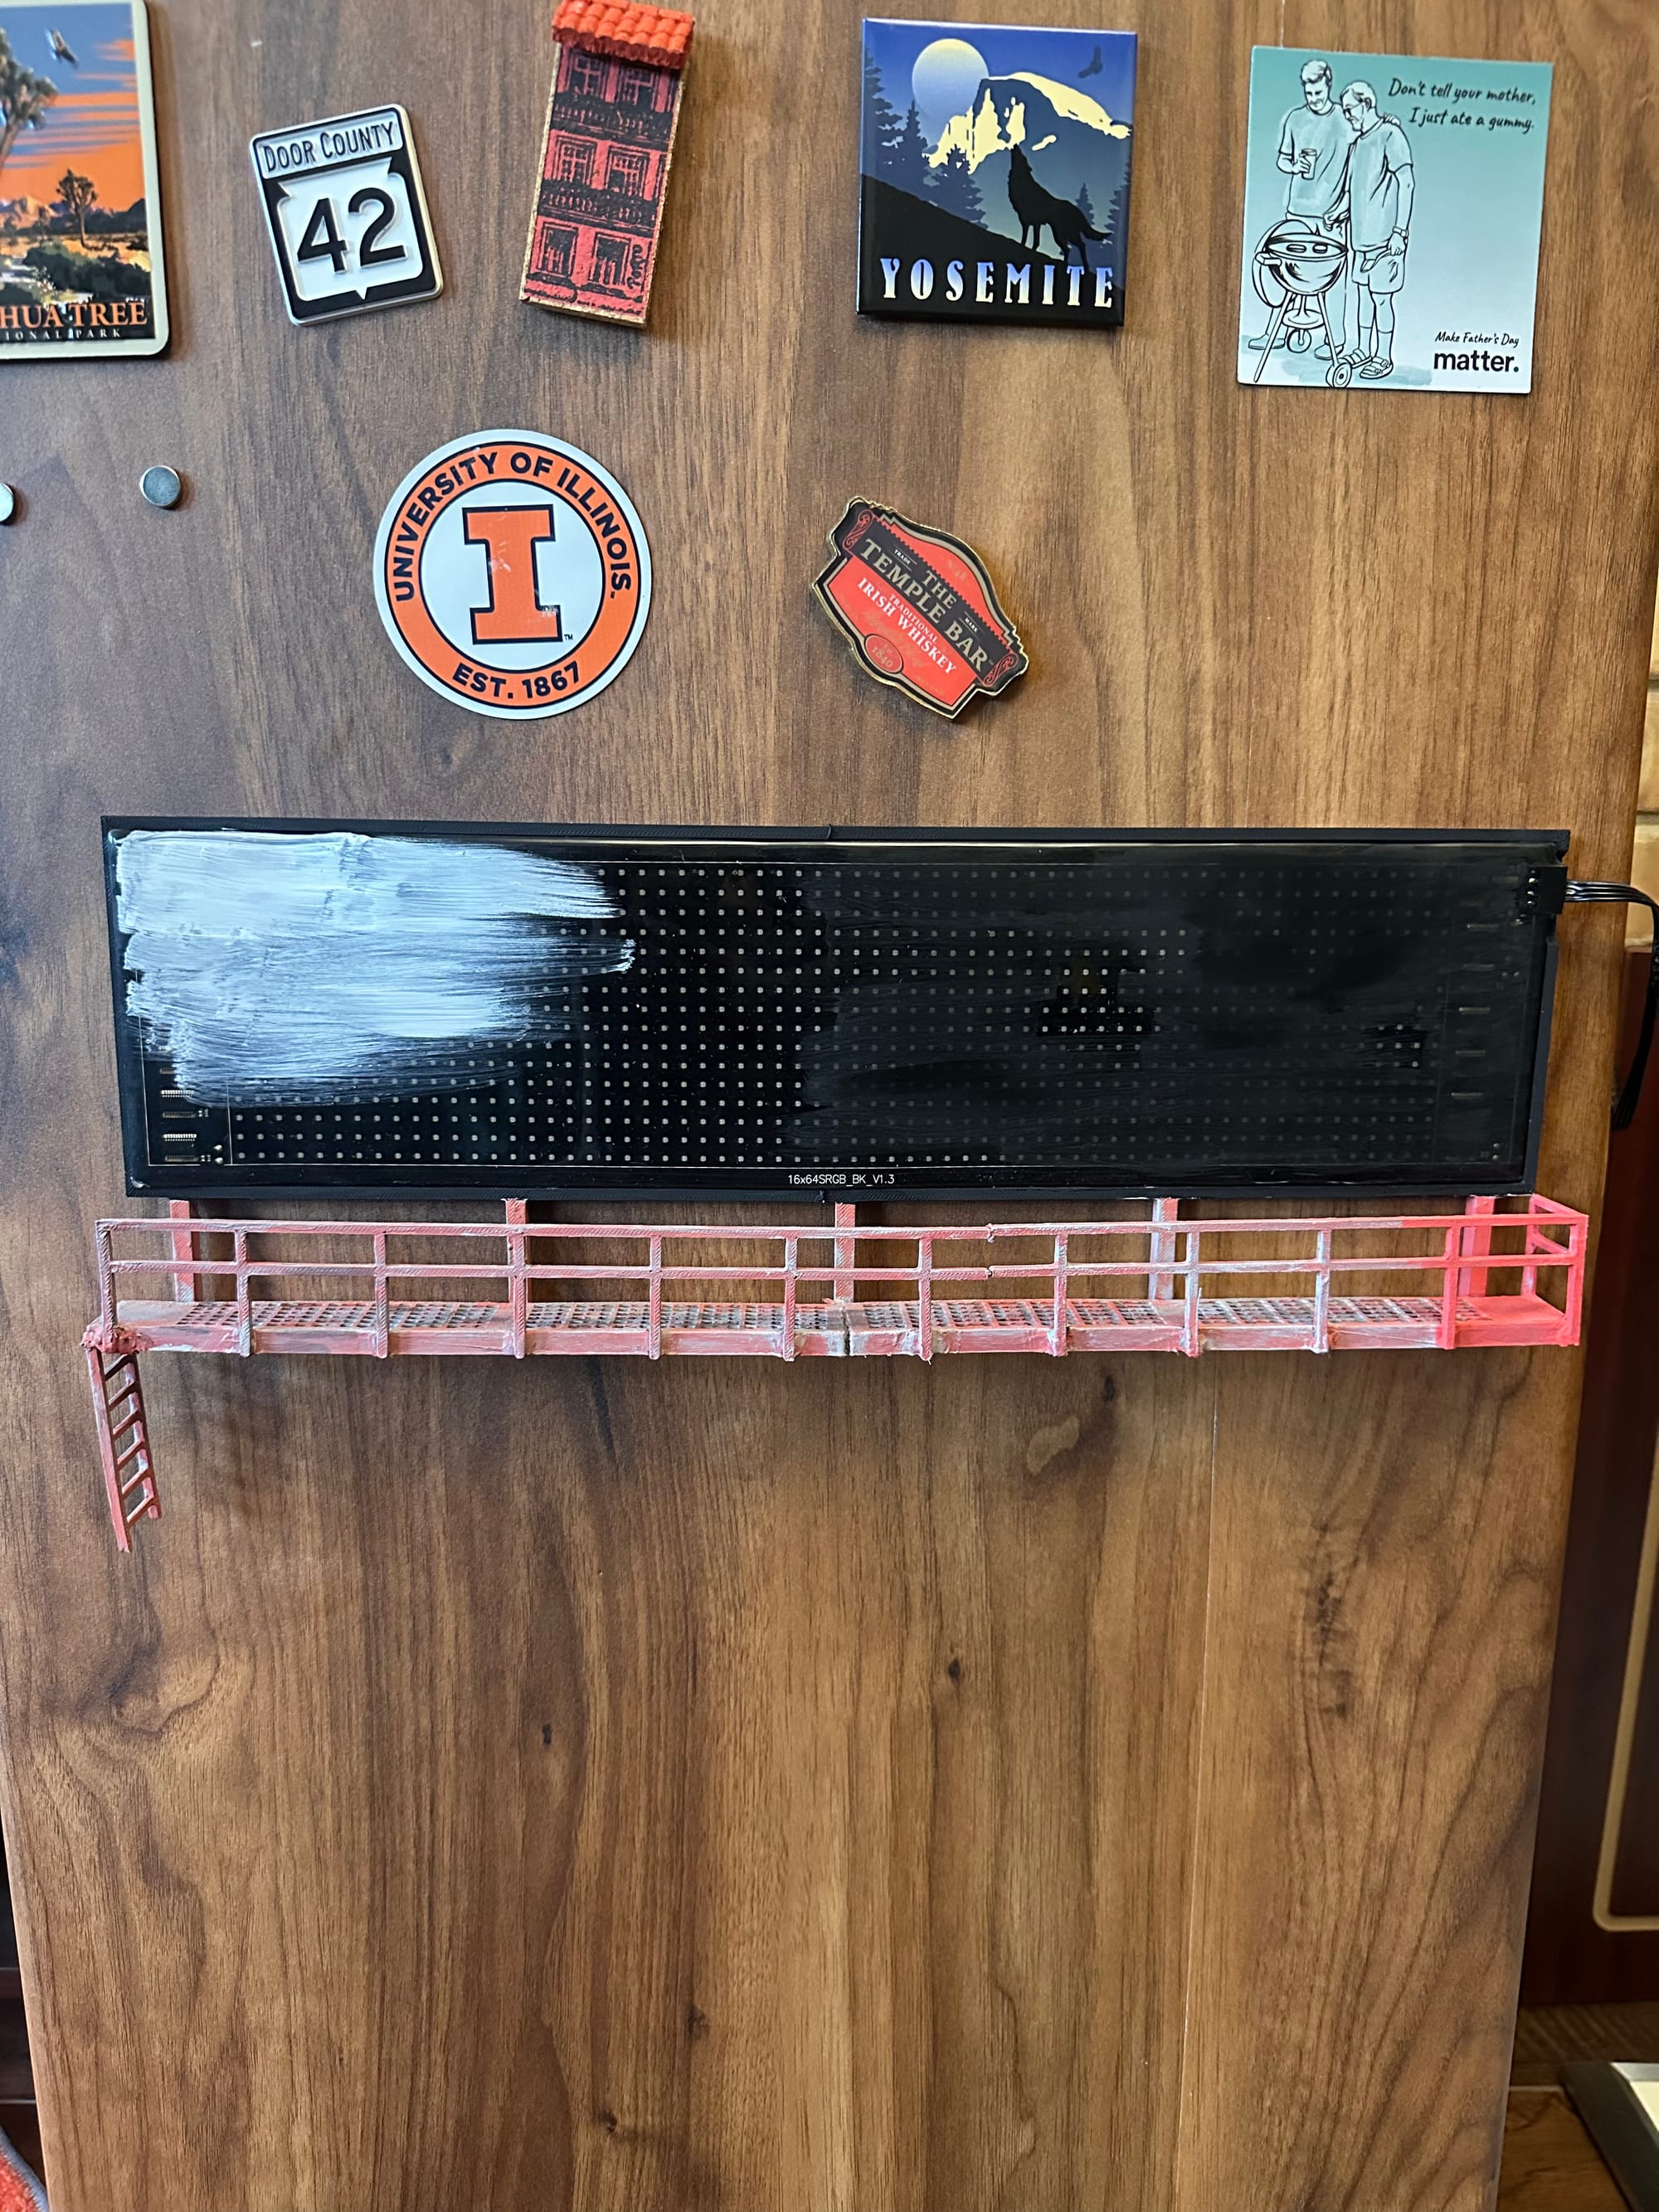
I thought white may work. Meh. You can see I went with black on the right ride.
There is a tech portion to this project. I may just gloss over it. The artistic part is just so much more fun. But basically I used a raspberry pi 2w to host a tiny lil server. It talks to home assistant via a lightweight fastAPI server, forwarding command endpoints to the bluetooth LED panel via bitmap files over bluetooth classic. The pi essentially acts as a bridge from home assistant network. Nice.
Well that about wraps this one up. Until I add the painter. So enjoy some videos below. Cheers.